
Chef Freja
Æblegelé
Tart autumn apples, slow-boiled and strained clear overnight, then cooked with sugar to a trembling pale amber jelly that belongs on the cheese board, on morning toast, and in the kitchen of anyone who respects the season.
A cooking platform built around craft, culture, and the stories behind what we eat.
Created by Chef Freja
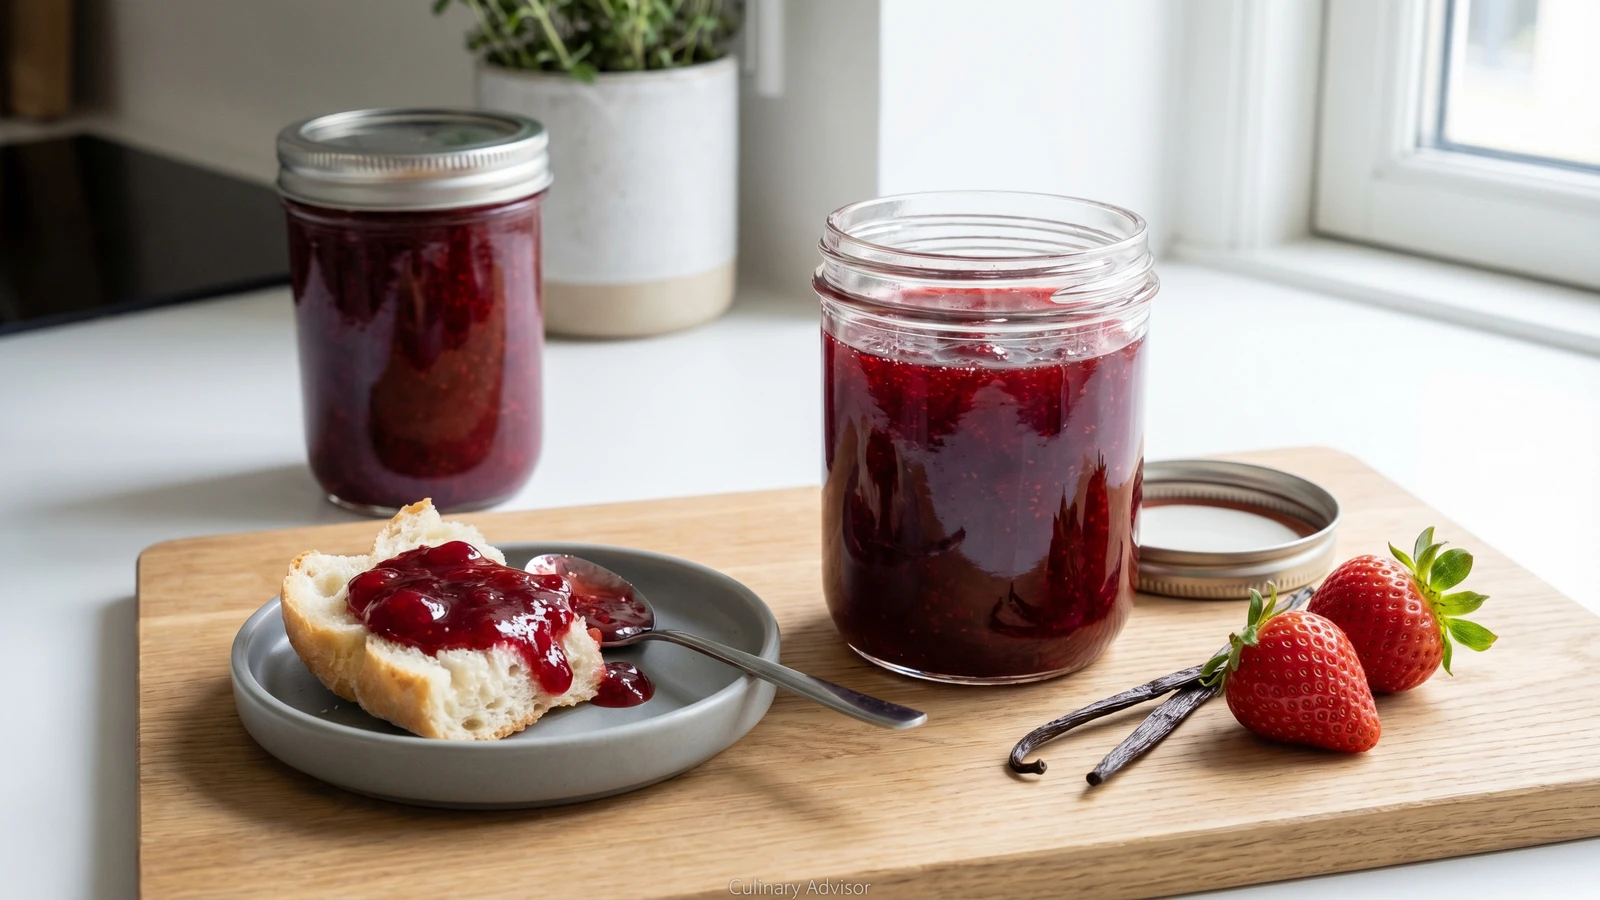
Danish strawberry jam made with midsummer berries, a vanilla pod, and a brief boil. The taste of June sealed in a jar for every dark morning that follows.
Danish strawberries arrive in late June, and when they do, everything else in the kitchen steps aside. They're smaller than the imported ones you see the rest of the year, the ones that travel well but taste like water. These are different. Darker, softer, and they smell the way strawberries are supposed to smell: like a warm garden at the end of a long day. The season is short, two weeks, maybe three, and then it's over. The season decides.
Jordbaersyltetoj is what happens when the baskets pile up and you've eaten your fill and there are still more on the counter. It's the simplest kind of preserving. Fruit, sugar, a vanilla pod, a squeeze of lemon, and a brief boil. You're not trying to transform the strawberries. You're trying to hold them still, to capture the taste of that week in June so you can find it again on a grey morning in January when you open a jar and spread it across a piece of fresh bread. Every Danish kitchen I've cooked in has a row of these jars somewhere in the cupboard. They're never decorative. They're there because someone thought ahead, and now the whole winter is better for it.
Here's what matters. Let the berries sit in sugar overnight. The sugar draws out the juice slowly, and that means you cook the jam for less time, which keeps the flavor bright and honest and close to the fruit. Then watch for the set. A spoonful on a cold plate, a finger drawn through the middle. When the surface wrinkles and the line holds, you're done. You'll know when it's right. The rest is just patience, hot jars, and the satisfaction of hearing each lid pop as the seal forms. The joy of waiting, and then the joy of having waited.
Fruit preserving became a household practice across Denmark after sugar prices dropped in the mid-1800s, transforming syltetoj from a luxury of wealthy households into a fixture of the everyday breakfast table. Jordbaersyltetoj carried particular weight because the Danish strawberry season is so brief, rarely more than three weeks, making each jar a small act of defiance against the short northern summer. The vanilla pod, now considered essential by most Danish cooks, likely entered the tradition through spices arriving via the Danish West Indies trade routes in the 18th century, and it remains the quiet signature that distinguishes Danish strawberry jam from its Scandinavian neighbours.
Quantity
1 kg
hulled
Quantity
600g
Quantity
1
split lengthways, seeds scraped
Quantity
1
juiced
| Ingredient | Quantity |
|---|---|
| fresh strawberrieshulled | 1 kg |
| granulated sugar | 600g |
| vanilla podsplit lengthways, seeds scraped | 1 |
| lemonjuiced | 1 |
Hull the strawberries and halve them, or quarter them if they're large. Place them in a wide, heavy-bottomed pot and scatter the sugar over the top. Add the vanilla seeds and tuck the scraped pod in among the fruit. Don't stir. Cover the pot and leave it in the fridge overnight, or for at least four hours. The sugar draws the juice out of the berries slowly and gently, creating a pool of deep red syrup. This is the step that lets you cook the jam briefly, which is how you keep the flavor bright and close to the fruit instead of boiling it into something dull and caramelized.
Before you start cooking, wash your jars and lids in hot soapy water, rinse them, and place them upside down on a baking tray in an oven set to 120C for fifteen minutes. Leave them in the oven until you're ready to fill them. Hot jam into hot jars. That's the rule. Cold glass and boiling jam don't agree, and the seal needs heat to form properly.
Set the pot of macerated strawberries over medium heat and add the lemon juice. Stir gently until the mixture comes to a full, rolling boil. The lemon does two things: it balances the sweetness, and its acid helps the pectin in the fruit activate, which is what gives the jam its set. Once it's boiling, let it cook for ten to fifteen minutes. Stir occasionally to prevent sticking, but don't stir constantly or you'll break the fruit apart more than you want.
Put a small plate in the freezer before you begin cooking. When you think the jam is close, drop a teaspoonful onto the cold plate. Wait thirty seconds, then push the edge with your fingertip. If the surface wrinkles and the jam holds its shape instead of running back together, it's done. If it's still liquid, cook for two more minutes and test again. You'll know when it's right. The jam should be glossy and thick but still spoonable, not stiff.
Fish out the vanilla pod. Remove the hot jars from the oven. Ladle the jam in carefully, filling each jar to within half a centimetre of the rim. Wipe the rim clean with a damp cloth, because even a small smear of jam will prevent a proper seal. Screw the lids on firmly and turn the jars upside down. Leave them inverted for five minutes, then turn them right side up. As they cool you'll hear the lids pop inward, one by one. That pop is the vacuum seal forming. It means the jar is closed against the air, and the summer inside it will keep.
Let the jars cool completely on the counter. Don't move them or tip them while they're still warm. Once cool, check each lid by pressing the centre. If it doesn't flex, the seal is good. Label the jars with the date and store them in a cool, dark cupboard. When you open one on a cold morning in November and spread it on a piece of fresh bread, you'll taste June. That's the whole point. Tak for mad.
1 serving (about 265g)
Culinary guides, cultural storytelling, and the editorial depth that makes cooking meaningful.
Discover Culinary ExplorerChef Freja
Tart autumn apples, slow-boiled and strained clear overnight, then cooked with sugar to a trembling pale amber jelly that belongs on the cheese board, on morning toast, and in the kitchen of anyone who respects the season.

Chef Freja
Autumn apples simmered slowly with vanilla until they collapse into a rough, golden sauce. The condiment that waits on the shelf for flaeskesteg, for roast duck, for the meals that carry you through the Danish winter.

Chef Freja
The pan sauce that holds the Danish Christmas plate together. Duck drippings, good stock, cream, and a spoonful of red currant jelly for the tart brightness that makes juleaften taste like itself.

Chef Freja
September plums slow-cooked with onion, ginger, vinegar, and warm spice into a dark, glossy chutney that belongs beside aged cheese on a cold evening. The joy of waiting, sealed in a jar.