Chef Jeong-sun
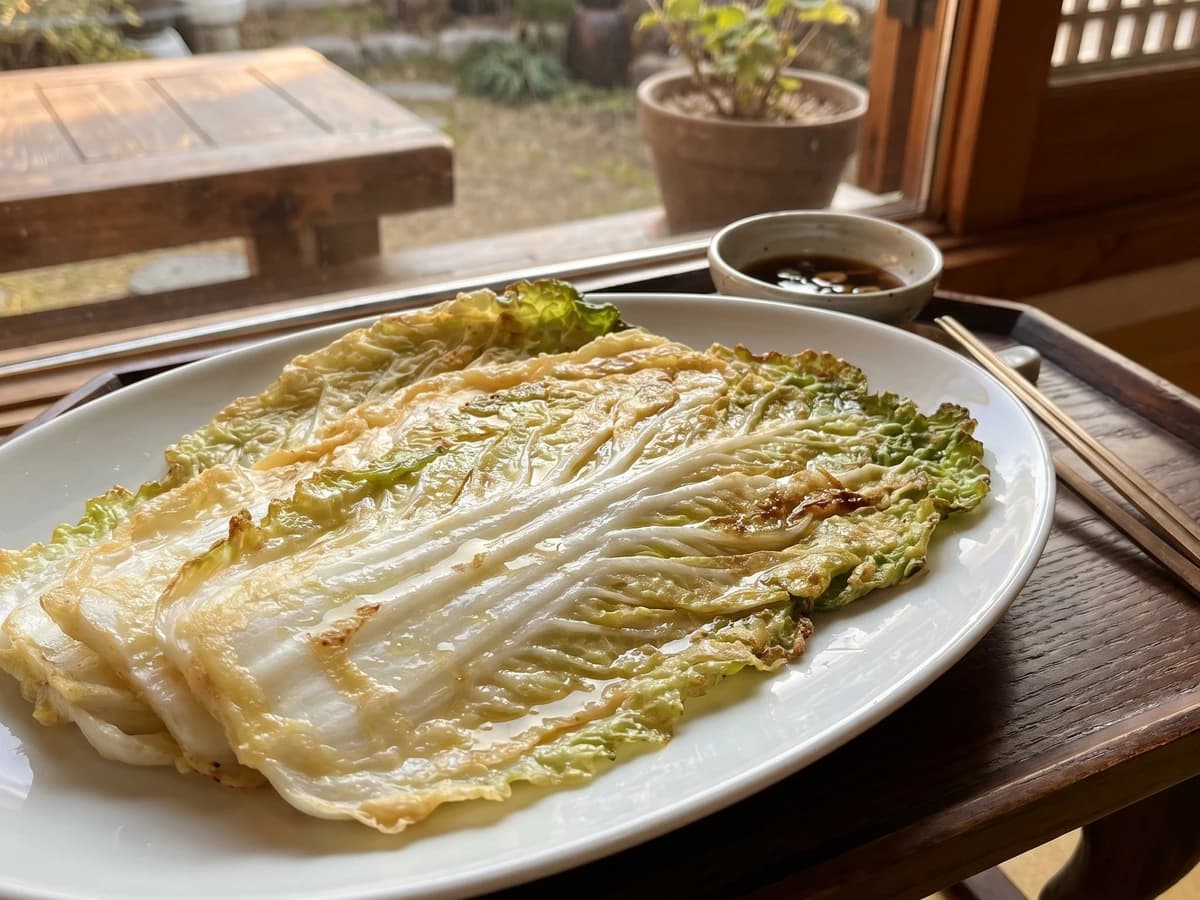
Baechu-jeon (배추전, Napa Cabbage Pancake)
A Gyeongsang home pancake made from one whole napa cabbage leaf at a time, flattened at the rib, brushed in thin salted batter, and fried until sweet, tender, and quietly crisp at the edges.
A cooking platform built around craft, culture, and the stories behind what we eat.
Created by
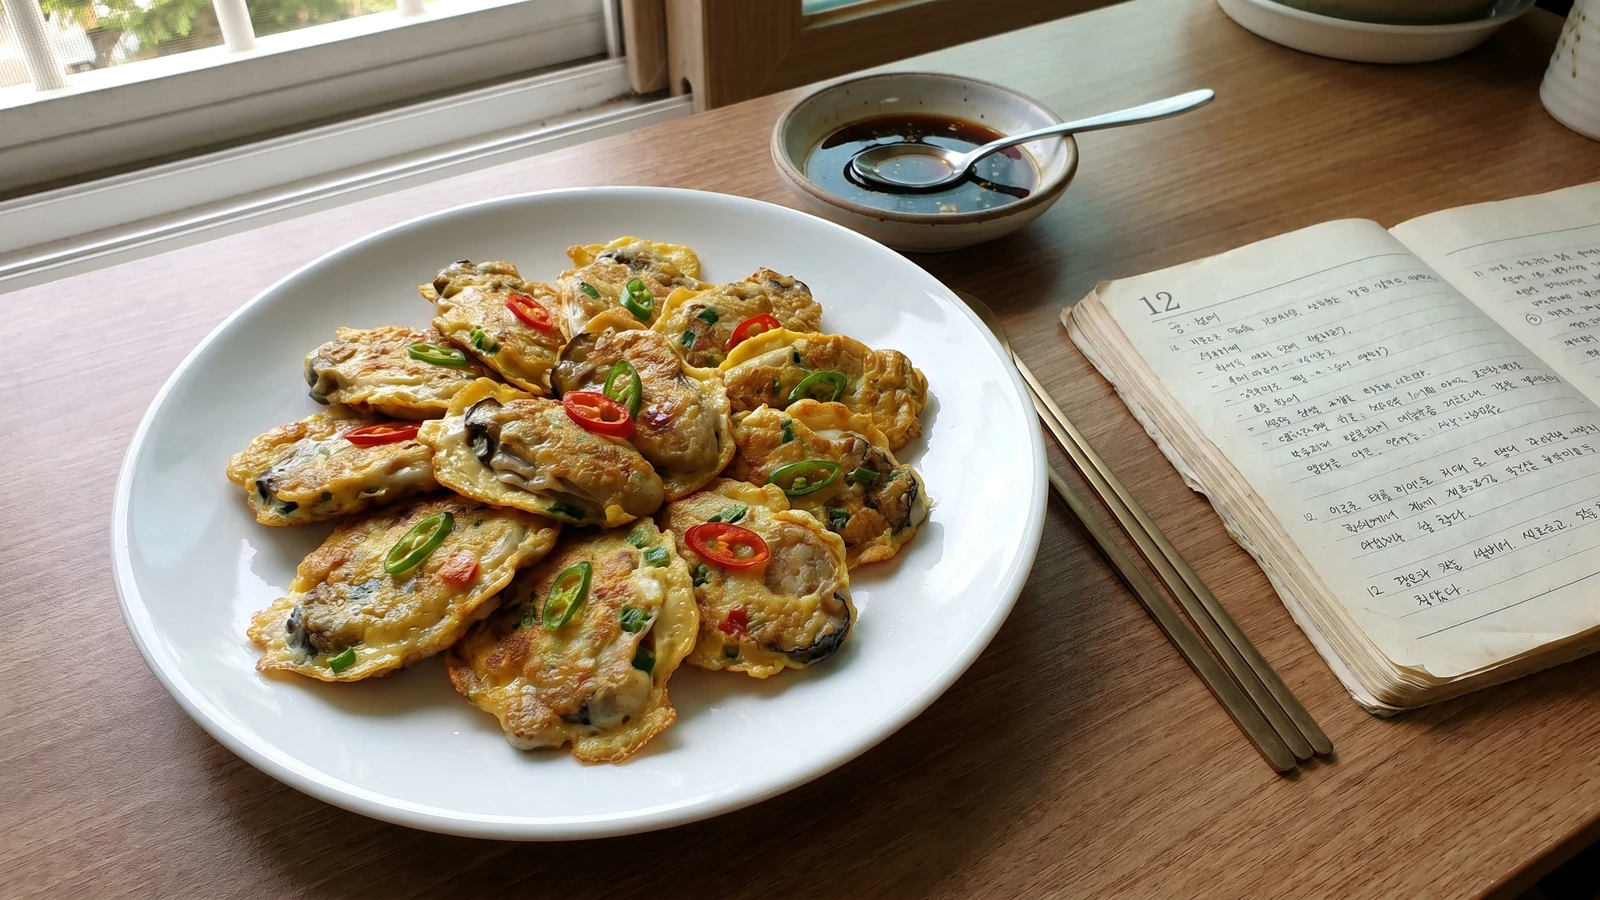
A cold-season Korean jeon made with plump oysters, a thin coat of flour and egg, and the restraint to pull each piece from the pan before it turns rubbery.
Gul-jeon belongs to the cold months. In the market, good winter oysters sit plump and heavy in their own liquor, not collapsed, not smelling sharp, and you buy only enough for the table that day. Cook the month you're standing in. If it is high summer and the oysters look tired, make hobak-jeon (zucchini jeon) instead and come back to this when the sea is cold again.
This dish lives or dies in three small acts: rinse gently, dry well, and fry briefly. People ruin oysters by handling them as if they were meat. They are not. A quick swish in salted water removes grit without washing away their brine, and a patient rest on towels keeps the flour from turning pasty. The egg should set around the oyster like a thin blanket, not a thick coat.
Master Seong-nyeo would tap the pan with her chopsticks when a student hesitated. One minute too long and the oyster shrinks, leaking its sweetness into the oil. Notebook 23 says: medium heat, 90 seconds on the first side, 45 to 60 seconds on the second, then out. That is not fussiness. That is how the same good gul-jeon appears at a holiday table and at a quiet winter lunch, still tasting like the sea.
Jeon, ingredients coated lightly in flour and egg and pan-fried, has long belonged to Korean feast tables, ancestral rite tables (jesa), holidays, and drinking tables, with regional versions following what each market had in season. Gul-jeon is tied especially to Korea's southern coastal oyster areas, including Tongyeong, Geoje, and the South Gyeongsang coast, where cold-water oysters are harvested through winter. It is an ordinary festive dish rather than a court invention: its value is in seasonality, freshness, and careful timing.
Quantity
300g, about 18 to 24 medium oysters
Quantity
3 cups
Quantity
1 tablespoon
for rinsing
Quantity
1/3 cup
Quantity
1/4 teaspoon
Quantity
1/8 teaspoon
Quantity
2
Quantity
1 teaspoon
Quantity
1
very finely chopped
Quantity
1 small
thinly sliced
Quantity
1 small
thinly sliced
Quantity
3 tablespoons, divided
Quantity
2 tablespoons
for dipping sauce
Quantity
1 tablespoon
for dipping sauce
Quantity
1 teaspoon
for dipping sauce
Quantity
1/2 teaspoon
for dipping sauce
Quantity
a few drops
for dipping sauce
| Ingredient | Quantity |
|---|---|
| fresh shucked oysters | 300g, about 18 to 24 medium oysters |
| cold water | 3 cups |
| coarse sea saltfor rinsing | 1 tablespoon |
| all-purpose flour or Korean buchim garu | 1/3 cup |
| fine sea salt | 1/4 teaspoon |
| ground white pepper or black pepper | 1/8 teaspoon |
| large eggs | 2 |
| rice wine or soju (optional) | 1 teaspoon |
| scallionvery finely chopped | 1 |
| red chili (optional)thinly sliced | 1 small |
| green chili (optional)thinly sliced | 1 small |
| neutral oil | 3 tablespoons, divided |
| soy saucefor dipping sauce | 2 tablespoons |
| rice vinegarfor dipping sauce | 1 tablespoon |
| waterfor dipping sauce | 1 teaspoon |
| toasted sesame seedsfor dipping sauce | 1/2 teaspoon |
| toasted sesame oilfor dipping sauce | a few drops |
Dissolve the coarse sea salt in the cold water. Add the oysters and swish them gently with your fingers for 20 to 30 seconds, just enough to loosen grit and shell bits. Lift them out by hand instead of pouring the dirty water over them. Do not rinse them under a hard tap, because that washes away the clean brine you came for.
Spread the oysters in one layer on a tray lined with paper towels or a clean kitchen cloth. Pat the tops gently and let them sit 8 to 10 minutes. This drying time matters: wet oysters make the flour clump, and clumped flour makes a heavy coat that hides the oyster.
Stir the flour with the fine sea salt and pepper in a shallow dish. In a second shallow dish, beat the eggs with the rice wine, if using, and the finely chopped scallion. The rice wine is not required, but a teaspoon softens any strong edge without making the egg taste sweet.
Dust each oyster in the seasoned flour, then shake off almost all of it. Dip it into the egg so it is coated but not buried. Work with 6 to 8 oysters at a time, because once flour touches moisture it starts turning pasty. Thin coating, quick cooking, plump center. That is the dish.
Heat 1 tablespoon of oil in a wide nonstick or well-seasoned skillet over medium heat. Lay in the oysters with space between them. Cook about 90 seconds on the first side, until the egg is set and pale golden at the edges. Turn gently and cook 45 to 60 seconds more. The oyster should feel just firm when pressed with chopsticks, not tight and curled.
Wipe out browned egg threads if they darken, then add another small spoonful of oil and continue with the remaining oysters. Keep the heat at medium. High heat browns the egg before the oyster warms through; low heat makes the coating greasy. Both are avoidable if you watch the pan.
Stir together the soy sauce, rice vinegar, water, sesame seeds, and a few drops of sesame oil. Taste it. The sauce should be sharp enough to cut the richness of the egg, but not so salty that it bullies the oyster. Serve the gul-jeon warm, with the dipping sauce on the side.
1 serving (about 120g)
Culinary guides, cultural storytelling, and the editorial depth that makes cooking meaningful.
Discover Culinary ExplorerChef Jeong-sun
A Gyeongsang home pancake made from one whole napa cabbage leaf at a time, flattened at the rib, brushed in thin salted batter, and fried until sweet, tender, and quietly crisp at the edges.

Chef Jeong-sun
A holiday jeon of fresh shiitake or oyster mushrooms, salted lightly, dusted thinly, and carried through egg in a quiet pan until the mushroom stays earthy and the coating stays tender.

Chef Jeong-sun
Soaked mung beans ground coarse, folded with pork, bracken, sprouts, and kimchi, then fried thick until the edges crisp and the center stays tender enough for a shared table.

Chef Jeong-sun
A summer garlic chive pancake fried thin, crisp at the edges and chewy in the center, with just enough batter to hold the green pile together and a sharp soy-vinegar dip.