Chef Juliana
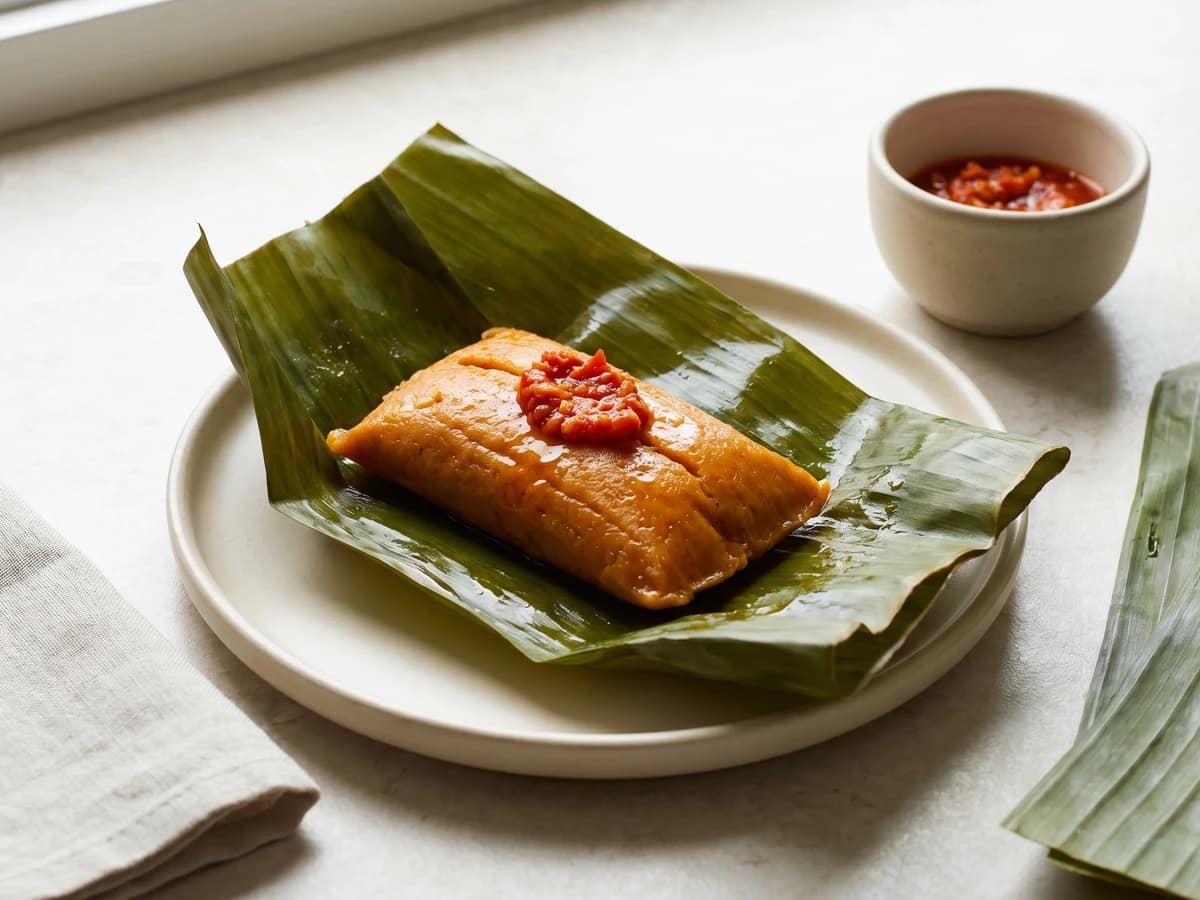
Abará
You think banana leaves and hand-whipped bean massa mean “isso não é pra mim.” Wrong. Soak, peel, beat, wrap, steam. Abará is learned by touch, not inherited by magic.
A cooking platform built around craft, culture, and the stories behind what we eat.
Created by
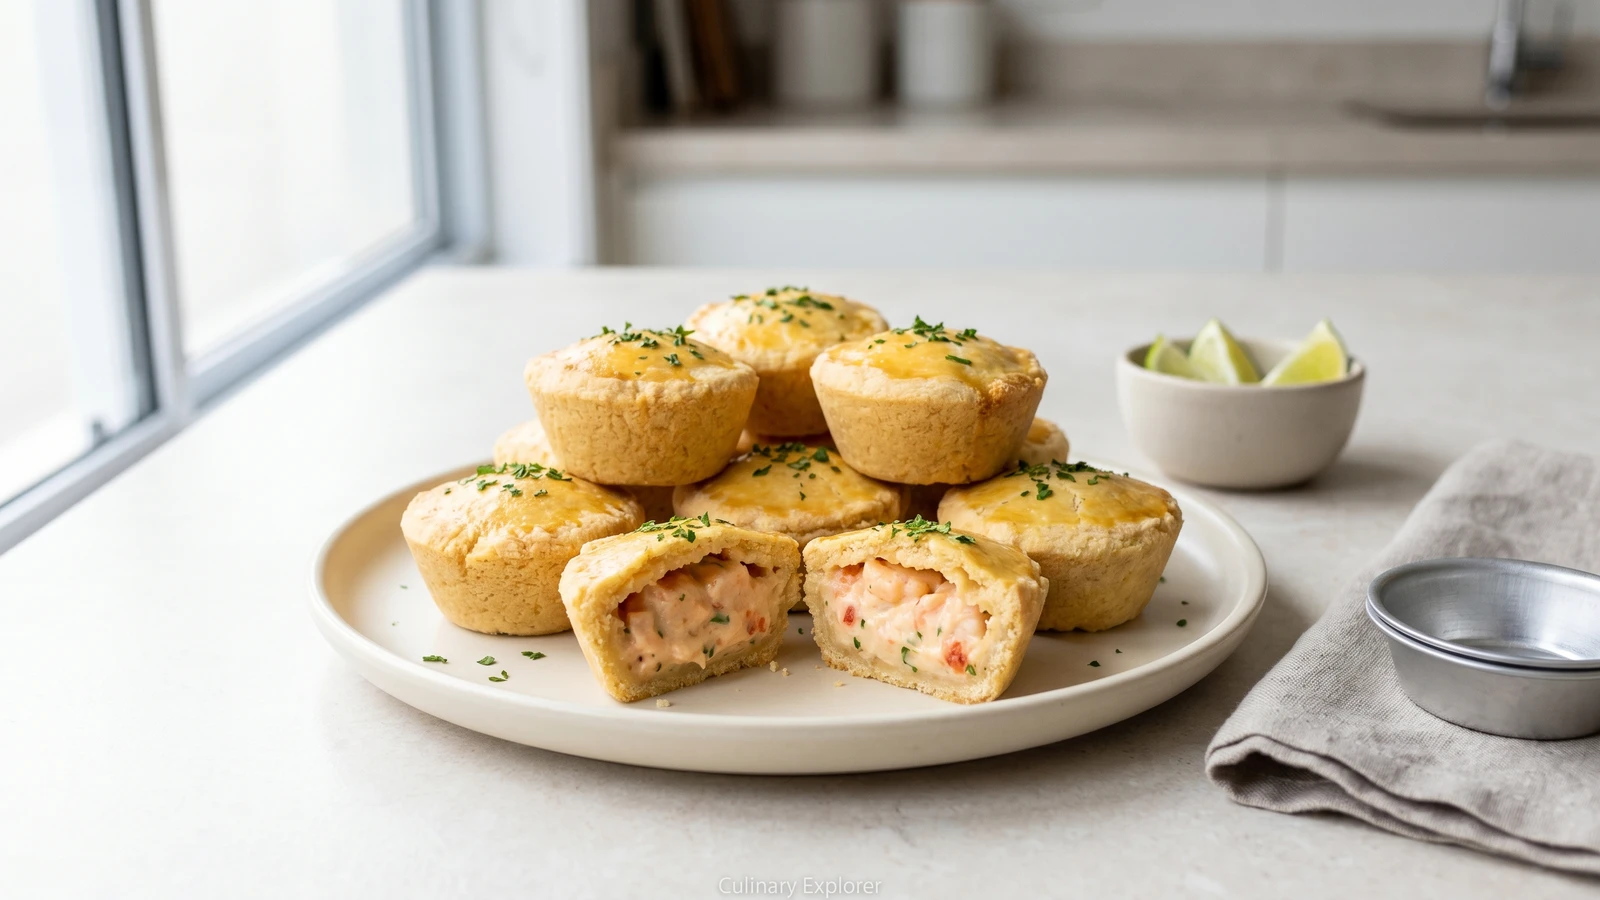
You don't need bakery hands for this. A forgiving pressed crust, a proper shrimp refogado, and a creamy filling turn into festa food you can actually make.
You look at the little tins and think, isso não é pra mim. Too small, too neat, too much like something bought by the hundred for a birthday table. Good. Now we can take that excuse apart. Empadinha isn't a gift, it's a sequence: press the dough, fill the hollow, cover the top, bake until gold. Cozinhar não é dom, é um aprendizado.
I learned late too, and pastry made me nervous for a long time. Then I understood the mercy of massa podre: it doesn't ask you to roll like a professional or laminate anything ridiculous. You press it in with your fingers. If it tears, you patch it. If the edge is crooked, welcome to food made by a person.
The filling is where a gente refuses the powdered imitation of dinner. Shrimp, onion, garlic, tomato, a little flour, a little milk, and the patience to let it thicken until it holds a spoon. That's all. The refogado gives the sweetness, the shrimp gives the sea, the creamy base keeps the little pie from eating dry.
This is festa food, yes, but it belongs to the same country as the pê-efe. Rice and beans keep the week standing. A tray of empadinhas solves the birthday, the visit, the freezer emergency, the afternoon when someone arrives hungry. Comida de verdade doesn't have to be grand. It has to work.
Empadas and empadinhas descend from Portuguese filled pies that traveled into Brazilian home and bakery cooking, where the small hand-held version became a standard salgado for birthdays, cafés, and neighborhood bakeries. Shrimp fillings are especially associated with coastal tables, where seafood entered everyday snacks as easily as it entered moquecas and refogados. The dough name massa podre sounds rude, but it refers to a short, crumbly pastry rich in fat, not to anything spoiled.
Quantity
3 cups
for the dough
Quantity
1 teaspoon
for the dough
Quantity
1 cup
cut into small cubes
Quantity
1 large
for the dough
Quantity
3 to 5 tablespoons
as needed
Quantity
1
mixed with 1 teaspoon water for brushing
Quantity
1 pound
peeled, deveined, chopped if large
Quantity
1 tablespoon
Quantity
1 teaspoon, divided
for the filling
Quantity
2 tablespoons
Quantity
1 small
finely chopped
Quantity
2 cloves
minced
Quantity
1 medium
seeded and finely chopped
Quantity
2 tablespoons
for thickening the filling
Quantity
3/4 cup
Quantity
2 tablespoons
chopped
Quantity
1 tablespoon
chopped
Quantity
1/4 teaspoon
| Ingredient | Quantity |
|---|---|
| all-purpose flourfor the dough | 3 cups |
| saltfor the dough | 1 teaspoon |
| cold unsalted buttercut into small cubes | 1 cup |
| eggfor the dough | 1 large |
| ice wateras needed | 3 to 5 tablespoons |
| egg yolkmixed with 1 teaspoon water for brushing | 1 |
| small shrimppeeled, deveined, chopped if large | 1 pound |
| lime juice | 1 tablespoon |
| saltfor the filling | 1 teaspoon, divided |
| olive oil | 2 tablespoons |
| onionfinely chopped | 1 small |
| garlicminced | 2 cloves |
| tomatoseeded and finely chopped | 1 medium |
| all-purpose flourfor thickening the filling | 2 tablespoons |
| whole milk | 3/4 cup |
| parsleychopped | 2 tablespoons |
| cilantro (optional)chopped | 1 tablespoon |
| black pepper | 1/4 teaspoon |
Put 3 cups flour and 1 teaspoon salt in a bowl. Add the cold butter and rub it into the flour with your fingertips until the mixture looks like coarse crumbs with a few pea-size bits. Those butter bits melt in the oven and make the crust tender, so don't turn it into paste.
Add the egg and 3 tablespoons ice water. Mix with a fork, then squeeze a handful. If it holds together, stop. If it crumbles dry, add more ice water 1 tablespoon at a time. Too much water makes a tough crust, and a gente wants tender, not stubborn.
Divide the dough into a larger piece for the bases and a smaller piece for the lids. Flatten each into a disk, wrap, and chill for 20 minutes. Resting firms the butter and relaxes the flour, which means the dough presses cleanly instead of shrinking back like it has somewhere better to be.
Pat the shrimp dry, then toss with the lime juice and 1/2 teaspoon salt. Let it sit while you start the refogado, no longer than 15 minutes. The lime wakes up the shrimp, but too much time makes the surface tighten before it ever reaches the pan.
Warm the olive oil in a wide pan over medium heat. Add the onion and cook until soft and see-through, about 5 minutes. Add the garlic for 1 minute, just until you smell it, then add the tomato and cook until it collapses and the pan looks juicy. This is where flavor starts, not in a packet.
Add the shrimp and black pepper. Cook, stirring, just until the shrimp turns pink and curls, 2 to 3 minutes. Stop there. Shrimp keeps cooking in the hot filling and again in the oven, and if you bully it now, it turns rubbery.
Sprinkle 2 tablespoons flour over the shrimp mixture and stir for 1 minute, until no dry flour shows. Pour in the milk little by little, stirring the whole time, and cook until the filling is creamy and thick enough to leave a clear path when you drag the spoon across the pan. Thin filling leaks. Thick filling stays where you put it.
Turn off the heat and stir in the parsley and cilantro, if using. Taste and add the remaining salt only if it needs it. Spread the filling on a plate and cool until barely warm. Hot filling melts the butter in the raw dough before baking, and then you lose the crumbly little crust you worked for.
Heat the oven to 375°F (190°C). Pinch off walnut-size pieces of the larger dough disk and press them into 18 small empadinha tins, covering the bottom and sides in an even thin layer. Leave a small edge above the rim. Press, turn, patch. That's the whole skill.
Spoon the cooled shrimp filling into each shell, filling almost to the top but not mounding it. A generous spoonful is good. A mountain is trouble. The lid needs space to seal, or the filling escapes and glues itself to the tin.
Roll or pat small pieces of the remaining dough into thin rounds, lay one over each tin, and press the edges to seal. Pinch off any extra dough. Brush the tops with the egg yolk mixture so they bake shiny and golden, the birthday-table color everyone recognizes.
Bake for 25 to 30 minutes, until the tops are deep golden and the edges look set and dry. Let them sit in the tins for 10 minutes before unmolding. Straight from the oven they're fragile, like all of us when rushed. Give them a minute and they'll come out clean.
1 serving (about 75g)
Culinary guides, cultural storytelling, and the editorial depth that makes cooking meaningful.
Discover Culinary ExplorerChef Juliana
You think banana leaves and hand-whipped bean massa mean “isso não é pra mim.” Wrong. Soak, peel, beat, wrap, steam. Abará is learned by touch, not inherited by magic.
Chef Juliana
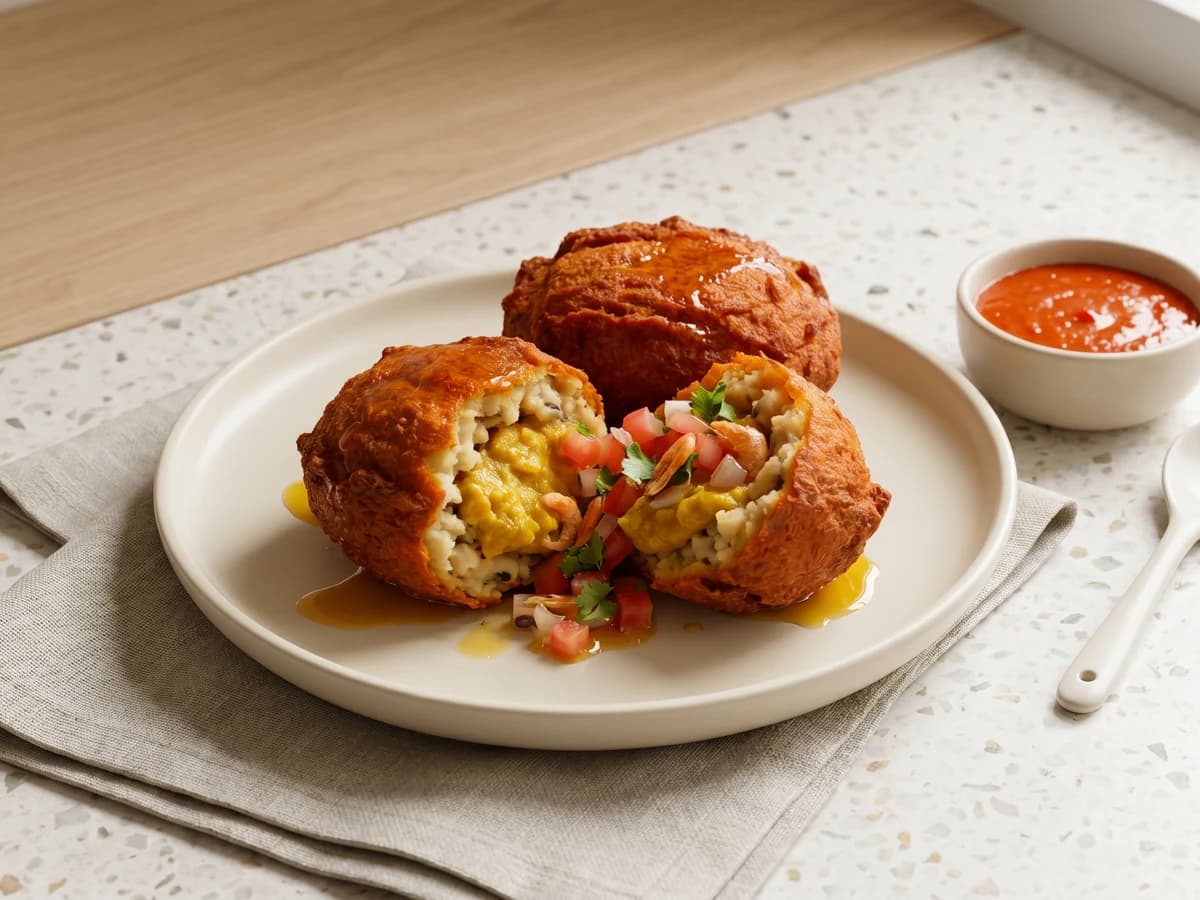
You think food of Iansã from the baianas' tabuleiro is not for your stove. Anota aí: soaked feijão-fradinho, real dendê, and hand-whipping make a home version learnable.

Chef Juliana
You think fried salgados belong to the birthday table you buy, not the one you make. Wrong. Learn the dough, seal the cheese, and the freezer starts working for you.

Chef Juliana
You think stuffed fried bolinhos are for the boteco cook, not your kitchen. Wrong. Mash the aipim warm, keep the filling dry, fry in small batches, and the tray disappears.