Chef Juliana
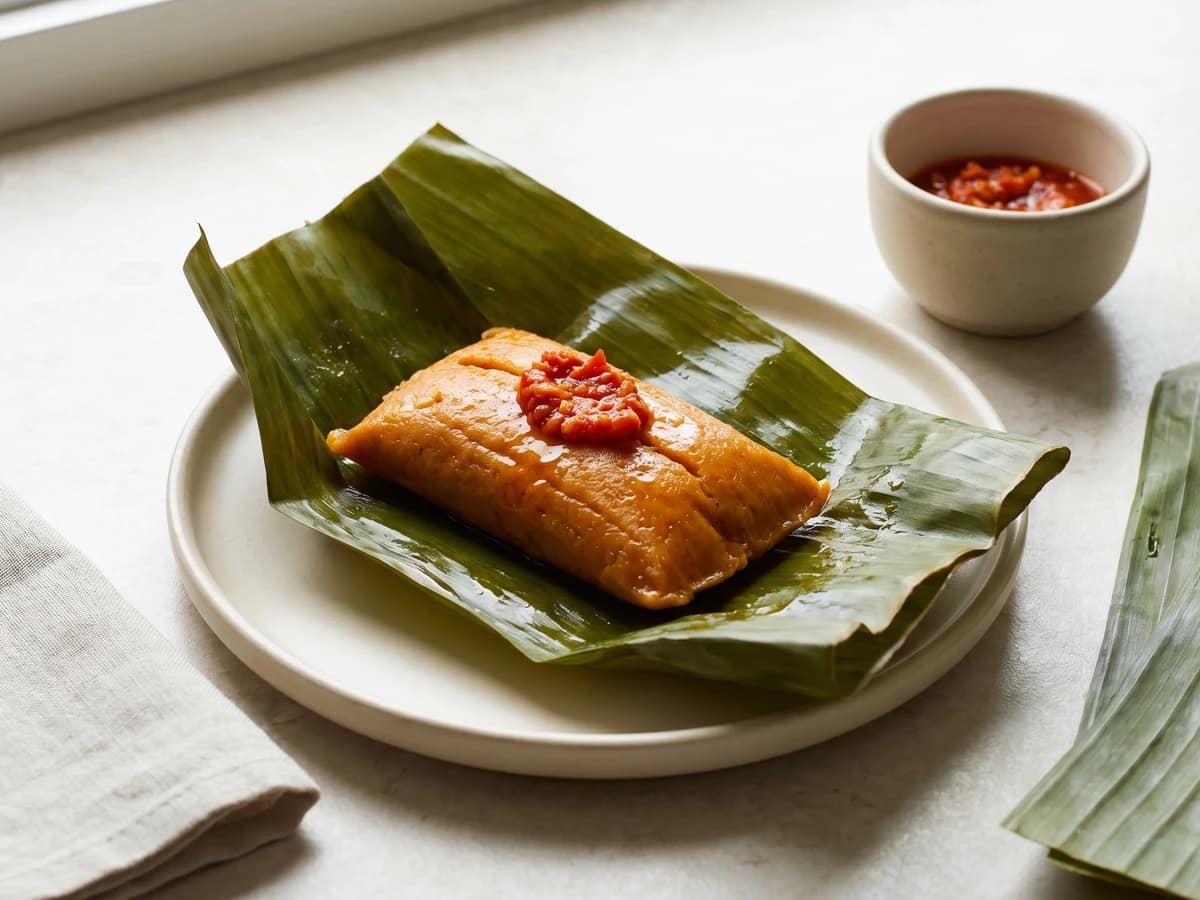
Abará
You think banana leaves and hand-whipped bean massa mean “isso não é pra mim.” Wrong. Soak, peel, beat, wrap, steam. Abará is learned by touch, not inherited by magic.
A cooking platform built around craft, culture, and the stories behind what we eat.

Created by
You thought leftover rice was finished. Wrong. Mix it with egg, cheese, parsley, and a little patience, and yesterday's arroz soltinho becomes today's crisp petisco.
You open the fridge, see the cold rice, and hear that little voice: isso não é pra mim. Frying scares people. Leftovers look tired. And then someone on the internet acts like every snack needs a special flour, a secret powder, and a name nobody's grandmother used. Não. A gente can do better.
Bolinho de arroz is what happens when the everyday Brazilian plate refuses to waste itself. Rice from yesterday's pê-efe, maybe the pot that sat beside feijão, meat or an egg, and something green, gets a second life. That's not sadness. That's household math. Comida de verdade is also knowing how to save what you cooked.
The method is plain: use cold cooked rice because it holds its shape, bind it with egg because the fritter needs structure, add cheese and parsley because flavor should come from real food, not a packet pretending to help. The batter should be spoonable and a little sticky. Too loose and it drinks oil. Too dry and it crumbles in the pan, making you say things your neighbors shouldn't hear.
Anota aí: frying is not bravery, it's temperature. Hot enough oil makes the outside set quickly and turn gold; cold oil makes greasy little pillows of regret. Once you learn that, bolinho de arroz stops being a trick and becomes what it always was: a recipe that works for a Tuesday.
Bolinho de arroz belongs to Brazil's home-kitchen tradition of aproveitamento, the practical habit of turning yesterday's cooked food into today's snack before waste has a chance to show off. Versions appear across the country with regional changes in cheese, herbs, and seasoning, but the base is usually the same: cooked rice, egg, something to bind, and hot oil. Its place is less restaurant history than household history, the kind passed through notebooks, lunch counters, and family kitchens.
Quantity
3 cups
cold or room temperature, grains loosened with a fork
Quantity
2 large
Quantity
1/2 cup
grated
Quantity
1/3 cup, plus 1 to 2 tablespoons if needed
Quantity
1/4 cup
Quantity
1/4 cup
finely chopped
Quantity
2 tablespoons
finely chopped
Quantity
1 small clove
finely grated or minced
Quantity
1 teaspoon
Quantity
1/2 teaspoon, plus more to taste
Quantity
1/4 teaspoon
Quantity
2 to 3 cups
for frying
| Ingredient | Quantity |
|---|---|
| cooked white ricecold or room temperature, grains loosened with a fork | 3 cups |
| eggs | 2 large |
| parmesan or cured Minas cheesegrated | 1/2 cup |
| all-purpose flour | 1/3 cup, plus 1 to 2 tablespoons if needed |
| whole milk | 1/4 cup |
| parsleyfinely chopped | 1/4 cup |
| onionfinely chopped | 2 tablespoons |
| garlicfinely grated or minced | 1 small clove |
| baking powder | 1 teaspoon |
| salt | 1/2 teaspoon, plus more to taste |
| black pepper | 1/4 teaspoon |
| neutral oilfor frying | 2 to 3 cups |
Put the cooked rice in a large bowl and break up any cold clumps with a fork or your fingers. You want separate grains with a little stickiness, not a packed brick. Cold rice works best because it has dried out a bit, so the batter holds together instead of turning mushy.
Add the eggs, cheese, flour, milk, parsley, onion, garlic, baking powder, salt, and pepper. Stir until the mixture looks sticky and spoonable, with rice grains still visible. Let it sit for 5 minutes so the flour hydrates and the batter firms up; rush this and you'll think it needs more flour when it only needed a minute to settle.
Pour 2 inches of oil into a heavy pot and warm it over medium heat to 180°C (350°F). If you don't have a thermometer, drop in a tiny bit of batter: it should bubble right away and rise steadily, not sink sadly or brown in three seconds. Hot enough oil seals the outside fast; cold oil soaks in and makes greasy bolinhos.
Scoop heaping tablespoons of batter into the oil, using a second spoon to slide each one in gently. Fry 5 or 6 at a time, turning once, until deep golden and crisp all over, about 3 to 4 minutes. Don't crowd the pot. Too many at once drop the oil temperature, and then you're steaming batter in oil instead of frying it.
Lift the bolinhos out with a slotted spoon and set them on a rack or paper towels. Sprinkle with a little salt while the surface is still glossy, because salt sticks better before the crust dries. Break one open: the outside should be crisp and gold, the inside soft, cheesy, and full of rice grains.
Serve right away, while the crust still talks back under your teeth. If you need to hold them, keep them on a rack in a low oven, not piled in a bowl. Piling traps moisture, and moisture is how crisp food gives up.
1 serving (about 40g)
Culinary guides, cultural storytelling, and the editorial depth that makes cooking meaningful.
Discover Culinary ExplorerChef Juliana
You think banana leaves and hand-whipped bean massa mean “isso não é pra mim.” Wrong. Soak, peel, beat, wrap, steam. Abará is learned by touch, not inherited by magic.

Chef Juliana
You think food of Iansã from the baianas' tabuleiro is not for your stove. Anota aí: soaked feijão-fradinho, real dendê, and hand-whipping make a home version learnable.

Chef Juliana
You think fried salgados belong to the birthday table you buy, not the one you make. Wrong. Learn the dough, seal the cheese, and the freezer starts working for you.

Chef Juliana
You think stuffed fried bolinhos are for the boteco cook, not your kitchen. Wrong. Mash the aipim warm, keep the filling dry, fry in small batches, and the tray disappears.