
Chef Dean
Classic French Baguette
Four humble ingredients transformed through time and technique into shattering-crusted, airy-crumbed bread that rivals any Parisian bakery. This is bread worth the effort.
A cooking platform built around craft, culture, and the stories behind what we eat.

Created by
The crown jewel of enriched breads, brioche walks the line between bread and pastry with shameless amounts of butter and eggs folded into a tender, golden crumb that tears like clouds.
Brioche occupies sacred ground in the French baking tradition. It is neither bread nor pastry, but something more interesting than either. The dough contains so much butter that by rights it should not hold together at all, yet it does, producing a crumb so tender and rich that eating a slice feels like an indulgence.
I first encountered proper brioche in a small boulangerie near the Marais in Paris, decades ago. The baker, a man with flour permanently embedded in the creases of his hands, told me his grandmother's secret: cold butter, patience, and never rushing the rise. He worked the dough with a violence that seemed wrong until I understood. Brioche dough needs that aggression. You're forcing fat into gluten, convincing two reluctant partners to cooperate.
The technique here honors tradition while remaining honest about what home bakers face. You don't need a commercial mixer. You don't need years of pastry school. What you need is good butter, fresh eggs, and the willingness to trust the process when the dough looks like a disaster. It will come together. It always does.
Make this once and you'll understand why French bakers consider brioche the foundation of their craft. From brioche dough springs pain au chocolat, tarte tropézienne, and countless other treasures. But the loaf itself, sliced thick and toasted until golden, needs nothing more than a pat of salted butter to remind you why you learned to bake.
Quantity
500g (4 cups)
Quantity
10g (2 teaspoons)
Quantity
60g (5 tablespoons)
Quantity
10g (1 tablespoon)
Quantity
6
Quantity
225g (1 cup)
Quantity
60ml (1/4 cup)
Quantity
1
beaten with 1 tablespoon milk for egg wash
| Ingredient | Quantity |
|---|---|
| all-purpose flour | 500g (4 cups) |
| fine sea salt | 10g (2 teaspoons) |
| granulated sugar | 60g (5 tablespoons) |
| instant yeast | 10g (1 tablespoon) |
| large eggs, room temperature | 6 |
| unsalted butter, softened but still cool | 225g (1 cup) |
| whole milk, lukewarm | 60ml (1/4 cup) |
| egg yolkbeaten with 1 tablespoon milk for egg wash | 1 |
In a large mixing bowl or the bowl of a stand mixer, whisk together the flour, salt, sugar, and instant yeast. Make a well in the center. The salt and yeast should not touch directly until the eggs are added, as salt can inhibit yeast activity.
Crack the eggs into the well and add the lukewarm milk. Using a wooden spoon or the dough hook on low speed, begin mixing until a shaggy, sticky mass forms. This will look unpromising. The dough will cling to everything and appear nothing like bread dough. This is correct. Continue mixing for 3 to 4 minutes until the ingredients are fully incorporated.
Increase mixer speed to medium (or begin kneading by hand on an unfloured surface) and work the dough vigorously for 10 to 12 minutes. The dough will slap against the bowl, stretch, and gradually become smoother and more elastic. You're building the gluten network that will trap the butter. By the end, the dough should pull cleanly from the sides of the bowl and pass the windowpane test: stretch a small piece thin enough to see light through without tearing.
With the mixer on medium-low, add the softened butter one tablespoon at a time, waiting until each piece is absorbed before adding the next. The dough will look greasy and broken after the first additions. This is the critical moment. Do not panic. Keep mixing. After 8 to 10 minutes, the butter will fully incorporate and the dough will become glossy, smooth, and pull away from the bowl in long, elastic strands. It should feel like a thick, pliable taffy.
Transfer the dough to a lightly oiled bowl, cover tightly with plastic wrap, and let rise at room temperature until doubled in volume, about 2 hours. The dough will be soft and pillowy when ready. Press a floured finger into the surface: if the indentation springs back slowly, the dough has proofed properly.
Gently deflate the dough by folding it over itself several times in the bowl. Cover again with plastic wrap pressed directly against the surface and refrigerate for at least 8 hours or overnight. This cold fermentation develops flavor and firms the butter, making the dough infinitely easier to shape. Do not skip this step.
Remove the cold dough from the refrigerator. For a traditional loaf, divide the dough into 8 equal pieces (about 110g each). Roll each piece into a smooth ball by cupping your hand over it and moving in tight circles against an unfloured surface. The friction helps create surface tension. Arrange the balls in two rows of four in a buttered 9x5-inch loaf pan, nestling them snugly together. For individual brioches à tête, reserve about one-quarter of each ball, roll both pieces smooth, and press the smaller ball firmly into the top of the larger one.
Cover the shaped brioche loosely with plastic wrap and let rise in a warm spot until the dough has nearly doubled and feels airy when gently prodded. This takes 1.5 to 2 hours for refrigerated dough. The balls in the loaf pan should have expanded to fill the gaps between them and risen above the rim. Don't rush this. Underproofed brioche bakes dense.
Position a rack in the lower third of your oven and preheat to 375°F (190°C). Let the oven heat for at least 20 minutes to ensure even temperature. Gently brush the risen brioche with egg wash, taking care not to deflate the delicate dough or let the wash pool in the seams between the balls. A thin, even coat produces the best shine.
Bake until the brioche is deeply golden brown and sounds hollow when tapped on the bottom, 30 to 35 minutes for a loaf, 18 to 22 minutes for individual brioches. The internal temperature should reach 190°F (88°C). If the top browns too quickly, tent loosely with foil for the final 10 minutes. The crust should be richly caramelized, almost mahogany in places.
Turn the brioche out onto a wire rack immediately after removing from the oven. Let it cool completely before slicing, at least 1 hour. This is harder than any other step. The interior continues cooking as it cools, and cutting too soon releases steam that should remain in the crumb. The wait rewards you with a texture that tears in soft, feathery layers.
1 serving (about 92g)
Culinary guides, cultural storytelling, and the editorial depth that makes cooking meaningful.
Discover Culinary ExplorerChef Dean
Four humble ingredients transformed through time and technique into shattering-crusted, airy-crumbed bread that rivals any Parisian bakery. This is bread worth the effort.

Chef Ally
A golden loaf of butter-rich French bread with a mahogany crust and a crumb so tender it tears like cotton. This is bread meant for holiday mornings, French toast that matters, and the simple pleasure of something made with your own hands.

Chef Ally
Four ingredients, two hands, and one day of unhurried attention. This is the loaf that connects you to ten thousand years of bread-making, and it starts with flour you can trust.
Chef Dean
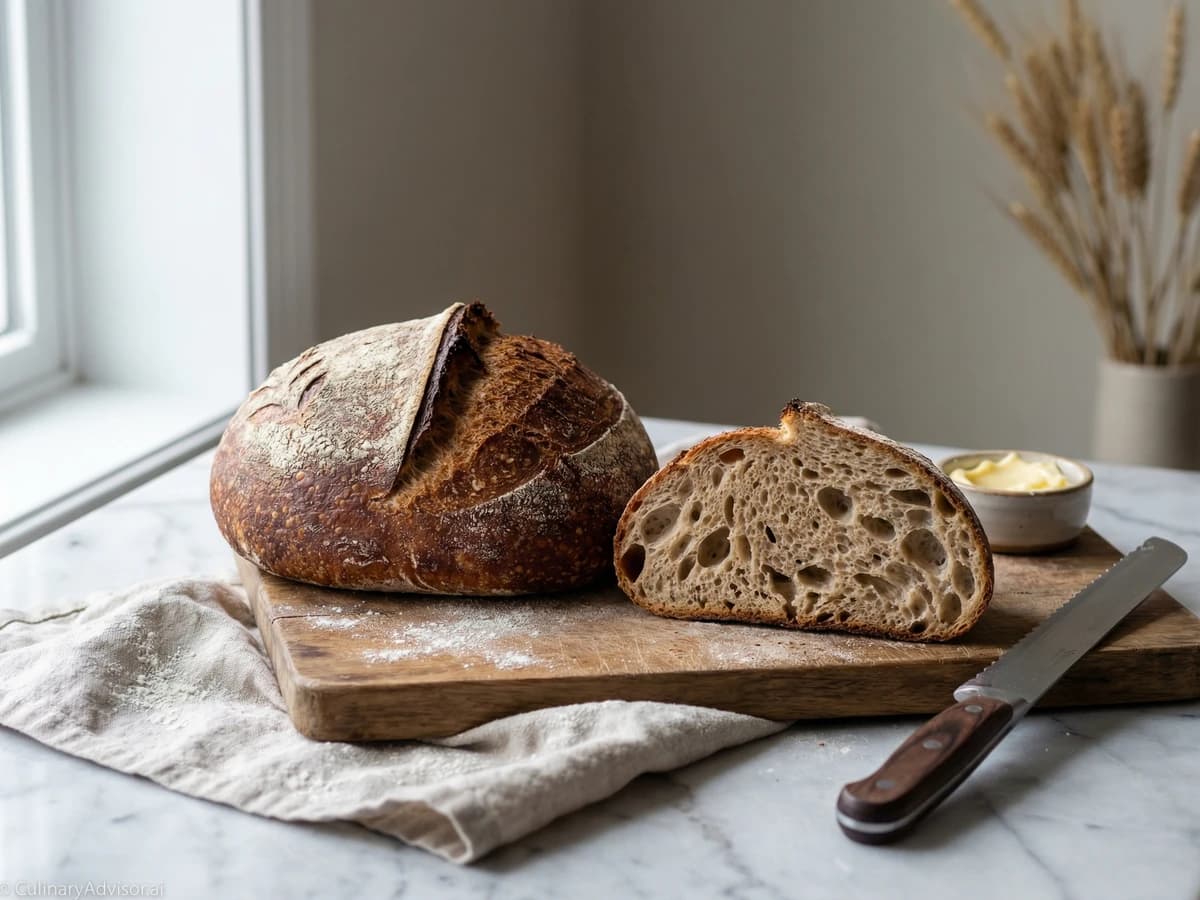
A crackling, burnished crust gives way to an open, tangy crumb with wild, irregular holes. This is the loaf that launched a thousand bread obsessions, and the one every serious home baker must master.