Chef Dean
Fluffy Buttermilk Biscuits
Towering golden biscuits with layers that shatter and pull apart in buttery sheets. The kind your grandmother made if she knew her way around a flour bin and a cold stick of butter.
A cooking platform built around craft, culture, and the stories behind what we eat.
Created by
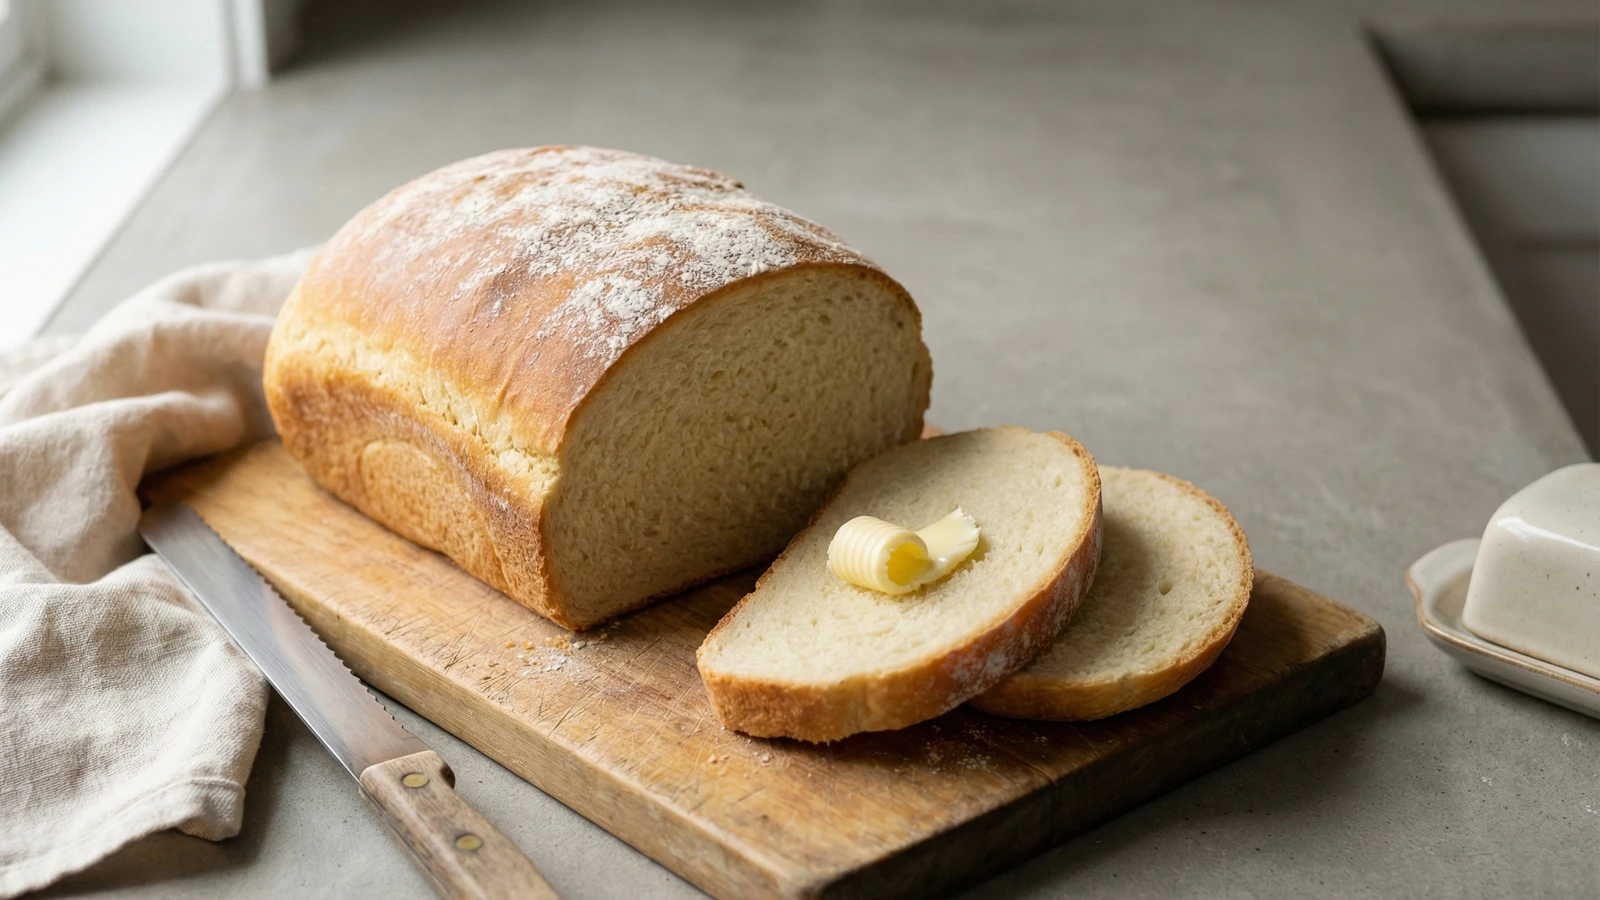
A soft, tangy sandwich loaf with a golden crust and remarkable staying power, this buttermilk bread turns out tender every time and keeps beautifully for days on your counter.
Buttermilk does something to bread that plain milk never quite achieves. The acidity relaxes the gluten, creating a softer crumb. The tang adds character without overwhelming. And the fat content helps this loaf stay fresh on your counter for nearly a week while lesser breads turn stale and sad.
This is the bread my grandmother kept under a cotton towel in her Portland kitchen. She baked two loaves every Saturday morning, one for the week's sandwiches and one to give away. The recipe traveled from her mother's kitchen somewhere in the Appalachian foothills, though the exact origins have been lost to time. What survived is the method: straightforward, forgiving, and reliable.
You don't need a stand mixer or any special equipment. A wooden spoon, a bowl, and your two hands will produce a loaf worthy of thick-sliced toast slathered with butter or the foundation of an honest ham sandwich. The technique builds confidence. Once you've made this bread three times, you'll understand dough. You'll know when it's ready by feel rather than by the clock. That knowledge transfers to every bread you'll ever make.
Quantity
400g (3 cups plus 2 tablespoons)
plus more for dusting
Quantity
8g (1½ teaspoons)
Quantity
7g (2¼ teaspoons)
Quantity
30g (2 tablespoons)
Quantity
30g (2 tablespoons)
softened
Quantity
300ml (1¼ cups)
at room temperature
Quantity
1
at room temperature
Quantity
for brushing
| Ingredient | Quantity |
|---|---|
| all-purpose flourplus more for dusting | 400g (3 cups plus 2 tablespoons) |
| fine sea salt | 8g (1½ teaspoons) |
| instant yeast | 7g (2¼ teaspoons) |
| granulated sugar | 30g (2 tablespoons) |
| unsalted buttersoftened | 30g (2 tablespoons) |
| buttermilkat room temperature | 300ml (1¼ cups) |
| large eggat room temperature | 1 |
| melted butter (optional) | for brushing |
Whisk together the flour, salt, yeast, and sugar in a large mixing bowl. Keep the salt and yeast on opposite sides of the bowl when you add them. Salt can inhibit yeast if they sit in direct contact before the liquid brings everything together. This is a small precaution, but good habits start early.
Make a well in the center of the flour. Add the softened butter, room-temperature buttermilk, and egg. Stir with a wooden spoon or Danish dough whisk until a shaggy mass forms. The dough will look rough and uneven. This is correct. Don't expect smoothness yet.
Turn the dough onto a lightly floured surface. Knead for 8 to 10 minutes using the heel of your hand to push the dough away from you, then fold it back over itself and rotate a quarter turn. Repeat this motion rhythmically. The dough will transform from sticky and rough to smooth and slightly tacky. When ready, it should spring back slowly when you press a finger into it and feel almost silky under your palm.
Shape the dough into a ball by pulling the edges underneath and pinching them together. Place seam-side down in a lightly oiled bowl. Cover with a clean kitchen towel or plastic wrap. Let rise in a warm spot until doubled in size, about 1 to 1½ hours. The dough is ready when you press two fingers into it and the indentation fills back slowly, not instantly. A fast bounce means it needs more time. No bounce at all means you've gone too far.
Punch down the risen dough with your fist to release the large gas bubbles. Turn it onto a lightly floured surface. Press into a rough rectangle about 8 inches wide and 10 inches long. Starting from a short end, roll the dough tightly toward you like a jelly roll, pressing out air pockets as you go. Pinch the seam firmly to seal. Tuck the ends under and place seam-side down in a greased 9x5-inch loaf pan. The dough should fill about half to two-thirds of the pan.
Cover the pan loosely with a towel or oiled plastic wrap. Let rise until the dough crowns about 1 inch above the rim of the pan, approximately 45 minutes to 1 hour. The surface should look puffy and soft. Press gently with a fingertip. A slight indentation that slowly fills back tells you the loaf is ready for the oven.
Bake in a preheated 375°F (190°C) oven for 30 to 35 minutes. The crust should turn deep golden brown. The loaf will sound hollow when you tap the bottom. For certainty, an instant-read thermometer inserted into the center should read 190-195°F. If the top browns too quickly before the interior is done, tent loosely with aluminum foil for the remaining baking time.
Remove the loaf from the pan immediately and place on a wire rack. If you want a softer crust, brush the top with melted butter while still hot. Resist the urge to slice into it for at least 30 minutes, though an hour is better. Bread continues cooking as it cools, and the crumb needs time to set. Cutting too soon releases steam and leaves you with a gummy interior. Patience here pays off.
1 serving (about 50g)
Culinary guides, cultural storytelling, and the editorial depth that makes cooking meaningful.
Discover Culinary ExplorerChef Dean
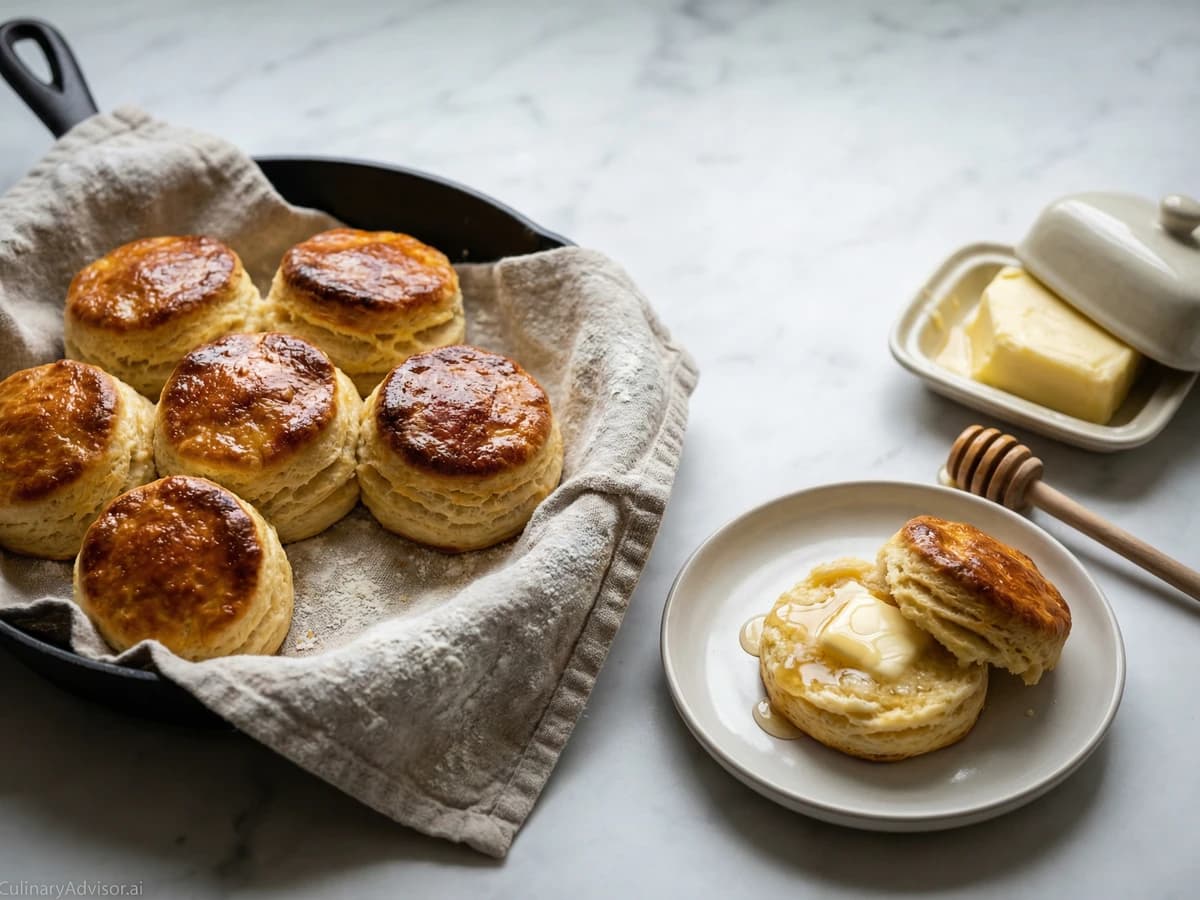
Towering golden biscuits with layers that shatter and pull apart in buttery sheets. The kind your grandmother made if she knew her way around a flour bin and a cold stick of butter.

Chef Dean
Golden-crusted cornbread baked in a screaming-hot cast iron skillet, ribboned with melting honey butter that pools into pockets of sweetness. The crust shatters. The crumb stays tender. This is the cornbread that makes people ask for seconds before finishing their first piece.
Chef Remy
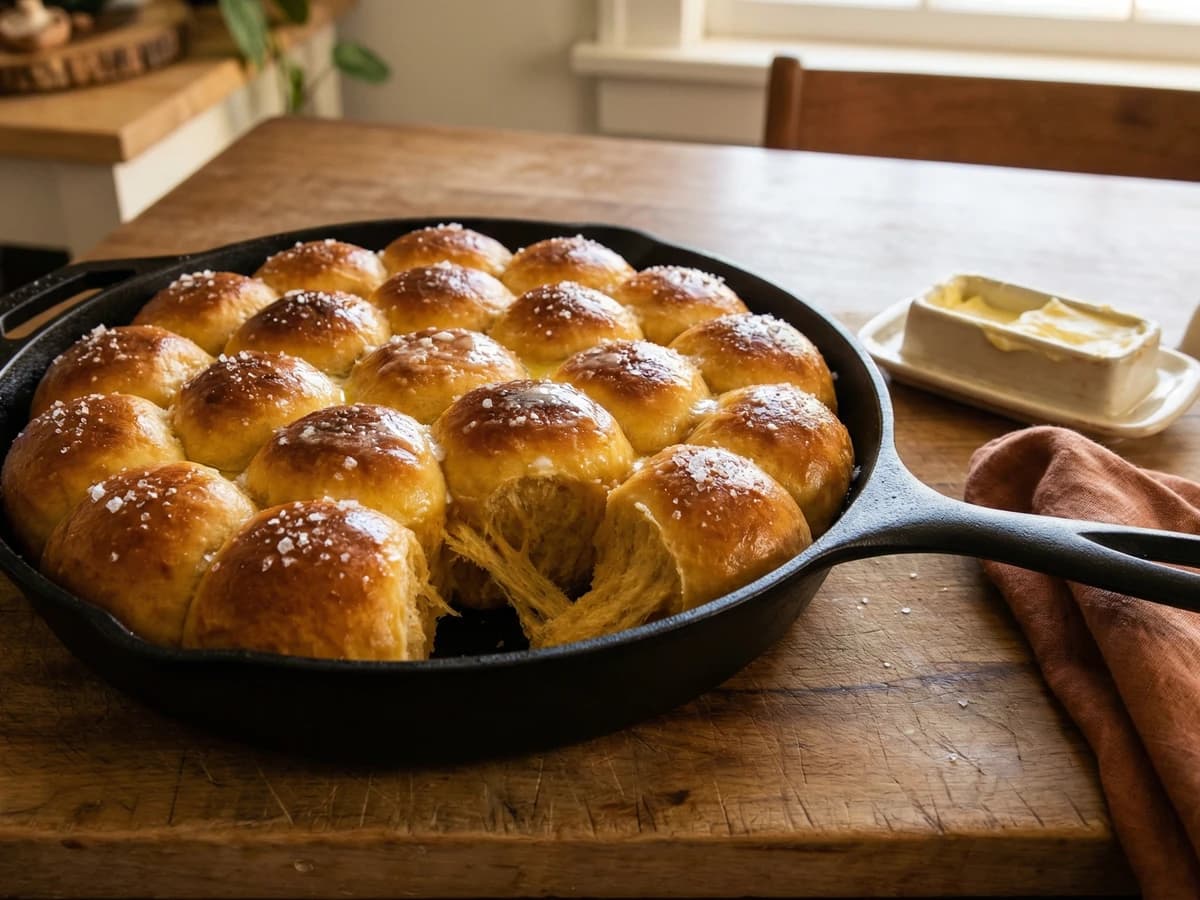
Pillowy, golden dinner rolls enriched with roasted Louisiana sweet potatoes and brushed with butter, the kind that disappear before the turkey gets carved and have guests asking for your grandmother's recipe.

Chef Dean
A crackling-crusted cast iron cornbread rich with butter and tradition, baked to golden perfection as Southern families have done for generations to welcome prosperity in the new year.