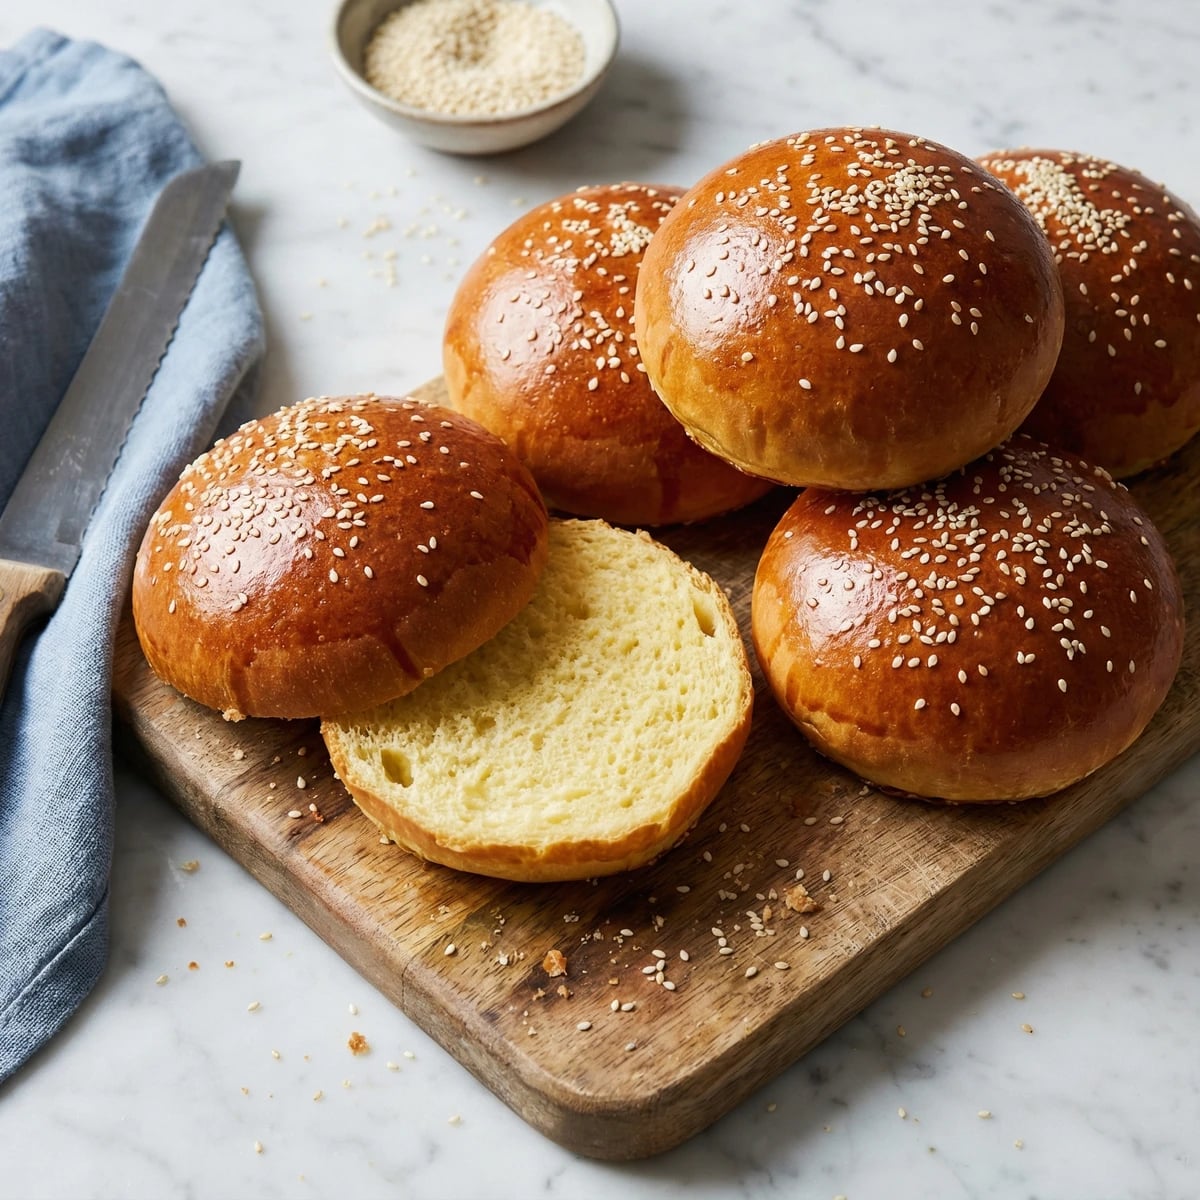
Golden, buttery buns with a tender crumb that cradles your burger without surrendering to the juices. This is the bun that makes a backyard cookout feel like an occasion worth remembering.
Breads
American
BBQ
45 min
Active Time
18 min cook•4 hr total
Yield8 buns
The hamburger deserves better than what passes for a bun in most supermarkets. Those cottony, pre-sliced rounds collapse at the first sign of moisture, leaving you holding a soggy mess while the best part of your burger slides onto your plate. A proper brioche bun changes everything.
This is French technique put to thoroughly American purpose. The brioche dough, rich with butter and eggs, produces a bun with structure and give in equal measure. It toasts beautifully on the grill, develops a slight chew at the crust, and maintains its integrity through the last bite. The slight sweetness plays against the savory char of beef the way a good supporting actor makes the lead shine brighter.
I've watched generations of home bakers convince themselves that bread is too difficult. It isn't. Brioche requires patience, not skill. You mix, you wait, you shape, you wait again. The dough does most of the work while you attend to the rest of your cookout preparations. Make these once and you'll never go back to store-bought. Your burgers will thank you.
The technique, the tradition, and the story behind every dish.
sesame seeds or everything bagel seasoning (optional)
Quantity
for topping
Ingredient
Quantity
all-purpose flour
3 1/2 cups (440g)
granulated sugar
1/4 cup (50g)
instant yeast
2 1/4 teaspoons (7g)
fine sea salt
1 1/2 teaspoons
large eggs, room temperature
4
whole milk, warm
1/4 cup
unsalted butter, softenedcut into pieces
12 tablespoons (170g)
eggbeaten with 1 tablespoon water for egg wash
1
sesame seeds or everything bagel seasoning (optional)
for topping
Equipment Needed
•Stand mixer with dough hook
•Bench scraper
•Kitchen scale (recommended)
•Instant-read thermometer
•2 rimmed baking sheets
•Pastry brush
•Wire cooling rack
Instructions
1
Combine dry ingredients
Whisk together the flour, sugar, yeast, and salt in the bowl of a stand mixer fitted with the dough hook. Create a well in the center. The yeast and salt should not touch directly before mixing begins, so keep them on opposite sides of the bowl.
Instant yeast can be mixed directly with flour. Active dry yeast requires blooming in the warm milk first.
2
Add eggs and milk
Pour the warm milk into the well, then add the eggs. Mix on low speed until a shaggy dough forms, about 2 minutes. Scrape down the sides of the bowl. Increase to medium speed and knead for 8 to 10 minutes. The dough will slap against the sides of the bowl and eventually pull away cleanly, looking smooth and slightly tacky but not sticky.
3
Incorporate the butter
With the mixer running on medium-low, add the softened butter one piece at a time. Wait until each piece disappears before adding the next. This takes patience. After all butter is incorporated, the dough will look greasy and broken. Keep mixing. Within 5 to 7 minutes, it will come back together into a glossy, elastic mass that wraps around the hook and clears the bowl.
If your kitchen runs warm and the butter starts to melt rather than incorporate, refrigerate the bowl for 15 minutes and resume.
4
First rise
Transfer the dough to a lightly oiled bowl and cover tightly with plastic wrap. Let rise at room temperature until doubled in size, 1 1/2 to 2 hours. The dough should feel puffy and airy when you press it gently.
5
Chill the dough
Punch down the dough to release the gas, then re-cover and refrigerate for at least 1 hour or up to overnight. Cold brioche dough is infinitely easier to shape. Warm dough sticks to everything and fights back. This rest also develops flavor.
6
Divide and shape
Line two baking sheets with parchment paper. Turn the cold dough onto a lightly floured surface and divide into 8 equal pieces (about 100g each if you have a scale). Shape each piece into a smooth ball by cupping your hand over the dough and rolling in tight circles against the counter. The friction creates surface tension. Place the balls on prepared sheets, spacing them 3 inches apart. Flatten each gently with your palm to about 3 inches wide.
A bench scraper makes dividing and handling the dough far easier than a knife.
7
Second rise
Cover the buns loosely with plastic wrap or a clean kitchen towel. Let rise in a warm spot until nearly doubled, 45 minutes to 1 hour. The buns should look puffy and hold a gentle indent when pressed. Toward the end of rising, preheat your oven to 375°F.
8
Apply egg wash and toppings
Brush each bun generously with the egg wash, working from the center outward in gentle strokes. The egg provides that burnished golden color and slight sheen that makes these buns look professional. Sprinkle with sesame seeds if using, pressing them lightly so they adhere.
9
Bake until golden
Bake for 16 to 18 minutes, rotating the pans halfway through, until the buns are deeply golden brown and sound hollow when tapped on the bottom. The internal temperature should read 190°F. Resist the urge to pull them early. Pale buns lack flavor and structural integrity.
10
Cool completely
Transfer the buns to a wire rack and let cool completely before slicing, at least 30 minutes. Cutting into warm bread compresses the crumb and releases steam that should stay inside. Split horizontally with a serrated knife and toast cut-side down on your grill or in a hot skillet before assembling your burgers.
Chef Tips
•Weigh your flour if possible. Cup measurements vary wildly depending on how you scoop. Too much flour produces dense, dry buns that miss the point entirely.
•Room temperature eggs incorporate better and help the dough come together smoothly. Set them out an hour before you begin, or submerge cold eggs in warm water for 10 minutes.
•The overnight refrigerator rise produces superior flavor. Plan to mix your dough the evening before your cookout. You'll shape and bake the morning of, and the buns will be perfect by grilling time.
•These buns freeze beautifully. Cool completely, wrap individually in plastic, then store in a freezer bag for up to 2 months. Thaw at room temperature and toast before serving.
•For sliders, divide the dough into 16 pieces instead of 8. Reduce baking time to 12 to 14 minutes.
Advance Preparation
•Dough can be refrigerated after the first rise for up to 24 hours. Shape directly from the refrigerator.
•Baked buns keep at room temperature in an airtight container for 2 days. Refresh in a 350°F oven for 5 minutes if they've lost their luster.
•Unbaked, shaped buns can be frozen on the baking sheet until solid, then transferred to a freezer bag. Thaw overnight in the refrigerator, let rise until puffy (about 1 hour at room temperature), then bake as directed.
Frequently Asked Questions
Nutrition Information
1 serving (about 87g)
Calories
415 calories
Total Fat
21 g
Saturated Fat
12 g
Trans Fat
0 g
Unsaturated Fat
8 g
Cholesterol
47 mg
Sodium
910 mg
Total Carbohydrates
43 g
Dietary Fiber
1 g
Sugars
6 g
Protein
9 g
Where cooking meets culture.
Culinary guides, cultural storytelling, and the editorial depth that makes cooking meaningful.