
Chef Juliana
Beiju Chica de Santarém Novo
You don't need the right grandmother or a festival oven to learn the logic: grate mandioca fine, squeeze it damp, mix in coconut, and bake thin. Two ingredients, no packet, real crunch.
A cooking platform built around craft, culture, and the stories behind what we eat.
Created by
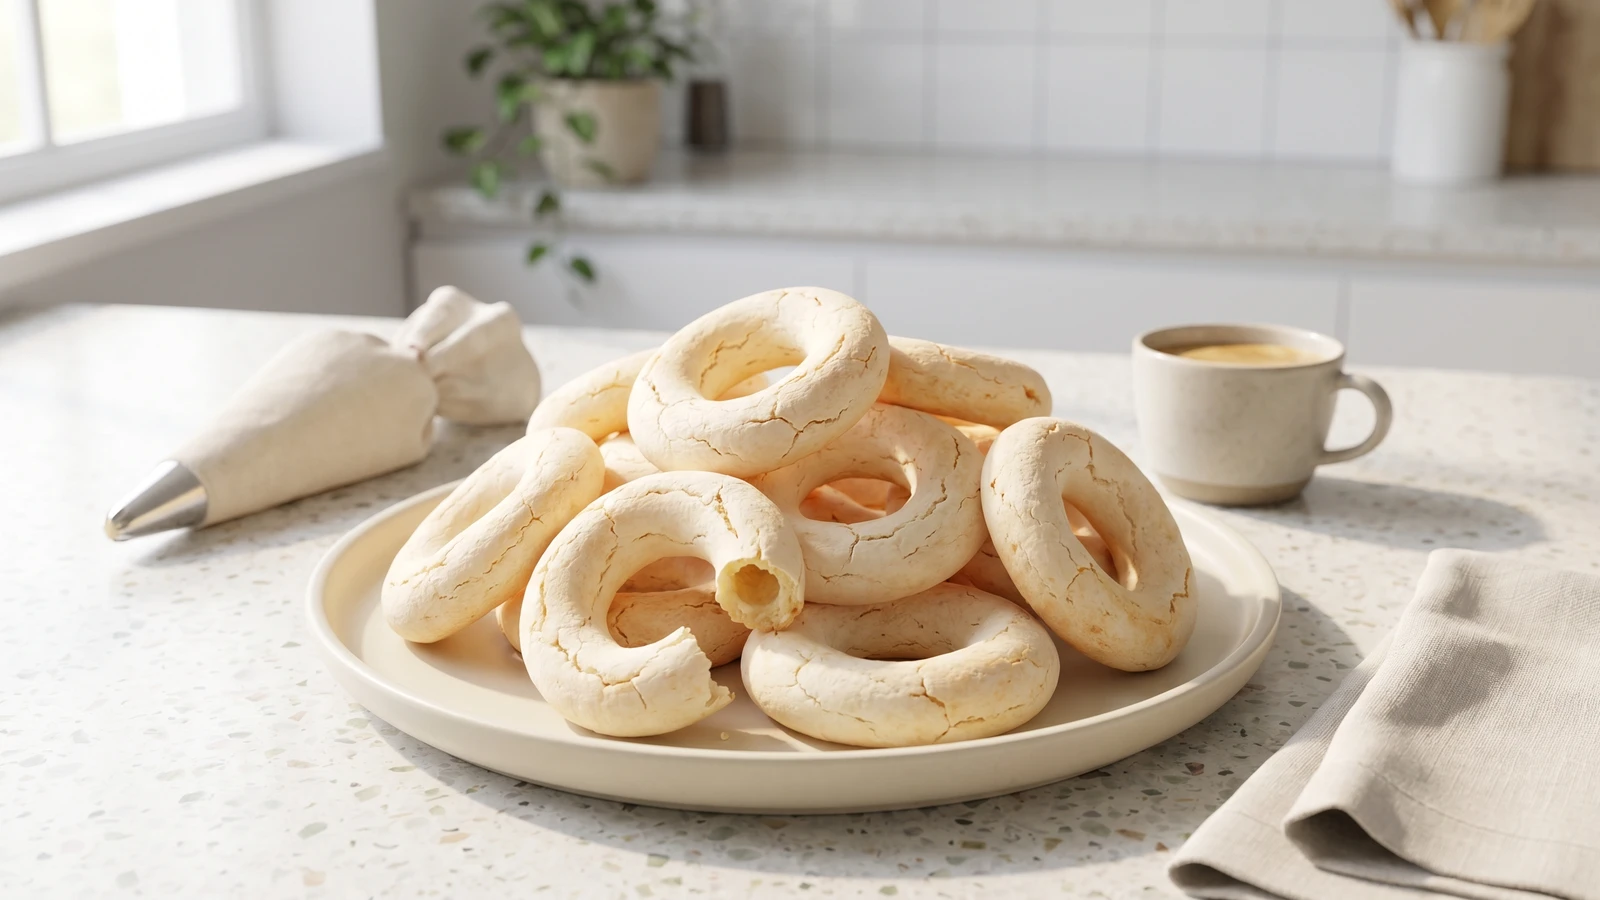
You think this is bakery magic. It isn't. Scald sour cassava starch, beat in eggs, pipe rings, and let a hot oven crack them into crisp, hollow biscuits.
You look at polvilho azedo, hear someone say piping bag, and that quiet little voice starts: isso não é pra mim. I know that voice. Mine used to appear every time a recipe said ponto as if I had been born knowing what that meant. I wasn't. I wrote it down in my caderno like a student, because cozinhar não é dom, é um aprendizado.
This biscuit doesn't replace the pê-efe, and I don't want it to. Rice, beans, a piece of chicken or beef or an egg, something green: that's the everyday plate, the formula that keeps a country itself. But the same kitchen that solves dinner also makes the thing you eat with coffee, pack for the week, hand to a child, or pull from a tin when someone says they're hungry ten minutes after lunch. Comida de verdade isn't only the plate. It's the habit of making food with your own hands.
The method is plain once a gente stops treating it like a secret. You scald the polvilho with boiling water and oil so the starch hydrates and can stretch. You add eggs so the dough has structure. You pipe rings because the dough is too soft to shape with your hands, not because anyone is showing off. Then the hot oven does its work: the outside dries crisp while the middle opens hollow.
Anota aí: the dough will look strange before it looks right. Lumpy, sticky, a little rude. Don't panic. This is one of those receitas que funcionam when you trust the sequence and watch the texture instead of trying to look clever.
Polvilho comes from cassava, a root processed by Indigenous peoples in Brazil long before Portuguese colonization, and polvilho azedo is the fermented sour starch that expands especially well in the oven. Biscoito de polvilho is strongly associated with the inland kitchens of Minas Gerais and Goiás, where cassava starch mattered far more than wheat and the biscuits were baked or fried into airy snacks. Rio made the packaged beach version famous in the twentieth century, but the older home method is simpler: scald the starch, shape the dough, and bake it dry and crisp.
Quantity
3 cups
Quantity
1 teaspoon
Quantity
1 cup
for scalding
Quantity
1/2 cup
Quantity
2 large
room temperature
Quantity
1/4 to 1/2 cup
as needed for piping
| Ingredient | Quantity |
|---|---|
| sour cassava starch (polvilho azedo) | 3 cups |
| fine salt | 1 teaspoon |
| waterfor scalding | 1 cup |
| neutral oil | 1/2 cup |
| eggsroom temperature | 2 large |
| room-temperature wateras needed for piping | 1/4 to 1/2 cup |
Heat the oven to 220°C (425°F) and line two large baking trays with parchment. Give the oven at least 20 minutes to get properly hot. This dough needs a strong first blast of heat so the rings puff before they dry out; a lazy oven gives you flat, tough biscuits and then tries to blame you.
Put the polvilho azedo in a large bowl and rub in the salt with your fingers so there are no salty pockets. Bring 1 cup water and the oil to a full boil, then pour it over the starch all at once. Stir hard with a wooden spoon until the starch looks clumpy, sandy, and damp in patches. That ugly stage is correct. The hot liquid starts hydrating the starch, and that is what lets the biscuit stretch, crack, and turn hollow instead of baking into a little stone.
Let the scalded starch cool for 8 to 10 minutes, stirring once or twice. It should feel warm, not hot, when you touch it. Add eggs too soon and they cook in little bits before they can bind the dough, and nobody asked for scrambled egg hiding in a biscuit.
Add the eggs one at a time, beating hard after each one with a sturdy spoon or a mixer paddle. The dough will fight you first, then turn sticky, stretchy, and glossy. Keep going until you no longer see dry starch at the bottom. The eggs give the dough enough structure to puff and hold its hollow middle instead of collapsing into paste.
Add the room-temperature water 1 tablespoon at a time, beating after each addition, until the dough is thick enough to hold a line but soft enough to squeeze through a piping bag. Lift the spoon: the dough should fall slowly in a heavy ribbon, not run like batter and not stand like bread dough. Stop there. Polvilho changes with the weather, so the recipe gives you a range instead of pretending every kitchen is the same.
Scrape the dough into a piping bag fitted with a 1 cm round tip, or use a sturdy freezer bag with one corner snipped. Pipe small rings or short sticks onto the trays, leaving about 2 cm between them. Keep the shapes thin, about the width of your finger, because thick ropes dry outside before the middle has time to open. Crooked rings are allowed. We are making food, not applying for a medal.
Bake for 20 to 25 minutes, rotating the trays after 18 minutes, until the biscuits are puffed, dry to the touch, pale cream with a little gold at the edges, and cracked along the surface. Don't open the oven early. The structure is setting, and a rush of cooler air can make the rings sink before they finish.
Turn the oven off, crack the door open, and leave the biscuits inside for 5 minutes. Then move them to a rack and let them cool completely before storing. That last rest helps the shells finish drying so they stay crisp instead of turning leathery in the tin.
1 serving (about 16g)
Culinary guides, cultural storytelling, and the editorial depth that makes cooking meaningful.
Discover Culinary ExplorerChef Juliana
You don't need the right grandmother or a festival oven to learn the logic: grate mandioca fine, squeeze it damp, mix in coconut, and bake thin. Two ingredients, no packet, real crunch.

Chef Juliana
You think tiny wrapped wedding sweets are for people with magic hands. They're not. They're sponge, filling, glaze, and patience, taught in plain steps until they behave.

Chef Juliana
You don't need bakery courage for this. Polvilho, queijo Minas, milk, butter, and your hands make crisp little sticks for coffee, lunchboxes, or the snack that keeps dinner sane.

Chef Juliana
You think frying dough is where things get dramatic. It isn't. Thin sticks, calm oil, and polvilho taught properly give you a crisp, chewy snack without mystery.