
Chef Juliana
Beiju Chica de Santarém Novo
You don't need the right grandmother or a festival oven to learn the logic: grate mandioca fine, squeeze it damp, mix in coconut, and bake thin. Two ingredients, no packet, real crunch.
A cooking platform built around craft, culture, and the stories behind what we eat.
Created by
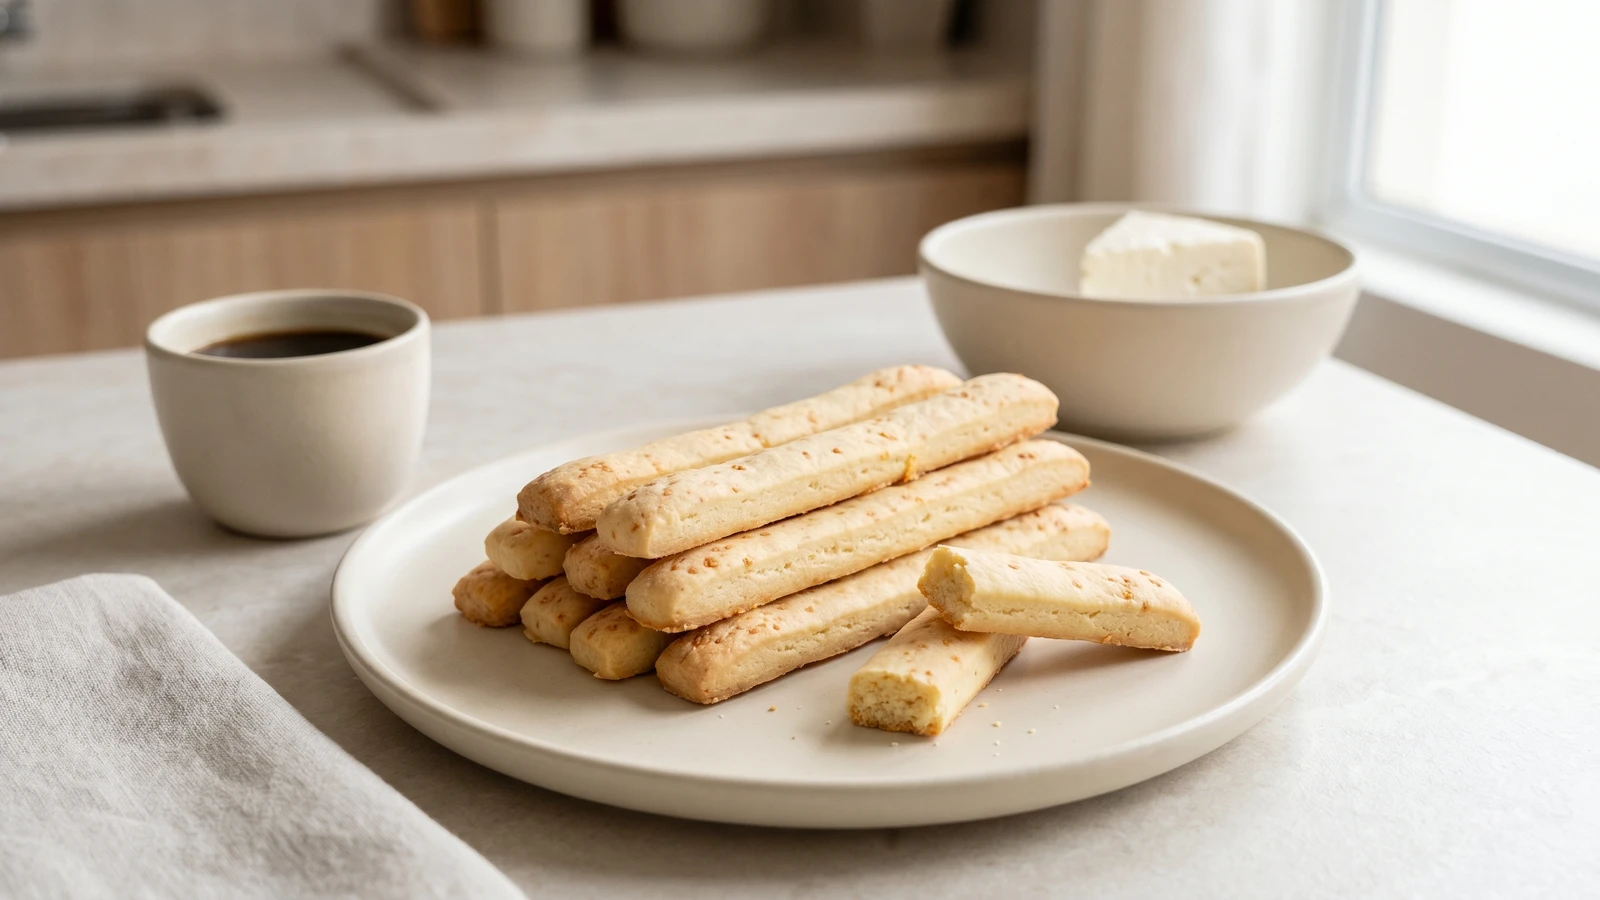
You don't need bakery courage for this. Polvilho, queijo Minas, milk, butter, and your hands make crisp little sticks for coffee, lunchboxes, or the snack that keeps dinner sane.
You might look at polvilho and think, quietly, isso não é pra mim. Good. Let's put that sentence on the counter where a gente can see it, because it's wrong. Cozinhar não é dom, é um aprendizado, and this one is mostly a bowl, your hands, and knowing what the dough should feel like.
I learned to cook late enough to remember the embarrassment of not knowing. My old caderno had recipes written like a nervous person was trying to rescue herself, because she was. That's why I teach recipes that work: cups, spoons, plain verbs, and the reason beside the method. A step without its why is just a rule, and rules run away from you on a Tuesday.
This biscoito is comida de verdade from the Brazilian pantry: polvilho, cheese, milk, butter, salt. No yeast, no eggs, no packet pretending to be flavor. You warm the milk and butter so the starch hydrates evenly, then knead until the dough stops crumbling and starts behaving. That's the ponto. Cut the sticks thin enough to bake crisp, give them space, and let the oven dry them until they snap cleanly under your teeth.
It's not the pê-efe, no. Rice, beans, a meat or egg, and something green still solve the plate that quietly makes a country itself. But a house that can make its own salty biscuit for the afternoon coffee is a house that hasn't handed every hunger over to the factory. Anota aí: this is how a gente wins.
Biscoito de queijo belongs to the cassava-starch kitchens of central and southeastern Brazil, especially Minas Gerais and Goiás, where polvilho and local cheeses shaped everyday baking long before wheat was easy or cheap. It sits in the same family as pão de queijo and biscoito de polvilho, but many home versions are rolled or cut thinner and baked longer for a crisp biscuit instead of a chewy roll. Regional arguments over polvilho doce, polvilho azedo, and the right cheese are real, which is how you know the snack lives in actual kitchens, not in a museum.
Quantity
3 cups
spooned and leveled
Quantity
1 1/2 cups
finely grated, loosely packed
Quantity
1 teaspoon
Quantity
1/2 cup
Quantity
1/4 cup
Quantity
2 tablespoons
Quantity
2 to 4 tablespoons
only as needed
| Ingredient | Quantity |
|---|---|
| polvilho doce (sweet cassava starch)spooned and leveled | 3 cups |
| queijo Minas meia curafinely grated, loosely packed | 1 1/2 cups |
| fine salt | 1 teaspoon |
| whole milk | 1/2 cup |
| unsalted butter | 1/4 cup |
| neutral oil | 2 tablespoons |
| warm wateronly as needed | 2 to 4 tablespoons |
Heat the oven to 180°C (350°F) and line two baking trays with parchment. Give the biscuits room before they go in. Crowding traps moisture around them, and moisture is the enemy of crisp.
Put the polvilho, grated cheese, and salt in a large bowl and rub them together with your fingers until the cheese is spread through the starch. You should see tiny cheese flecks everywhere, not one salty clump in the corner. Even mixing means every bite tastes like cheese, not like a guessing game.
Warm the milk, butter, and oil in a small pan just until the butter melts and the mixture is hot to the touch, not boiling wildly. Pour it over the polvilho mixture and stir with a spoon until the bowl looks shaggy and crumbly. The warm liquid helps hydrate the starch so the dough can come together without eggs or yeast.
Knead the dough in the bowl, squeezing and folding it with your hand, until it gathers into a smooth, firm mass, about 4 to 6 minutes. If it stays sandy and won't hold when pressed, add warm water 1 tablespoon at a time. Stop when a piece rolls into a rope without cracking apart. Too dry and the biscuits crumble; too wet and they bake heavy instead of crisp.
Press the dough into a rectangle about 1 cm thick, then cut it into sticks about 8 cm long and 1 cm wide. Roll each stick lightly under your palm if the edges look rough. Keep them fairly thin, because thick sticks brown outside before the middle dries, and then you get a biscuit pretending to be crisp.
Arrange the sticks on the trays with a finger of space between them and bake for 20 to 25 minutes, rotating the trays halfway through. They should look pale gold at the edges, dry on the surface, and firm when lifted. If one bends instead of snapping after cooling for 2 minutes, bake the tray 3 to 5 minutes more. The oven finishes the drying, and drying is what makes the bite crisp.
Move the biscuits to a rack and let them cool completely before storing. I know. You want one now. Eat one, fine, cook's tax. But store them only when cool, because trapped warmth softens the whole batch and then everyone blames the recipe.
1 biscuit stick (about 14g)
Culinary guides, cultural storytelling, and the editorial depth that makes cooking meaningful.
Discover Culinary ExplorerChef Juliana
You don't need the right grandmother or a festival oven to learn the logic: grate mandioca fine, squeeze it damp, mix in coconut, and bake thin. Two ingredients, no packet, real crunch.

Chef Juliana
You think tiny wrapped wedding sweets are for people with magic hands. They're not. They're sponge, filling, glaze, and patience, taught in plain steps until they behave.

Chef Juliana
You think this is bakery magic. It isn't. Scald sour cassava starch, beat in eggs, pipe rings, and let a hot oven crack them into crisp, hollow biscuits.

Chef Juliana
You think frying dough is where things get dramatic. It isn't. Thin sticks, calm oil, and polvilho taught properly give you a crisp, chewy snack without mystery.