Chef Jeong-sun
Baechu-jeon (배추전, Napa Cabbage Pancake)
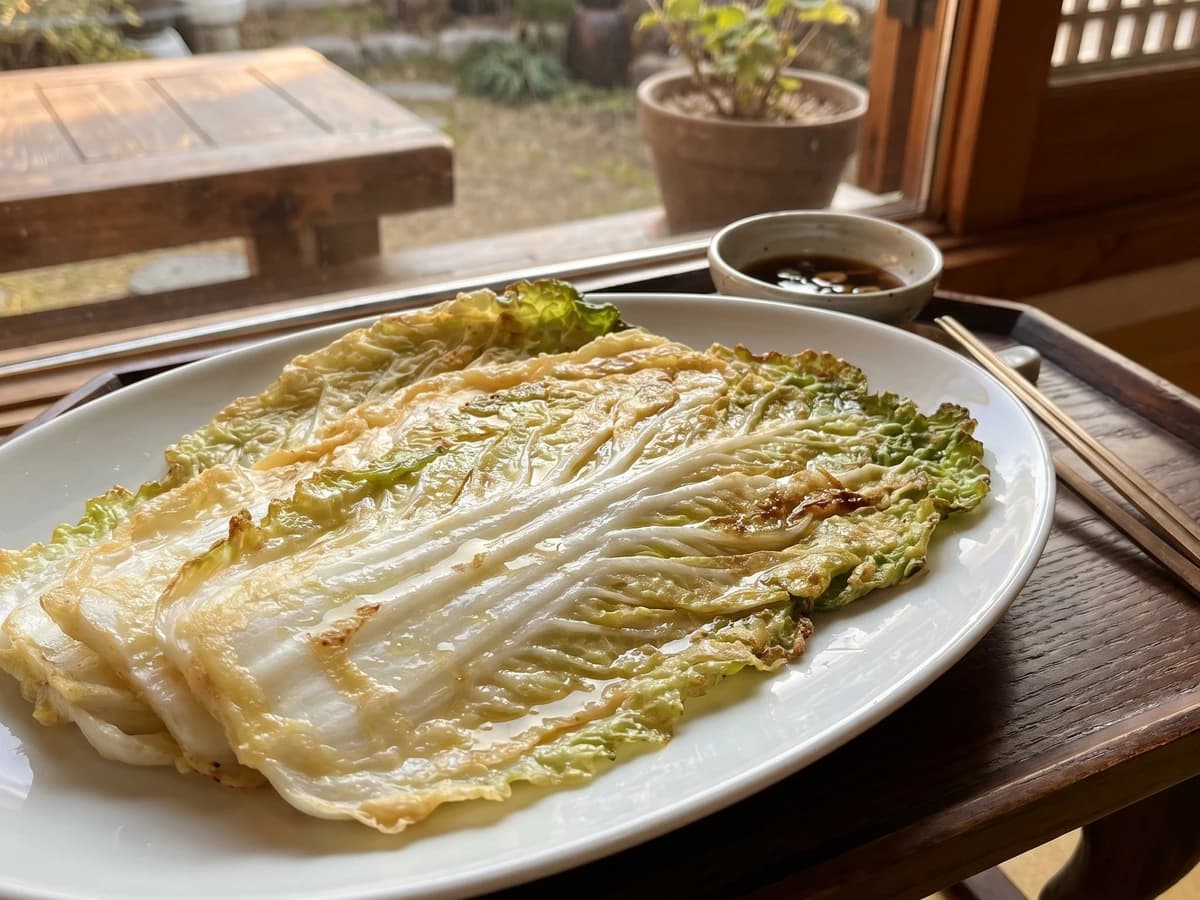
A Gyeongsang home pancake made from one whole napa cabbage leaf at a time, flattened at the rib, brushed in thin salted batter, and fried until sweet, tender, and quietly crisp at the edges.
A cooking platform built around craft, culture, and the stories behind what we eat.
Created by
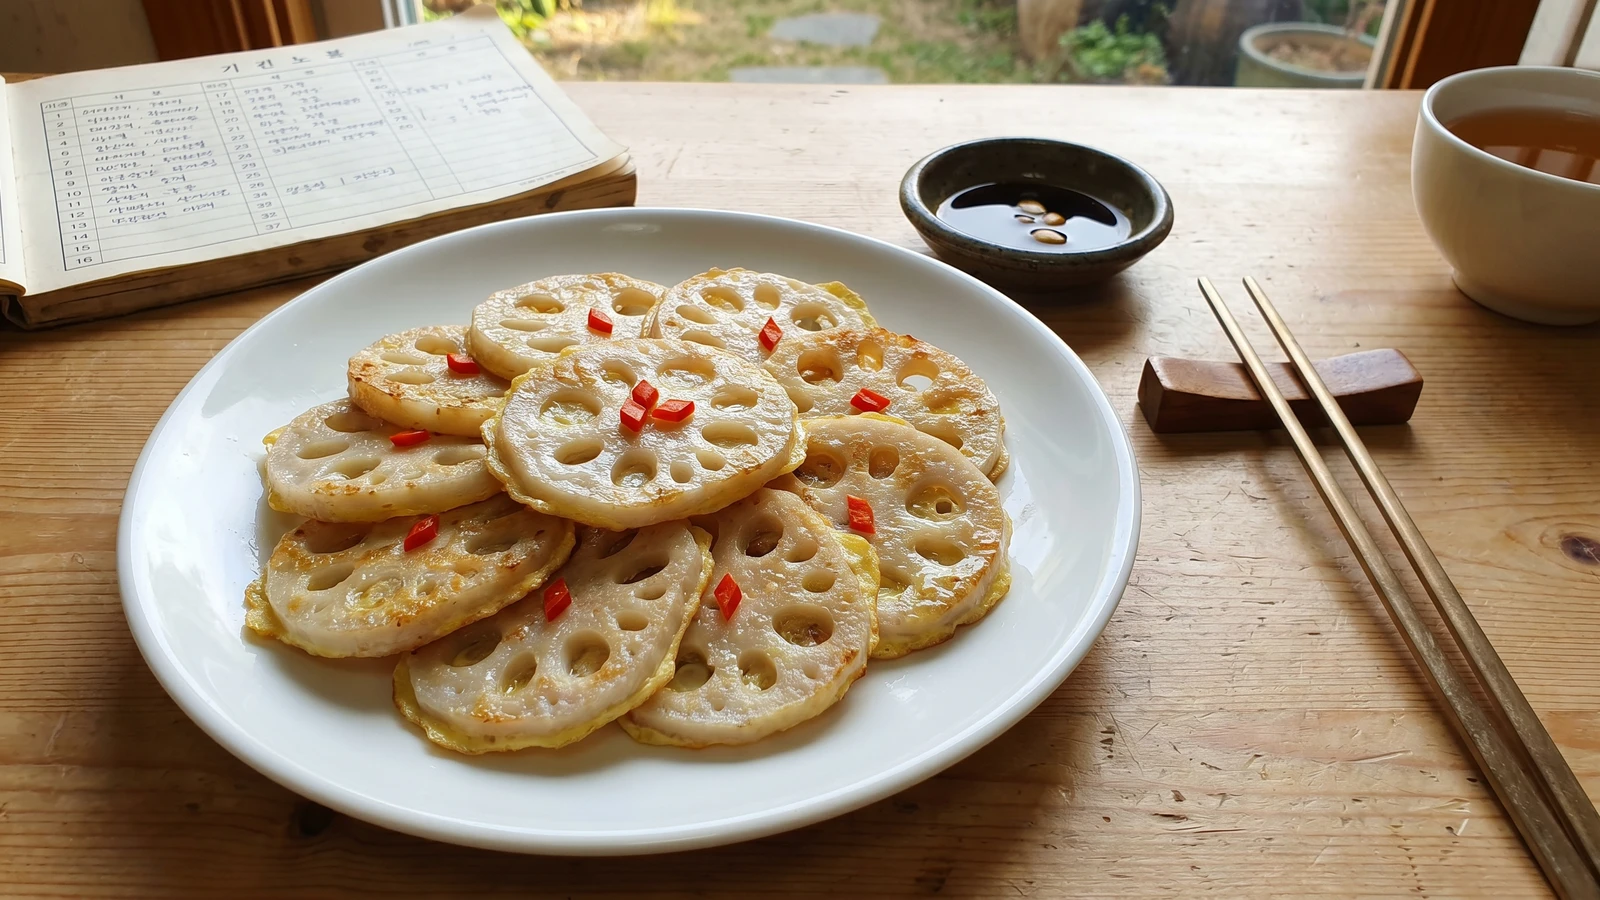
Pale lotus root coins blanched just long enough to tame their starch, coated lightly in flour and egg, then pan-fried into crisp-edged jeon for a holiday platter or a quiet snack.
Lotus root comes to the market when the year has cooled down, muddy at the joints and plain until the knife opens it. Then you see why it belongs on a jeon plate. Each slice is already patterned, a little lace coin made by the root itself. You don't need to decorate it much. You need to cut it evenly and not spoil what it came with.
My teacher, Master Seong-nyeo, was severe about this one because people rush it. They slice, dip, and fry, then wonder why the center tastes raw and the coating slips off. Notebook 14 says it plainly: 6 mm slices, 3 minutes in salted vinegar water, dry both sides. The blanching tames the starch and keeps the bite clean. The drying lets the flour and egg hold. Miss either one and the dish tells on you.
Yeongeun-jeon sits comfortably with holiday jeon, but it is just as good as a small snack with tea or makgeolli. The table likes it because it is pretty without being vain, crisp at the edge, tender in the center, and quiet enough to let the lotus root taste like itself. 손맛 is real. I still measure it, so it can be handed on.
Jeon, pan-fried foods coated with flour and egg, appears in late Joseon cooking records such as Siui jeonseo, where many ingredients are treated this way for feast and ritual tables. Lotus root is harvested after the lotus leaves die back in autumn, which is why yeongeun dishes belong naturally from Chuseok season into winter. Yeongeun-jeon is home and holiday cooking, not a borrowed palace story, and its distinction is the lace-patterned slice made tender enough to eat while still keeping its crunch.
Quantity
450g, about 2 medium segments
peeled and sliced into 6 mm coins
Quantity
4 cups
for soaking
Quantity
1 tablespoon
for soaking
Quantity
6 cups
for blanching
Quantity
1 tablespoon
for blanching
Quantity
1 teaspoon
for blanching
Quantity
1/2 cup
Quantity
3 large
beaten
Quantity
1/4 teaspoon
for the egg
Quantity
4 tablespoons, plus more as needed
for pan-frying
Quantity
1 small
seeded and cut into tiny diamonds
Quantity
2 tablespoons
for dipping sauce
Quantity
1 tablespoon
for dipping sauce
Quantity
1 tablespoon
for dipping sauce
Quantity
1 teaspoon
finely chopped, for dipping sauce
Quantity
1/2 teaspoon
for dipping sauce
Quantity
1/4 teaspoon
for dipping sauce
| Ingredient | Quantity |
|---|---|
| fresh lotus root (yeongeun)peeled and sliced into 6 mm coins | 450g, about 2 medium segments |
| cold waterfor soaking | 4 cups |
| rice vinegarfor soaking | 1 tablespoon |
| waterfor blanching | 6 cups |
| rice vinegarfor blanching | 1 tablespoon |
| kosher saltfor blanching | 1 teaspoon |
| all-purpose flour | 1/2 cup |
| eggsbeaten | 3 large |
| fine sea saltfor the egg | 1/4 teaspoon |
| neutral oilfor pan-frying | 4 tablespoons, plus more as needed |
| red chili (optional)seeded and cut into tiny diamonds | 1 small |
| soy saucefor dipping sauce | 2 tablespoons |
| rice vinegarfor dipping sauce | 1 tablespoon |
| waterfor dipping sauce | 1 tablespoon |
| scallionfinely chopped, for dipping sauce | 1 teaspoon |
| toasted sesame seedsfor dipping sauce | 1/2 teaspoon |
| gochugaru (Korean chili flakes) (optional)for dipping sauce | 1/4 teaspoon |
Scrub the lotus root well, peel it thinly, and cut it crosswise into 6 mm coins. As you slice, drop the pieces into 4 cups cold water mixed with 1 tablespoon rice vinegar. The vinegar keeps the flesh pale and takes away the muddy raw edge; it is not there to make the lotus root sour. If dirt hides inside the holes, rinse those pieces under running water and clear them gently with a chopstick.
Bring 6 cups water, 1 tablespoon rice vinegar, and 1 teaspoon kosher salt to a boil. Drain the soaked lotus root, add it to the boiling water, and blanch for 3 minutes from the moment the water returns to a lively simmer. The coins should bend a little at the edge but still keep their clean crunch. Drain and rinse briefly under cool water to stop the cooking.
Lay the lotus root in one layer on a clean towel and pat both sides dry, pressing lightly over the holes. This step looks small and decides the dish. Wet lotus root throws off its flour, and then the egg slides around the pan instead of clinging in a thin coat.
Spread the flour on a plate. Beat the eggs with 1/4 teaspoon fine sea salt in a shallow bowl. Coat a few lotus root slices in flour, tap off the excess, and make sure the holes are not packed shut. Dip each slice in egg and lift it for a second so the extra falls back into the bowl. You want a pale yellow veil, not a heavy batter.
Heat a wide nonstick or well-seasoned skillet over medium heat and add 1 1/2 tablespoons oil. Lay in the egg-coated lotus root in a single layer. If using red chili, set one tiny diamond on a few pieces while the top is still wet. Fry 2 to 3 minutes on the first side, then turn and fry 1 1/2 to 2 minutes more, until the egg is set and lightly golden at the edges. Keep the heat moderate. High heat browns the egg before the lotus root warms through.
Move the finished jeon to a rack or paper towel in one layer. Do not stack them while hot, or the crisp edges soften. Stir together the soy sauce, rice vinegar, water, scallion, sesame seeds, and gochugaru if using. Serve the yeongeun-jeon warm or at room temperature, with the dipping sauce on the side.
1 serving (about 150g)
Culinary guides, cultural storytelling, and the editorial depth that makes cooking meaningful.
Discover Culinary ExplorerChef Jeong-sun
A Gyeongsang home pancake made from one whole napa cabbage leaf at a time, flattened at the rib, brushed in thin salted batter, and fried until sweet, tender, and quietly crisp at the edges.

Chef Jeong-sun
A holiday jeon of fresh shiitake or oyster mushrooms, salted lightly, dusted thinly, and carried through egg in a quiet pan until the mushroom stays earthy and the coating stays tender.

Chef Jeong-sun
Soaked mung beans ground coarse, folded with pork, bracken, sprouts, and kimchi, then fried thick until the edges crisp and the center stays tender enough for a shared table.

Chef Jeong-sun
A summer garlic chive pancake fried thin, crisp at the edges and chewy in the center, with just enough batter to hold the green pile together and a sharp soy-vinegar dip.