
Chef Thomas
A Bloomer
A proper British bloomer, slashed deep and baked until the cuts open wide and the crust turns deep, glossy gold. The kind of loaf that makes the rest of the day feel deliberate.
A cooking platform built around craft, culture, and the stories behind what we eat.
Created by Chef Thomas
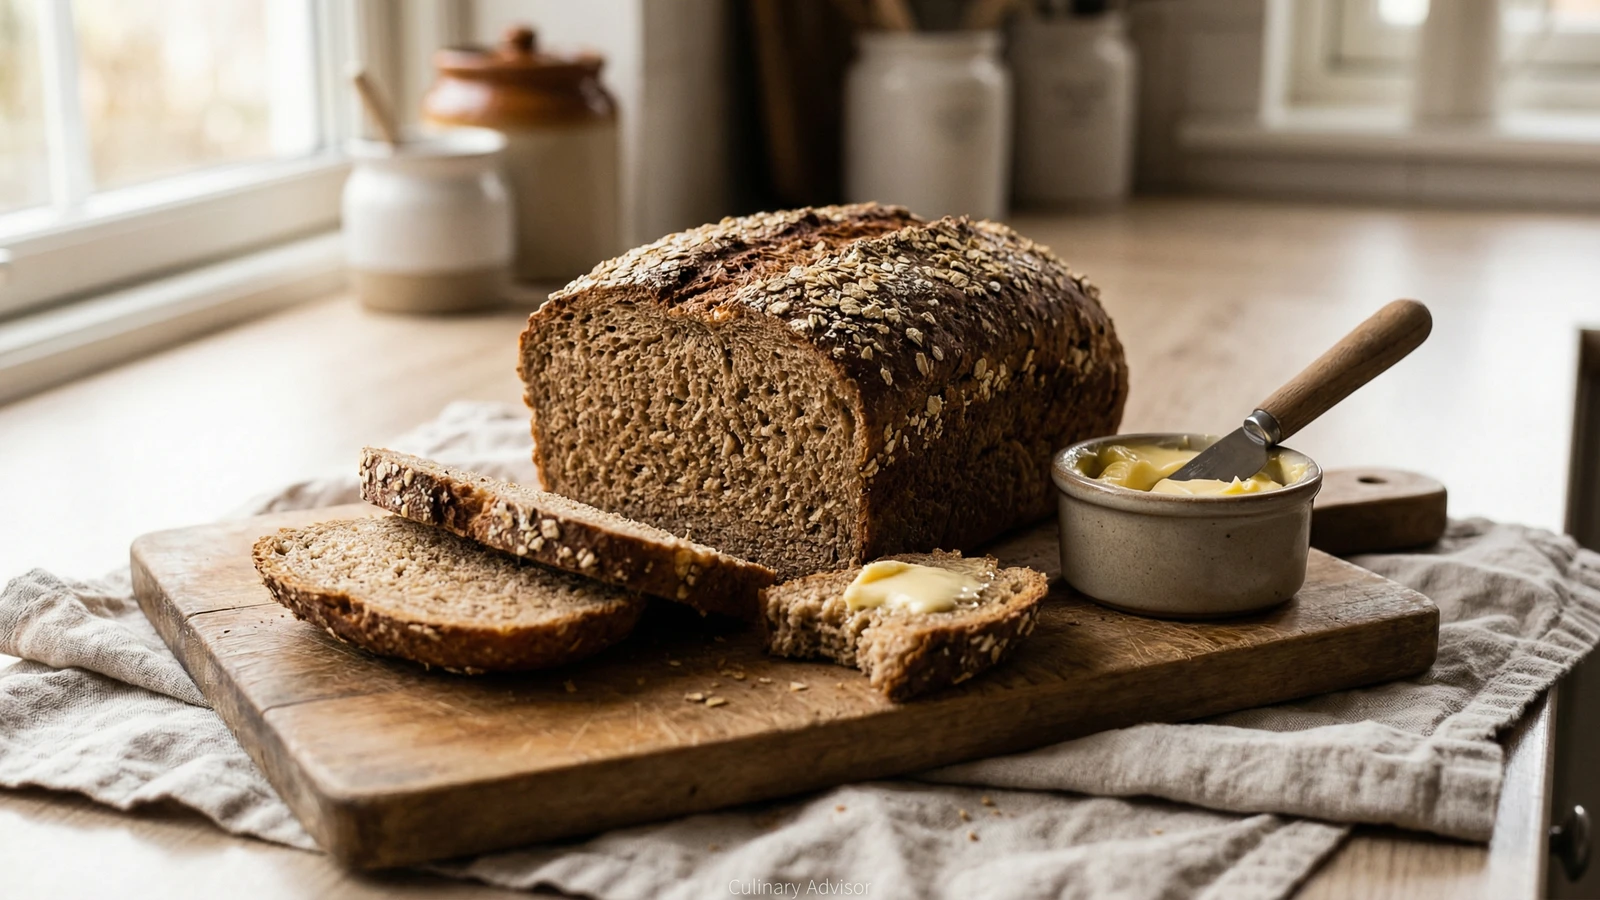
A proper wholemeal loaf with a deep crust and a dense, nutty crumb, the kind of bread that turns a Tuesday lunch into something worth sitting down for.
There's a particular smell that fills a kitchen when wholemeal bread is in the oven. Darker than white bread, earthier, almost like toasted nuts and warm fields. It belongs to the colder end of the year, when you want the windows shut and something honest in the oven, but really it belongs to any day you've decided to make bread, which is to say any day you've got a few quiet hours and the inclination to use them.
This isn't a clever loaf. There's no starter to feed, no overnight ferment to worry about, no scoring patterns to learn. It's flour, water, yeast, salt, a little honey, a little oil. The honey isn't there for sweetness so much as to soften the edge wholemeal sometimes has, and to help the crust go a deeper brown. You can leave it out. You can leave most things out. A recipe is a conversation, not a contract.
What you get for your trouble is a loaf that bears no resemblance to the sad, pale wholemeal slices in plastic bags. Real texture. Real flavour. A crumb dense enough to hold a slab of butter without complaint, and a crust that crackles slightly under the bread knife. It makes a sandwich that actually feels like lunch. It toasts into something you'd happily eat for breakfast three days running.
I made this on a wet afternoon last week, kneaded it on the kitchen table while the rain came down, and wrote in the notebook afterwards: wholemeal, honey, rain, Tuesday. There are few better feelings than putting a warm loaf on the table for someone. We're only making bread. But we're also doing something quietly important, which is feeding ourselves properly.
Quantity
500g
plus extra for dusting
Quantity
7g (one sachet)
Quantity
10g
Quantity
1 tablespoon
Quantity
1 tablespoon
plus a little extra for greasing the bowl
Quantity
350ml
Quantity
a handful
for scattering on top
| Ingredient | Quantity |
|---|---|
| strong wholemeal bread flourplus extra for dusting | 500g |
| fast-action dried yeast | 7g (one sachet) |
| fine sea salt | 10g |
| runny honey | 1 tablespoon |
| olive oilplus a little extra for greasing the bowl | 1 tablespoon |
| warm water | 350ml |
| porridge oats or mixed seeds (optional)for scattering on top | a handful |
Tip the flour into a wide bowl. Add the yeast to one side and the salt to the other. Keep them apart for the moment, salt knocks yeast about if they meet too soon. Stir the honey and oil into the warm water until the honey dissolves, then pour it into the flour. Mix with your hand or a wooden spoon until everything comes together into a rough, shaggy dough. It will look hopeless at this stage. That's normal.
Tip the dough onto a lightly floured surface. Knead for about ten minutes. Wholemeal needs a bit more patience than white because the bran cuts the gluten as it forms. Push, fold, turn. Push, fold, turn. After a while it will stop sticking to your hands and start feeling like something. Springy. Alive. When you press a thumb into it and the dent slowly fills back, it's done.
Wipe a clean bowl with a little oil and put the dough in it. Cover with a clean tea towel and leave somewhere out of a draught. An hour and a half, maybe two, until it's roughly doubled. Wholemeal won't double as dramatically as white. Don't fret. As long as it's grown noticeably and feels lighter when you lift it, you're fine.
Knock the air out gently with the heel of your hand. Shape it into a fat oval that fits a 900g loaf tin, tucking the seam underneath. Drop it into a lightly oiled tin. Brush the top with a little water and scatter over the oats or seeds if you're using them. Press them in lightly so they stick.
Cover loosely and leave again, this time for about an hour. You want the dough to rise just above the rim of the tin. Heat the oven to 220C/200C fan while you wait. A baking tray on the bottom shelf, getting hot.
Slide the tin into the oven. Pour a small cup of water onto the hot tray below to make a quick burst of steam, this gives you a better crust. Bake for thirty-five to forty minutes. The loaf is ready when it's deep brown on top and sounds hollow when you tap the bottom. Trust your nose. The kitchen will tell you long before the timer does, that warm, malty smell that means bread.
Turn the loaf out of the tin and onto a wire rack. Don't be tempted to cut it straight away, however good it smells. The crumb is still setting. Wait at least thirty minutes. An hour is better. A warm slice with butter is one of the small, complete pleasures of cooking your own bread, but a slice cut too early collapses into something doughy. Patience pays here.
1 serving (about 65g)
Culinary guides, cultural storytelling, and the editorial depth that makes cooking meaningful.
Discover Culinary ExplorerChef Thomas
A proper British bloomer, slashed deep and baked until the cuts open wide and the crust turns deep, glossy gold. The kind of loaf that makes the rest of the day feel deliberate.

Chef Thomas
A simple white loaf made from flour, water, yeast, and salt. The kind of bread that fills the kitchen with the smell of a Saturday morning and teaches you, slowly, everything you need to know about baking.

Chef Thomas
A dark, fruit-heavy Welsh tea loaf, soaked overnight in strong tea and baked slowly until the kitchen smells of spice and orange peel. Sliced thick and buttered cold.

Chef Thomas
Rich, butter-laden Georgian buns from Bath, glazed deep gold and crowned with crushed sugar nibs that crack beneath your teeth, the kind of bake that turns a Sunday afternoon into something deliberate.