
Chef Lupita
Aceite de Chiltepin Bajacaliforniano
Baja California's wild chiltepin steeped in olive oil with garlic, orejon, and lime peel, until the oil turns ruby-amber and carries the slow, sneaky burn of the desert coast.
A cooking platform built around craft, culture, and the stories behind what we eat.
Created by
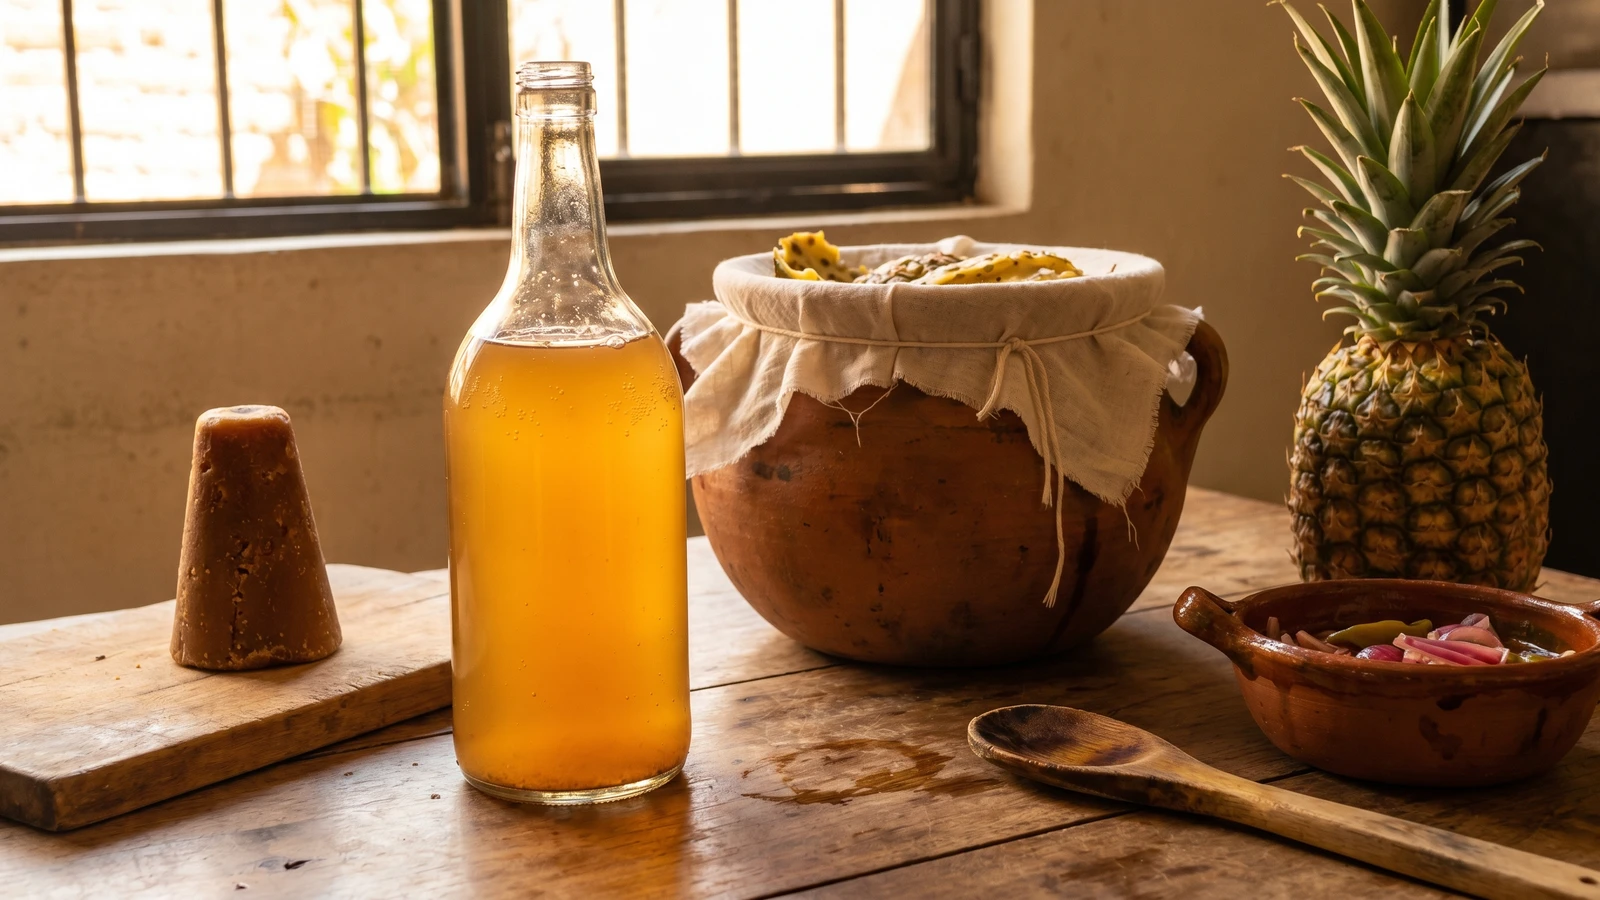
Oaxaca's homemade pineapple vinegar, built from skins and piloncillo and patience, fermented in clay for two weeks until it carries the soul of every escabeche the state has ever made.
This is a Oaxacan vinegar. Not a generic homemade vinegar, not a craft project, not a pantry trend. Vinagre de piña is the foundation of Oaxacan escabeches, the pickled chiles de agua, the cebolla morada that goes on top of tlayudas, the brine that holds the verduras at every market stall from Tlacolula to Juchitan. Without this vinegar, those dishes are not what they should be.
The ingredients are three. Pineapple skins, piloncillo, water. That is it. The pineapple flesh is not the vinegar. The skins carry the wild yeasts and the core carries the sugar and the structure. You are not throwing anything away. The flesh becomes agua fresca or tepache or whatever you decide. The skins become vinegar. La cocina no es decoracion, es trabajo, and this is the proof: a vinegar made from what most people consider trash, fermented in clay, ready in two weeks, better than anything you can buy.
The technique is patience. Yeasts eat the sugar and turn it into alcohol. Bacteria eat the alcohol and turn it into acid. Both happen on their own if you give them the right conditions: warm, dark, undisturbed, with enough air to keep the second stage going. The clay pot is not decoration either. The barro breathes. It lets the ferment work at its own pace and rounds the edges of the acid in a way glass does not. If you have an olla from Atzompa, use it. If not, glass will do, but know what you are giving up.
My mother did not make pineapple vinegar. That came from a senora in Etla I met on my second trip to Oaxaca, who walked me through it on her patio with three clay pots in different stages of ferment lined up against the wall. She told me her abuela made it, and her abuela's abuela, and that the ferment in her kitchen has been alive in some form for sixty years because she always saves a cup of the old vinegar to start the new batch. That is how this knowledge survives. Saber cocinar es saber vivir.
Pineapple vinegar in Mexico predates industrial vinegar production by several centuries, evolving from the same fermentation tradition that produces tepache, the lightly alcoholic pineapple beverage of pre-Columbian and colonial Mesoamerica. The pineapple itself, native to South America, reached Mesoamerica before the conquest and was domesticated extensively by the time the Spanish arrived. Oaxaca's reliance on vinagre de piña for its escabeches reflects both the cuisine's deep fermentation culture and the practical economy of indigenous and mestizo households, where the skins of fruit consumed for one purpose were never wasted but turned into a second product through bacterial conversion. The use of unglazed clay vessels for the ferment ties the practice to the broader Oaxacan ceramic tradition centered in San Bartolo Coyotepec and Atzompa, where the porosity of barro is understood as part of the flavor.
Quantity
1 large
well-washed, using skins and core only (reserve flesh for another use)
Quantity
1 cone (about 8 ounces / 225 grams)
chopped, or substitute 1 cup packed dark brown sugar
Quantity
8 cups
at room temperature
Quantity
1 stick, about 3 inches long
Quantity
4
| Ingredient | Quantity |
|---|---|
| ripe pineapplewell-washed, using skins and core only (reserve flesh for another use) | 1 large |
| piloncillochopped, or substitute 1 cup packed dark brown sugar | 1 cone (about 8 ounces / 225 grams) |
| filtered, non-chlorinated waterat room temperature | 8 cups |
| canela (Mexican cinnamon) (optional) | 1 stick, about 3 inches long |
| whole cloves (optional) | 4 |
Pick a pineapple that smells sweet at the base and gives slightly when pressed. The leaves should pull free with a light tug. Underripe pineapple has no sugar to feed the fermentation. Overripe pineapple is already turning and will give you mold instead of vinegar. The skin is what carries the wild yeasts that start everything, so do not scrub it with soap. Rinse it under cool running water and pat it dry.
Slice off the crown and the base. Stand the pineapple upright and slice the skin off in thick strips. Reserve the skins. Quarter the flesh and cut out the tough core. Chop the core into rough pieces. The skins and the core are what you are fermenting. Save the flesh for agua fresca, for tepache, for whatever you want. We are not throwing the flesh away, we are putting it to work somewhere else. La cocina no es decoracion, es trabajo.
Use an unglazed clay olla, a wide-mouthed glass jar, or a food-grade ceramic crock that holds at least one gallon. The traditional vessel in Oaxaca is barro, unglazed clay. The clay breathes and the ferment happens slower and rounder. Glass works. Plastic does not. Plastic leaches and the wild yeasts do not love it. Wash the vessel with hot water only, no soap. Soap residue kills the ferment.
Place the chopped piloncillo in a saucepan with two cups of the filtered water. Heat over medium until the piloncillo dissolves completely. Do not boil it. You want a syrup, not a caramel. Take it off the heat and let it cool to room temperature. Hot liquid will kill the wild yeasts on the pineapple skins, and without the yeasts, nothing happens. This is the most common mistake. Patience now, vinegar later.
Drop the pineapple skins and the chopped core into the clay pot. Pour in the cooled piloncillo syrup. Add the remaining six cups of room-temperature filtered water. If you are making the spiced version from the Sierra Norte, add the canela stick and the cloves now. Stir with a wooden spoon. Never metal. Metal interferes with the ferment.
Cover the mouth of the pot with a clean piece of muslin, manta de cielo, or a cotton dish towel. Tie it down with kitchen string. The cloth keeps the flies out and lets the air in. Air is what turns alcohol into acid. Set the pot somewhere warm and dark. A pantry, a cabinet, the corner of a kitchen counter away from direct sun. The temperature wants to be between 70 and 80 degrees Fahrenheit. Cooler than that and the ferment stalls. Hotter and you risk pushing it past vinegar into something funky.
Once a day, lift the cloth and stir the contents with the wooden spoon. Push the floating skins back under the liquid. By day three or four, you will see bubbles rising and you will smell something sweet and yeasty. That is tepache, the alcoholic stage. By day seven, the smell shifts. It turns sharper, more acidic. That is the bacteria taking over from the yeast. You are now making vinegar. By day fourteen, the smell is unmistakably vinegar, fruity and bright but with the bite of acid behind it.
At day fourteen, taste the liquid. It should be tart, fruity, and complex, with the pineapple still present behind the acid. If it tastes like sweet cider with a little bite, give it three to five more days. If it tastes sharp and clean, like apple cider vinegar with the soul of a pineapple, it is ready. Some senoras in the Valles Centrales let theirs go three full weeks. The longer you wait, the more acid you build, up to a point. Past four weeks it starts to flatten.
Set a fine-mesh strainer lined with muslin over a clean glass bowl. Pour the contents of the clay pot through the strainer. Let the liquid drain without pressing. Pressing the solids forces sediment through and clouds the vinegar. Discard the spent skins and core. Pour the strained vinegar into clean glass bottles. Cap loosely for the first week, then seal. Store in a cool, dark place. The vinegar keeps for at least a year and only deepens. Recetas probadas y garantizadas.
1 serving (about 15g)
Culinary guides, cultural storytelling, and the editorial depth that makes cooking meaningful.
Discover Culinary ExplorerChef Lupita
Baja California's wild chiltepin steeped in olive oil with garlic, orejon, and lime peel, until the oil turns ruby-amber and carries the slow, sneaky burn of the desert coast.

Chef Lupita
Puebla's Lenten convent adobo, a brick-red vinegar chile paste of ancho, guajillo, garlic, oregano, and comino made to dress fish for the meatless calendar.
Chef Lupita
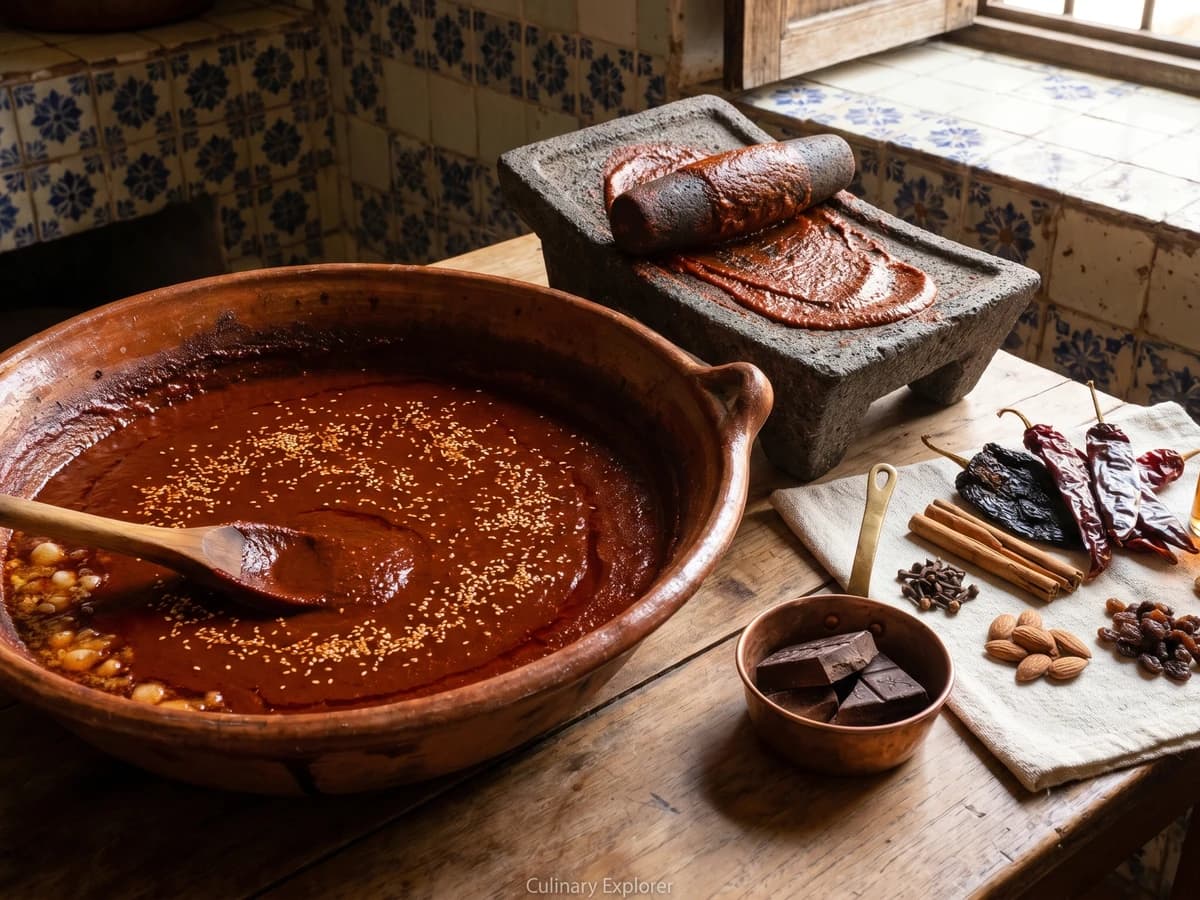
Zacatecas' wedding-table adobo, built from toasted guajillo and ancho, piloncillo, sour orange, chocolate, canela, clavo, almonds, sesame, and lard.

Chef Lupita
Puebla's convent kitchens built this adobo with ancho, guajillo, jerez, almonds, raisins, clove, and lard, a baroque marinade that stains pork loin and finishes as the sauce.