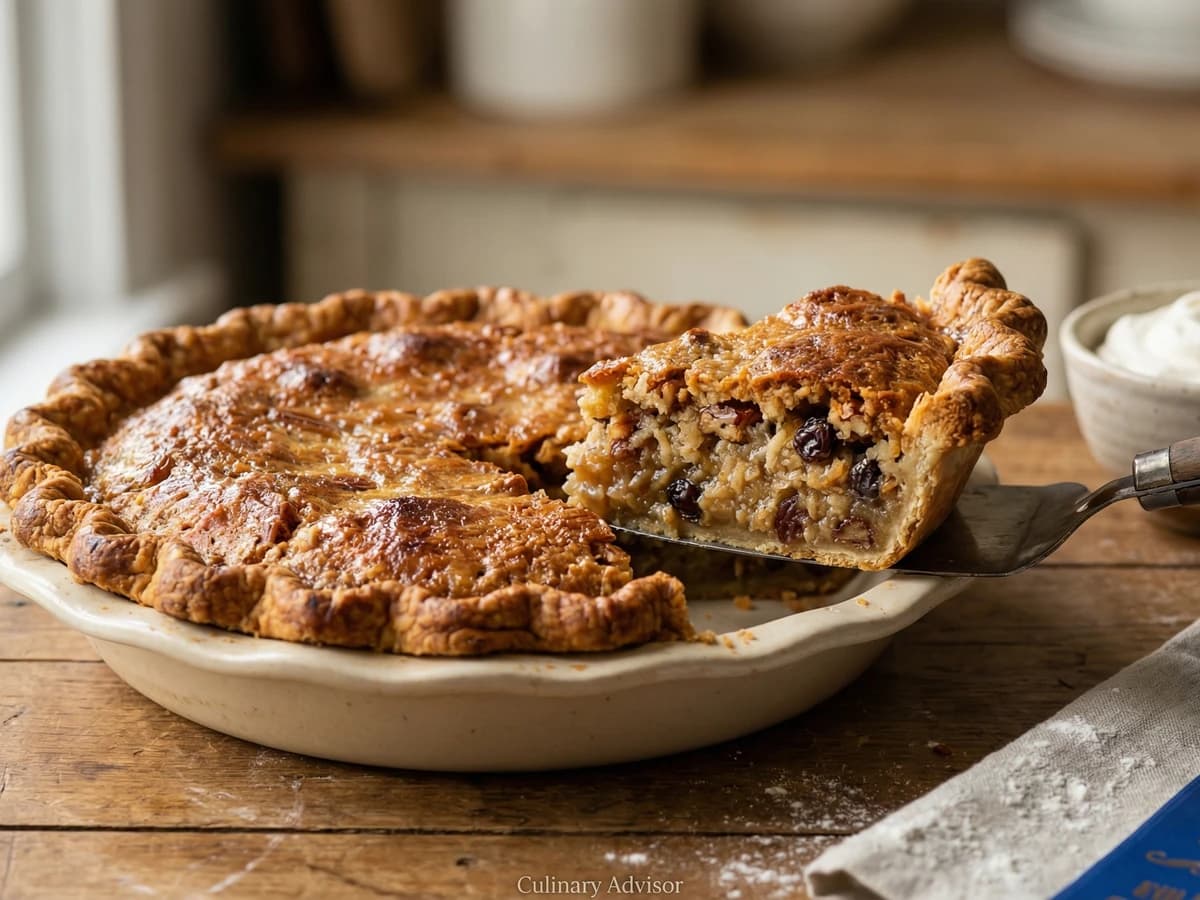
The quintessential New England marriage of sweet and savory: layers of tart apples spiced with cinnamon and nutmeg, encased in a shatteringly flaky crust laced with sharp Vermont cheddar that melts into golden, savory pockets.
Pastries & Cookies
American
Thanksgiving, Holiday, Comfort Food
45 min
Active Time
1 hr cook•3 hr total
YieldOne 9-inch double-crust pie (8 servings)
There is a saying in New England that has survived nearly two centuries: 'Apple pie without the cheese is like a kiss without the squeeze.' This is not mere folklore. It is culinary wisdom passed down from Yankee farmwives who understood something profound about the way sharp cheddar and tart apples speak to each other.
The tradition likely arrived with English settlers who served their fruit pies with wedges of aged cheese, a practice dating back to medieval times when cheese was eaten with most everything sweet. Vermont took ownership of the pairing when its dairy farms began producing cheddar of such character that it demanded inclusion in the crust itself. By the 1800s, county fairs across New England were awarding blue ribbons to pies that folded sharp cheese directly into the pastry.
The technique is straightforward but unforgiving. Your cheddar must be cold, your butter colder still, and your touch light enough that the fats stay in distinct pieces rather than melting into the flour. Those pieces create the layers. They create the shatter. Get this right and you will produce a crust that breaks apart in buttery, cheesy flakes. Get it wrong and you have a tough, homogeneous shell unworthy of the apples inside.
I have baked this pie for Thanksgiving tables from Portland to Burlington. The response is always the same: first skepticism, then a single bite, then a request for seconds. The cheese doesn't overwhelm. It provides a savory counterpoint that makes the apples taste more like themselves.
The technique, the tradition, and the story behind every dish.
tart baking applesCortland, Northern Spy, or Granny Smith
3 pounds (about 7 medium)
granulated sugar (for filling)
3/4 cup (150g)
all-purpose flour (for filling)
2 tablespoons
ground cinnamon
1 teaspoon
freshly grated nutmeg
1/4 teaspoon
fine sea salt (for filling)
1/8 teaspoon
fresh lemon juice
1 tablespoon
unsalted butter (for filling)cut into small pieces
2 tablespoons
large eggfor egg wash
1
heavy cream or milkfor egg wash
1 tablespoon
coarse sugarfor finishing
1 tablespoon
Equipment Needed
•9-inch pie plate (glass or ceramic preferred)
•Pastry blender or two butter knives
•Rolling pin
•Pastry brush
•Wire cooling rack
•Rimmed baking sheet
Instructions
1
Prepare the cheddar crust
Whisk together flour, sugar, and salt in a large bowl. Add the grated cheddar and toss with your fingers to coat each strand with flour. This prevents the cheese from clumping and ensures even distribution throughout the pastry. The cheese should virtually disappear into the flour mixture.
2
Cut in the butter
Add the cold butter cubes and work them into the flour using a pastry blender, two knives, or your fingertips. Move quickly. Your goal is a shaggy mixture with butter pieces ranging from pea-sized to flattened shards. These irregular pieces create the layers that make pastry flaky. Some visible chunks of butter are exactly what you want.
If your kitchen is warm or your hands run hot, freeze the butter for twenty minutes before cutting it in. Warmth is the enemy of flaky pastry.
3
Add ice water
Drizzle six tablespoons of ice water over the mixture and toss with a fork. Press a small handful together. If it holds without crumbling, stop adding water. If it falls apart, add more water one tablespoon at a time. The dough should be shaggy and just cohesive, not smooth or sticky.
4
Form and chill the dough
Turn the dough onto your work surface and gather it together. Divide in two portions, one slightly larger than the other. The larger portion becomes your bottom crust. Flatten each into a thick disk, wrap tightly in plastic, and refrigerate for at least one hour or overnight. This rest hydrates the flour and relaxes the gluten.
Overnight rest produces the best crust. The cheese melds with the butter, the flour absorbs moisture evenly, and the pastry becomes easier to roll.
5
Prepare the apple filling
Peel, core, and slice your apples about a quarter-inch thick. A mix of varieties provides complexity. Cortlands hold their shape; Northern Spy deliver that legendary Vermont tartness; Granny Smiths add bright acidity. Toss the slices with lemon juice immediately to prevent browning.
6
Season the apples
In a small bowl, whisk together sugar, flour, cinnamon, nutmeg, and salt. Pour this mixture over the apples and toss thoroughly until every slice is coated. The flour will thicken the juices as the pie bakes, preventing that dreaded gap between filling and top crust. Let the mixture sit while you roll the dough.
7
Roll the bottom crust
On a lightly floured surface, roll the larger disk into a round about twelve inches across and an eighth-inch thick. Work from the center outward, rotating the dough a quarter turn after every few strokes. If it sticks, slide a bench scraper underneath and dust with more flour. Transfer to a nine-inch pie plate, letting the dough settle into the corners without stretching. Trim edges to a half-inch overhang. Refrigerate while you roll the top.
Stretched dough shrinks when baked. Ease it into the plate gently, letting gravity do most of the work.
8
Roll the top crust
Roll the smaller disk to an eleven-inch round using the same technique. Transfer to a parchment-lined baking sheet and refrigerate for fifteen minutes. Cold dough handles more easily and bakes with better structure.
9
Fill the pie
Mound the seasoned apples into the chilled bottom crust, piling them higher in the center. They will cook down significantly. Dot the surface with the small butter pieces. These will melt into the filling, enriching every bite.
10
Apply the top crust
Drape the chilled top crust over the filling. Trim to a one-inch overhang. Fold the top crust edge under the bottom crust edge and crimp decoratively. I prefer a simple fork press, but a fluted edge works equally well. Cut four steam vents in the center. These release moisture and prevent the top from becoming soggy.
11
Apply egg wash and chill
Whisk together the egg and cream. Brush this wash over the entire top crust using a pastry brush, working into the crimped edges. Sprinkle generously with coarse sugar. This creates the golden, slightly crunchy surface that marks a proper pie. Freeze the assembled pie for twenty minutes while you preheat the oven.
12
Bake the pie
Position a rack in the lower third of your oven. Place a baking sheet on the rack to catch any drips. Preheat to 425°F. Bake the pie on the hot baking sheet for twenty minutes. The high initial heat sets the crust. Reduce temperature to 375°F and continue baking thirty-five to forty-five minutes until the crust is deeply golden and juices bubble thickly through the vents.
If the edges brown too quickly, shield them with strips of aluminum foil for the final fifteen minutes.
13
Cool before slicing
This is the hardest step. Let the pie cool on a wire rack for at least two hours before cutting. The filling needs time to set. Slice into a hot pie and you will have apple soup in a broken crust. Patience rewards you with clean slices and filling that holds its shape. Serve barely warm or at room temperature. Some New England diners still offer a wedge of extra cheddar on the side.
Chef Tips
•Seek out a two-year aged Vermont cheddar with real bite. Cabot Clothbound or Grafton Village produce worthy specimens. Mild cheddar disappears entirely and defeats the purpose.
•A mix of apple varieties creates the most interesting filling. If Northern Spy proves elusive, substitute half Granny Smith for tartness and half Honeycrisp for sweetness and structure.
•The pie tastes best the day after baking. Store loosely covered at room temperature. Refrigeration dulls the crust and mutes the cheese flavor.
•For a more pronounced cheese presence, reserve two tablespoons of grated cheddar and scatter it over the apples before adding the top crust.
Advance Preparation
•Crust dough can be refrigerated for up to three days or frozen for two months. Thaw overnight in the refrigerator before rolling.
•The pie can be assembled through the egg wash stage and frozen unbaked for up to one month. Bake directly from frozen, adding fifteen to twenty minutes to the total time.
•Baked pie keeps at room temperature, loosely tented with foil, for three days. Reheat slices in a 350°F oven for ten minutes to revive the crust.
Frequently Asked Questions
Nutrition Information
1 serving (about 170g)
Calories
680 calories
Total Fat
49 g
Saturated Fat
33 g
Trans Fat
0 g
Unsaturated Fat
16 g
Cholesterol
31 mg
Sodium
359 mg
Total Carbohydrates
71 g
Dietary Fiber
2 g
Sugars
22 g
Protein
12 g
Where cooking meets culture.
Culinary guides, cultural storytelling, and the editorial depth that makes cooking meaningful.