
Chef Ally
Irish Soda Bread with Caraway
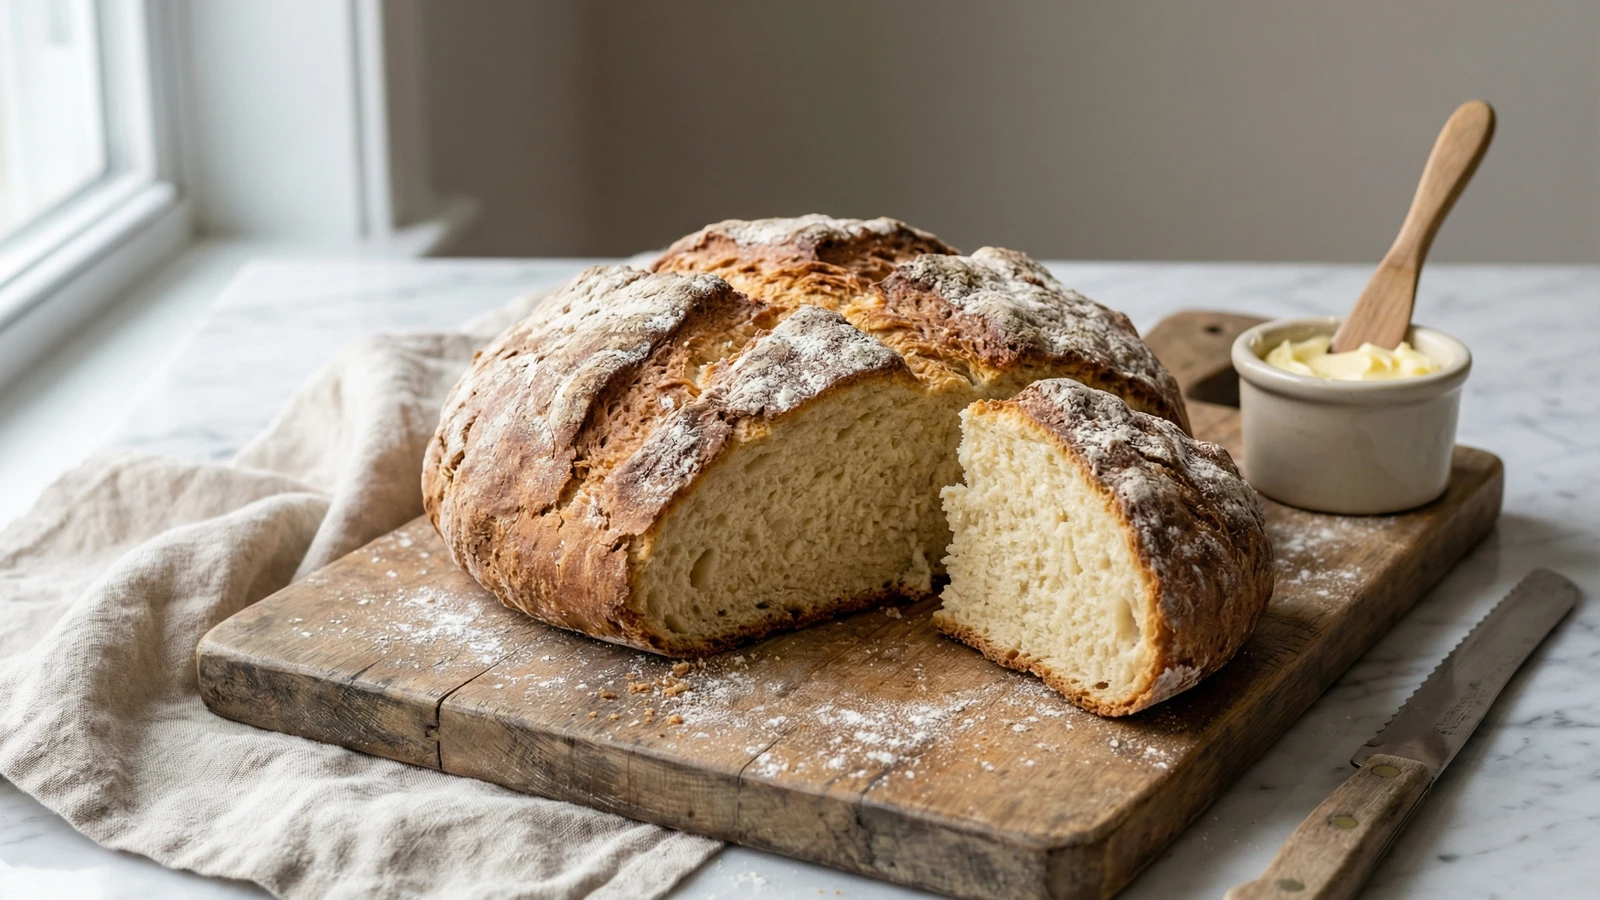
A rustic round of tender, golden bread that asks almost nothing of you: good flour, cold buttermilk, a handful of caraway seeds, and ten minutes of your attention before the oven does the rest.
A cooking platform built around craft, culture, and the stories behind what we eat.
Created by
A crusty, tender loaf born from four humble ingredients and Irish ingenuity. No yeast, no kneading, no waiting. Just honest bread on your table in under an hour.
This bread exists because Irish cooks were practical people. When baking soda arrived in Ireland in the 1840s, it transformed home baking overnight. No longer did you need yeast, which required warmth and time and a starter to keep alive. You needed flour, salt, baking soda, and buttermilk. The acid in the buttermilk reacts with the soda, creating carbon dioxide bubbles that lift the dough. Chemistry in service of dinner.
The traditional cross cut into the top isn't decoration. It serves two purposes: allowing heat to penetrate the thick center of the loaf, and letting the steam escape so the crust stays crisp rather than soggy. Some say it lets the fairies out. I say it lets the bread bake evenly. Both explanations have merit.
I've watched students overthink this bread for years. They want to knead it like a yeasted dough, work it until it's smooth and elastic. Don't. Overworking develops the gluten, and developed gluten makes tough bread. You want to bring the dough together just until it holds, then stop. The texture should be shaggy, almost rough. Trust the process.
This is bread that respects your time. Mix it in ten minutes, bake it in forty-five, and you'll have a warm loaf with a crackling crust and a tender, slightly dense interior perfect for sopping up stew or spreading with good butter. It's the bread equivalent of a firm handshake: simple, honest, memorable.
Quantity
450g (3½ cups)
plus more for dusting
Quantity
1 teaspoon (6g)
Quantity
1 teaspoon (5g)
Quantity
400ml (1⅔ cups)
well-shaken
| Ingredient | Quantity |
|---|---|
| all-purpose flourplus more for dusting | 450g (3½ cups) |
| fine sea salt | 1 teaspoon (6g) |
| baking soda | 1 teaspoon (5g) |
| buttermilkwell-shaken | 400ml (1⅔ cups) |
Position a rack in the center of your oven and preheat to 425°F (220°C). Line a baking sheet with parchment paper or lightly dust with flour. The hot oven is critical here: soda bread needs immediate, aggressive heat to rise properly before the chemical reaction exhausts itself.
In a large bowl, whisk together the flour, salt, and baking soda until thoroughly combined. The baking soda tends to clump, so break up any lumps with your fingers or the back of a spoon. Even distribution matters: pockets of concentrated soda will leave bitter spots in your finished bread.
Make a well in the center of the flour mixture. Pour in most of the buttermilk, reserving about two tablespoons. Using one hand formed into a claw shape, stir in quick circular motions from the center outward, gradually incorporating the flour. The dough should come together into a shaggy, sticky mass. Add the remaining buttermilk only if dry flour remains at the bottom of the bowl.
Turn the dough onto a lightly floured surface. Flour your hands. Gently pat and shape the dough into a round about 7 inches in diameter and 2 inches tall. Do not knead. You should handle this dough for no more than 30 seconds total. It will look rough and uneven. This is correct. A smooth, well-worked dough means tough bread.
Transfer the round to your prepared baking sheet. Using a sharp serrated knife or a lame, cut a deep cross into the top of the loaf, slicing about ½ inch deep and extending almost to the edges. This isn't timid scoring: commit to it. The cuts will open dramatically in the oven, creating the bread's characteristic four-quartered appearance.
Bake for 40 to 45 minutes. The bread is done when the crust is deep golden brown, the loaf sounds hollow when tapped on the bottom, and the internal temperature registers 200°F (93°C) on an instant-read thermometer. The crust should feel firm and dry to the touch, with the cross opened wide to reveal the pale interior.
Transfer the loaf to a wire rack. Let it cool for at least 20 minutes before cutting. I know this requires discipline. The bread is still cooking inside, the starches still setting. Cut too soon and you'll have a gummy interior and a crust that loses its crispness. Patience turns good bread into proper bread.
1 serving (about 93g)
Culinary guides, cultural storytelling, and the editorial depth that makes cooking meaningful.
Discover Culinary ExplorerChef Ally
A rustic round of tender, golden bread that asks almost nothing of you: good flour, cold buttermilk, a handful of caraway seeds, and ten minutes of your attention before the oven does the rest.

Chef Juliette
Pâte à brioche ordinaire teaches enriched dough properly: wake the leaven, build strength before the last egg, then work in pliable butter by stages and let one long fermentation do its quiet work.

Chef Juliette
Ordinary brioche takes one exact measure of butter and a patient rise in the mould, becoming so light and silken that it can cradle fruit without losing its tender crumb.

Chef Juliette
Pâte à brioche ordinaire, butter-rich yet firm, teaches the useful side of brioche: slow fermentation, disciplined mixing, and a dough that rolls cleanly for lining, wrapping, and every sturdy pastry job.