
Chef Takumi
Aji Fry (アジフライ, panko-fried horse mackerel)
Aji fry is weeknight fish with no mystery: fresh horse mackerel opened cleanly, breaded lightly, and fried until the panko crackles while the flesh stays sweet.
A cooking platform built around craft, culture, and the stories behind what we eat.
Created by
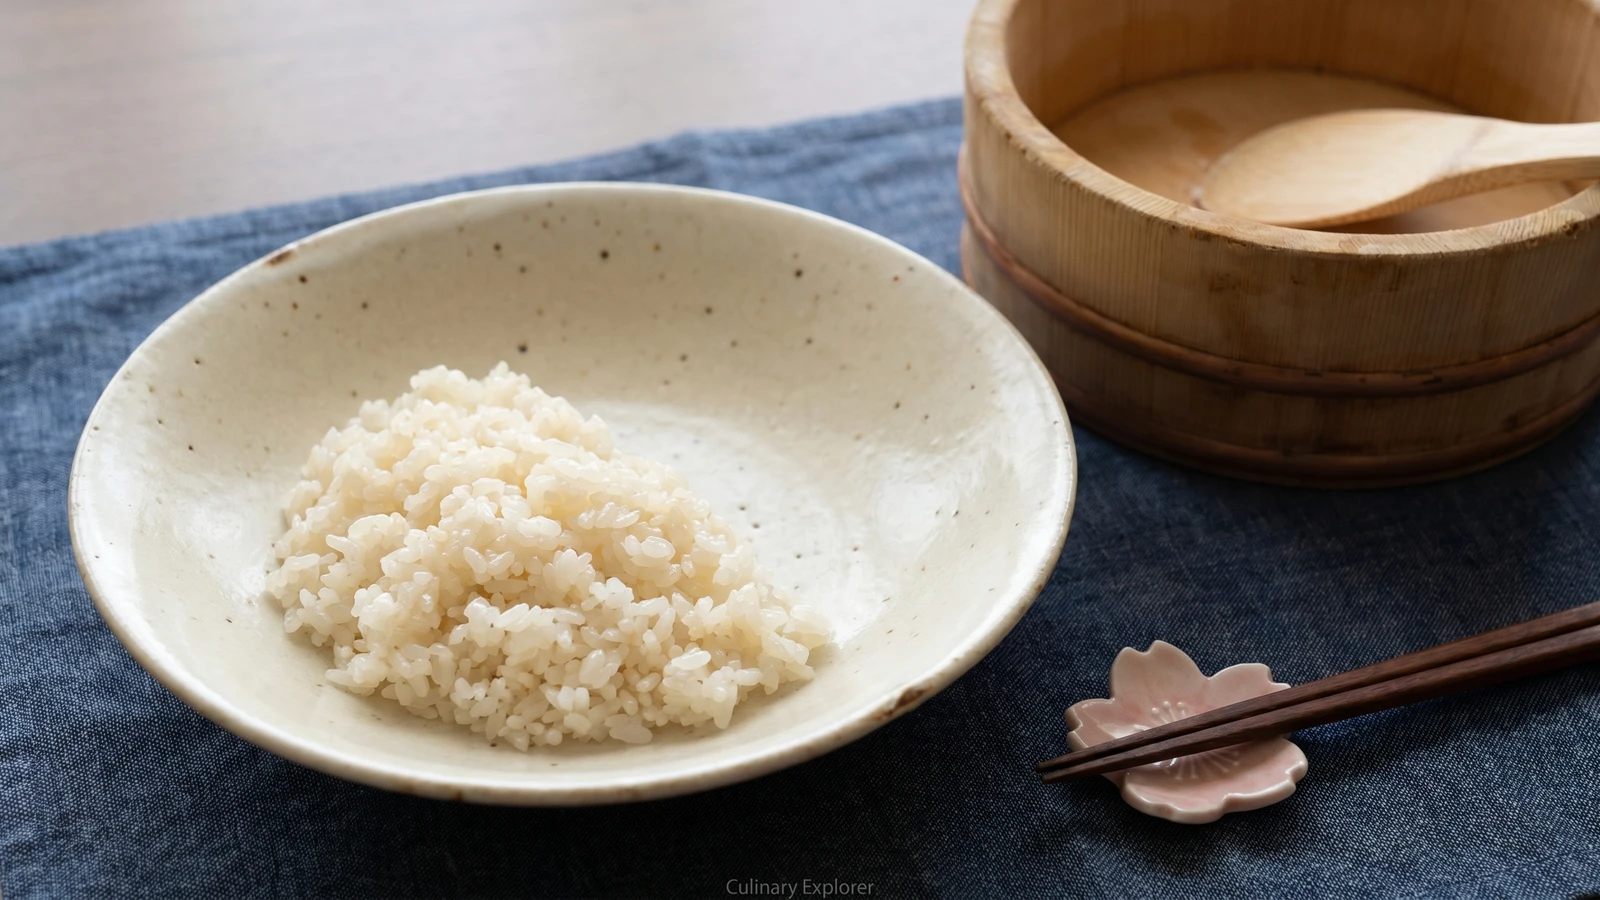
Sushi-meshi is the part that decides the sushi. Cook the rice firm, dress it while warm, and cool it with a fan until every grain is glossy and separate.
Sushi begins before the fish. That sounds like a small correction, but it changes the whole table. The rice is not a background. Sushi-meshi, vinegared rice, is the body of the dish, and if you get it right the rest becomes much calmer.
The first secret is firmness. Cook short-grain rice with a little less water than usual, because the seasoning will soften it after cooking. Dress it while it is hot, when the grains can drink the vinegar evenly, then fan as you fold. The fan does two things at once: it cools the rice to body temperature and gives each grain that quiet gloss we look for. Stir hard and you mash it. Leave it wet and it goes heavy. Fold, cut, turn, and let the paddle do its work.
This is not difficult, only particular. We are balancing three plain things: rice vinegar, salt, and sugar. The vinegar brightens, the salt gives shape, and the sugar rounds the edge so the rice can sit beside raw fish, egg, cucumber, or nori without shouting at any of them. Nothing hidden. Sushi-meshi is honmono when it tastes seasoned but still tastes like rice.
Sushi began in Japan as a preservation method, with fish packed in fermented rice, and by the Edo period it had changed into quicker vinegar-seasoned forms suited to city life. Nigiri-zushi, the hand-pressed sushi associated with Edo, spread in the early nineteenth century as vinegar replaced long fermentation and made sushi fast enough for busy streets. The word sushi is written with the character for vinegar in sushimeshi, a reminder that the seasoned rice is not a side matter but the defining element.
Quantity
3 rice-cooker cups (540ml)
Quantity
for rinsing
Quantity
2 3/4 cups
for cooking
Quantity
1 piece, about 5cm square
wiped gently
Quantity
1/2 cup
Quantity
3 tablespoons
Quantity
2 teaspoons
| Ingredient | Quantity |
|---|---|
| Japanese short-grain rice | 3 rice-cooker cups (540ml) |
| water | for rinsing |
| waterfor cooking | 2 3/4 cups |
| konbu (dried kelp) (optional)wiped gently | 1 piece, about 5cm square |
| Japanese rice vinegar | 1/2 cup |
| sugar | 3 tablespoons |
| fine sea salt | 2 teaspoons |
Put the rice in a bowl, cover with cool water, and stir quickly with your fingers. Pour off the cloudy water at once, then wash by gently rubbing the grains together and rinsing until the water is almost clear, four or five changes. The first water carries loose starch and stale surface flavors, so don't let the rice sit in it. Clean rice cooks clean.
Cover the washed rice with fresh water and soak for 20 minutes, then drain in a sieve for 10 minutes. Soaking lets the grain hydrate evenly from edge to center, and draining keeps you from accidentally adding extra water. Sushi rice should cook firm because it still has vinegar to receive.
Put the drained rice and cooking water in a rice cooker or heavy pot. Lay the konbu on top if using. Cook until done, then let the rice rest covered for 10 minutes. The rest finishes the grain gently and steadies the moisture. Remove and discard the konbu before dressing, because its work is done and the rice should taste like rice, not kelp.
While the rice cooks, combine the rice vinegar, sugar, and salt in a small bowl. Stir until dissolved, or warm it very gently without boiling. This is sushi-zu, the vinegar seasoning. Dissolving the salt and sugar first means the rice receives one even seasoning, not sharp pockets of salt and sweet.
Turn the hot rice into a dampened hangiri, the shallow wooden tub used for sushi rice, or a wide non-metal bowl. Pour the sushi-zu over the paddle so it scatters across the rice instead of striking one place. Dress the rice while it is hot because warm grains drink evenly; cold rice only wears the vinegar on its surface.
With a rice paddle, cut through the rice, lift, and turn it over in broad strokes while fanning with your other hand, or ask someone to fan for you. Do this for 5 to 7 minutes, until the rice is glossy, separate, and cooled to body temperature. The cutting motion seasons without crushing. The fanning cools the rice fast enough to hold its shape and leaves a sheen on every grain.
Gather the rice lightly, cover with a damp cloth, and keep it at room temperature until you use it. Don't refrigerate it before shaping sushi. Cold makes the starch firm and dull, and the rice loses the tenderness you just worked for. Use it within a few hours.
1 serving (about 275g)
Culinary guides, cultural storytelling, and the editorial depth that makes cooking meaningful.
Discover Culinary ExplorerChef Takumi
Aji fry is weeknight fish with no mystery: fresh horse mackerel opened cleanly, breaded lightly, and fried until the panko crackles while the flesh stays sweet.
Chef Takumi
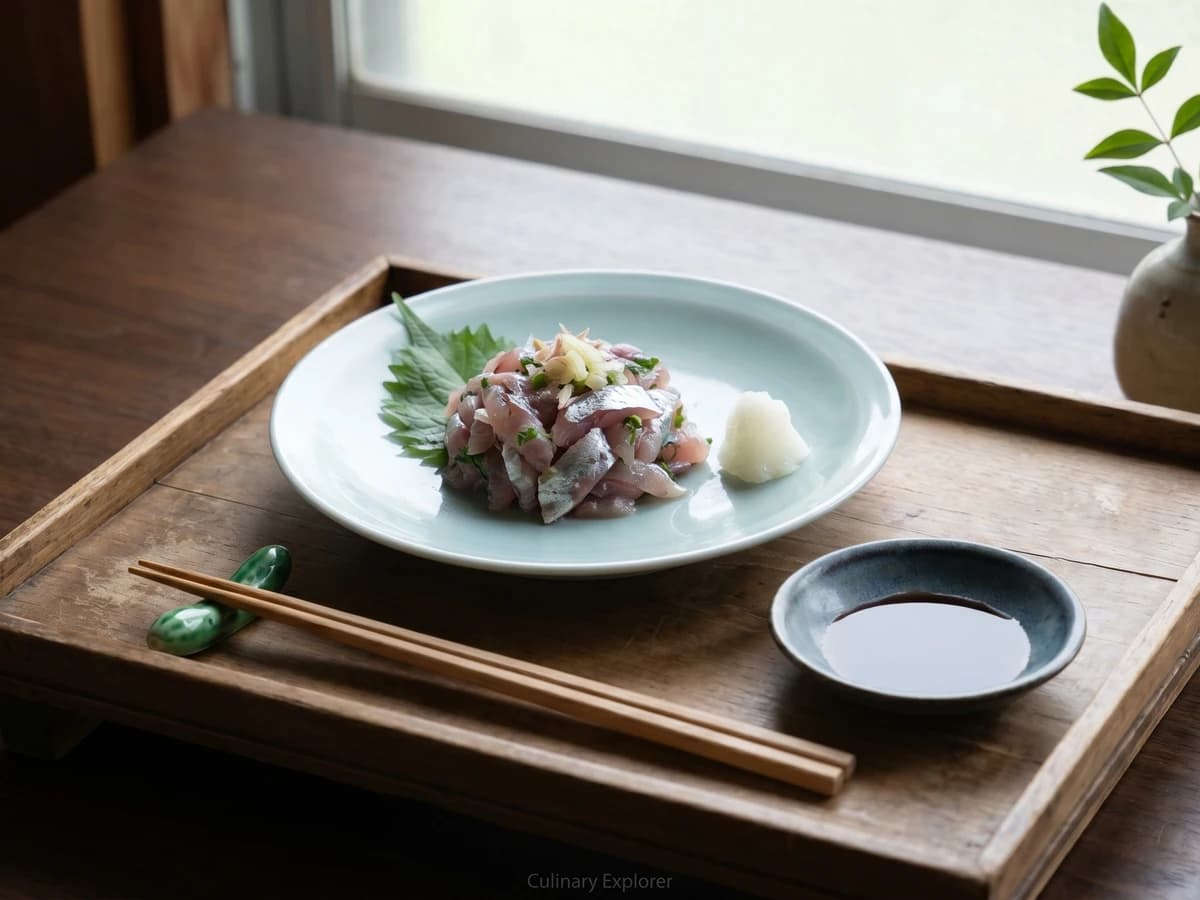
Summer horse mackerel, chopped just enough to catch ginger and scallion, becomes a cool, clean main dish with rice. The secret is fresh fish and a knife that does not bruise it.
Chef Takumi
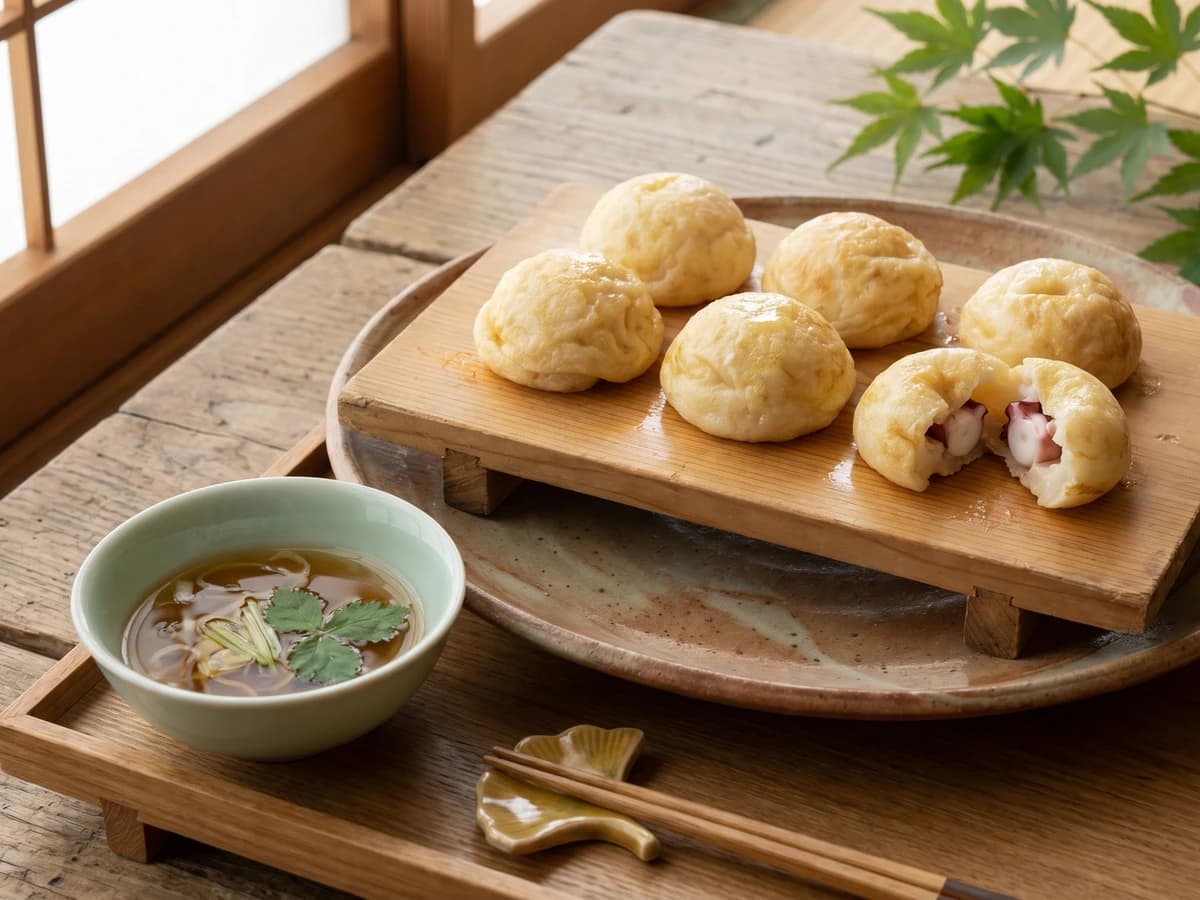
Akashi-yaki is not sauced takoyaki. It is egg-rich batter, tender octopus, and clear dashi, cooked pale and soft so each ball can be dipped like a small custard dumpling.

Chef Takumi
A whole anago looks like a test of nerve. It is mostly good sourcing, a dry skin, cold batter, and oil hot enough to leave the eel sweet under its lace.