
Chef Takumi
Aji Fry (アジフライ, panko-fried horse mackerel)
Aji fry is weeknight fish with no mystery: fresh horse mackerel opened cleanly, breaded lightly, and fried until the panko crackles while the flesh stays sweet.
A cooking platform built around craft, culture, and the stories behind what we eat.
Created by
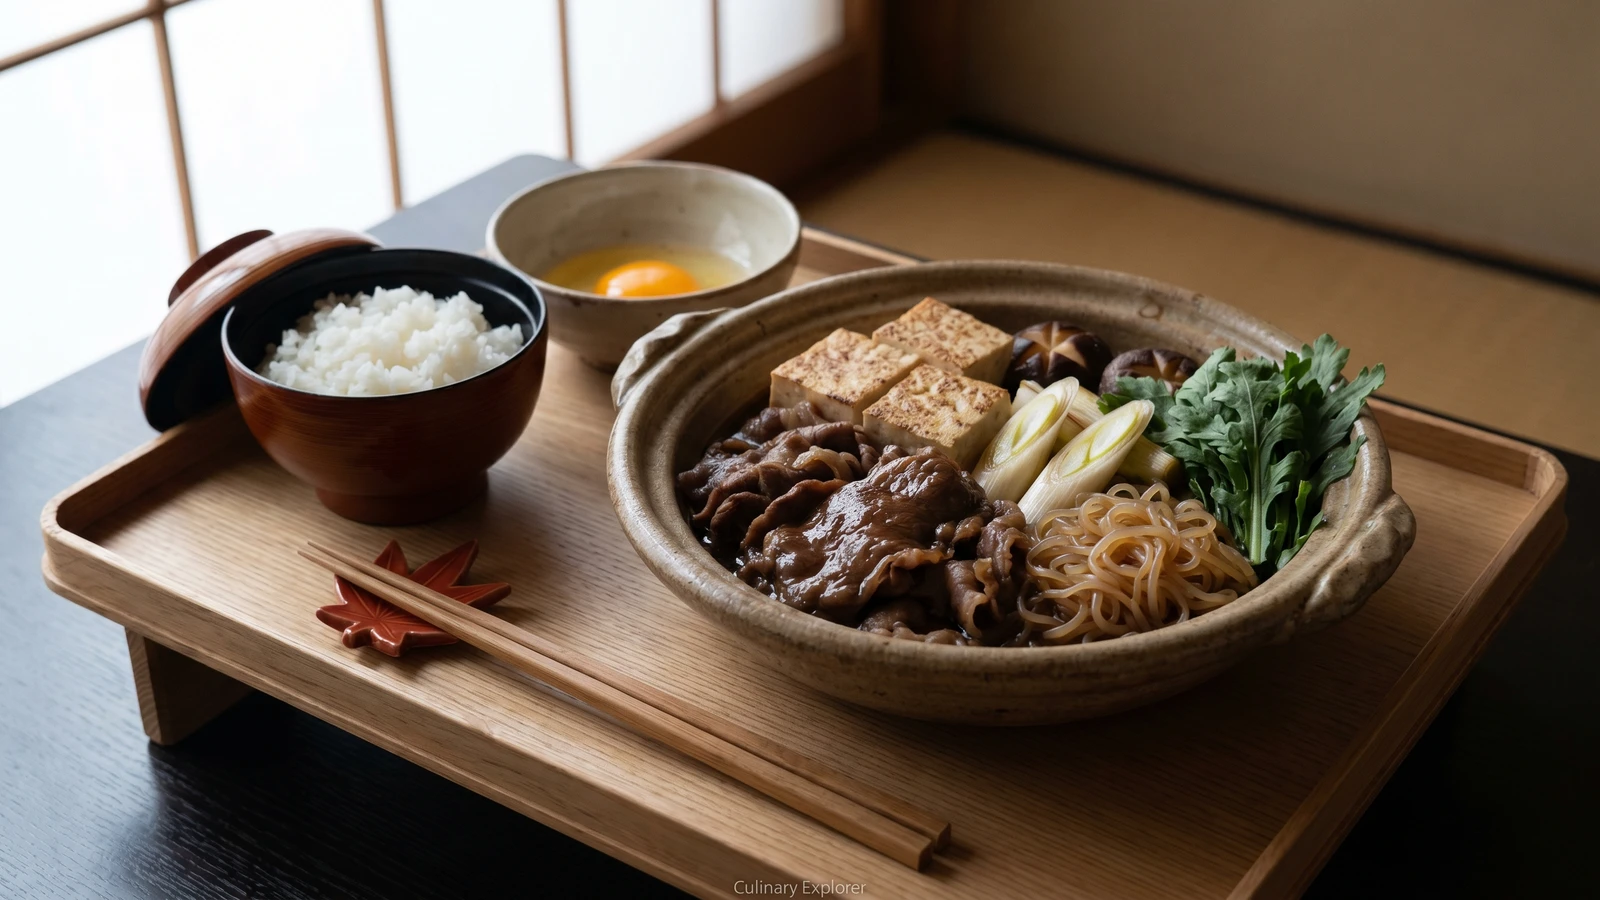
This is sukiyaki brought back from the table burner to the weekday pan: thin beef, shirataki, tofu, and scallions simmered just long enough to gloss in sweet soy broth.
Thin beef is the mercy in this dish. Gyū sukini looks like sukiyaki brought into a smaller room: the same sweet soy gloss, the same shirataki and scallions, but no table burner asking everyone to become part of the cooking. It is the pan version, quieter and very good with rice.
The one thing to guard is the beef. Tofu, shirataki, mushrooms, and hakusai need time to drink the warishita, the sweet sake-and-soy broth. Beef sliced for sukiyaki does not. Lay it in at the end, in loose ribbons, and stop as soon as the red has just gone. Let the knife do its work before the pan begins its own.
We build the broth on dashi, sake, shōyu, mirin, and sugar. The dashi keeps the sweetness from becoming heavy, and the shirataki gets a quick boil first so nothing cloudy or packaged follows it into the pan. Nothing hidden. This is honmono made practical: the method, not the menu, carried into a weeknight kitchen.
Serve it as the main dish beside rice, with a little room in the bowl so the broth can shine around the pieces. Sukiyaki can be a performance when it wants to be. Gyū sukini is more modest. It gives you the same comfort, then lets you sit down.
Sukiyaki's modern form belongs to the Meiji period, when public beef eating spread after Emperor Meiji's 1872 endorsement of meat eating was widely reported. In Tokyo, the older name gyūnabe, beef hot pot, stayed tied to a Kanto style simmered in warishita, while Kansai cooks more often browned beef first and seasoned it directly with sugar and shōyu. Gyū sukini is the home-kitchen nimono version of that family, cooked in one pan and served as a main dish rather than managed at the table.
Quantity
1 piece (about 5g)
Quantity
2 cups
Quantity
8g
Quantity
1/2 cup
Quantity
1/2 cup
Quantity
1/4 cup
Quantity
3 tablespoons
Quantity
300g
ribeye, chuck roll, or sirloin, sliced 2 to 3mm thick
Quantity
200g
drained
Quantity
1 block (about 300g)
cut into 8 pieces
Quantity
2 negi or 6 scallions
cut diagonally into 2-inch lengths
Quantity
6
stems trimmed, caps lightly scored
Quantity
2 cups
cut into bite-size pieces
Quantity
1 small handful
tough stems removed
Quantity
1 tablespoon
Quantity
4
beaten, for dipping
Quantity
for serving
| Ingredient | Quantity |
|---|---|
| konbu (dried kelp) | 1 piece (about 5g) |
| cold water | 2 cups |
| katsuobushi (bonito flakes) | 8g |
| sake | 1/2 cup |
| koikuchi shōyu (Japanese dark soy sauce) | 1/2 cup |
| mirin | 1/4 cup |
| sugar | 3 tablespoons |
| thinly sliced sukiyaki-cut beefribeye, chuck roll, or sirloin, sliced 2 to 3mm thick | 300g |
| shirataki noodlesdrained | 200g |
| yaki-dōfu or firm tofucut into 8 pieces | 1 block (about 300g) |
| Tokyo negi or large scallionscut diagonally into 2-inch lengths | 2 negi or 6 scallions |
| fresh shiitake mushroomsstems trimmed, caps lightly scored | 6 |
| hakusai (napa cabbage)cut into bite-size pieces | 2 cups |
| shungiku (garland chrysanthemum greens) (optional)tough stems removed | 1 small handful |
| beef fat (gyūshi) or neutral oil | 1 tablespoon |
| pasteurized eggs (optional)beaten, for dipping | 4 |
| cooked short-grain rice | for serving |
Wipe the konbu with a damp cloth, but don't wash it. That pale bloom on the surface is flavor, not dirt. Put the konbu in the cold water and bring it up slowly over low heat until the water trembles and small bubbles climb the sides, about 10 minutes. Lift the konbu out before the water boils, because boiling pulls bitterness and a slick texture from the kelp. Bring the water just to a gentle boil, add the katsuobushi all at once, take the pot off the heat, and leave it alone for 2 minutes. Strain through a cloth or fine-mesh strainer and let it drip without pressing. Squeezing the flakes clouds the stock and pushes strong, oily flavors into the clean dashi you just made.
Rinse the shirataki well, then boil it in plain water for 2 minutes. Drain and cut the strands into shorter lengths. This isn't busywork. Shirataki carries a faint konnyaku smell from its packing liquid, and a short boil clears it so the broth tastes of beef, dashi, and shōyu, not the packet it came in.
Combine 1 1/2 cups dashi, sake, shōyu, mirin, and sugar in a small saucepan. Warm just until the sugar dissolves, then taste. This is warishita, the sukiyaki seasoning broth. It should taste a little too strong to drink, sweet first, then salty, because the tofu, shirataki, and vegetables will soften it as they cook.
Set a wide shallow sukiyaki pan, donabe, or heavy skillet over medium heat and melt the beef fat or warm the oil. Add the negi or scallions and let the cut sides color lightly. That small browning gives the dish the sukiyaki aroma without asking the beef to sit in the pan too long. Add the tofu, shirataki, shiitake, and hakusai in separate clusters, keeping the shirataki away from where the beef will go.
Pour in the warishita and bring it to a steady, gentle simmer. Lay a wooden drop-lid, or otoshibuta, over the surface, or use a circle of parchment with a small hole in the center. Cook for 7 to 8 minutes, until the hakusai softens, the tofu edges turn tan, and the mushrooms look glossy. The drop-lid keeps everything bathed in seasoning without stirring, and stirring is how neat pieces become a muddle.
Lower the heat so the broth moves quietly. Lay the beef into the pan in loose ribbons, one slice at a time, and turn each piece as soon as the underside changes color. Add the shungiku, if using, during the last minute. Stop when the beef has just lost its raw red, usually 60 to 90 seconds. This is the detail that decides the dish: sukiyaki-cut beef is already tender because it is sliced thin, and a long simmer only tightens it.
Take the pan off the heat and let it stand for 2 minutes so the tofu and shirataki drink a little more broth while the beef relaxes. Serve in shallow bowls with hot short-grain rice. If you want the old sukiyaki habit, dip each bite in beaten pasteurized egg, but keep that optional and sensible. For children, pregnant people, older adults, or anyone immunocompromised, serve it without raw egg. The broth has enough gloss and depth to stand on its own.
1 serving (about 620g)
Culinary guides, cultural storytelling, and the editorial depth that makes cooking meaningful.
Discover Culinary ExplorerChef Takumi
Aji fry is weeknight fish with no mystery: fresh horse mackerel opened cleanly, breaded lightly, and fried until the panko crackles while the flesh stays sweet.
Chef Takumi
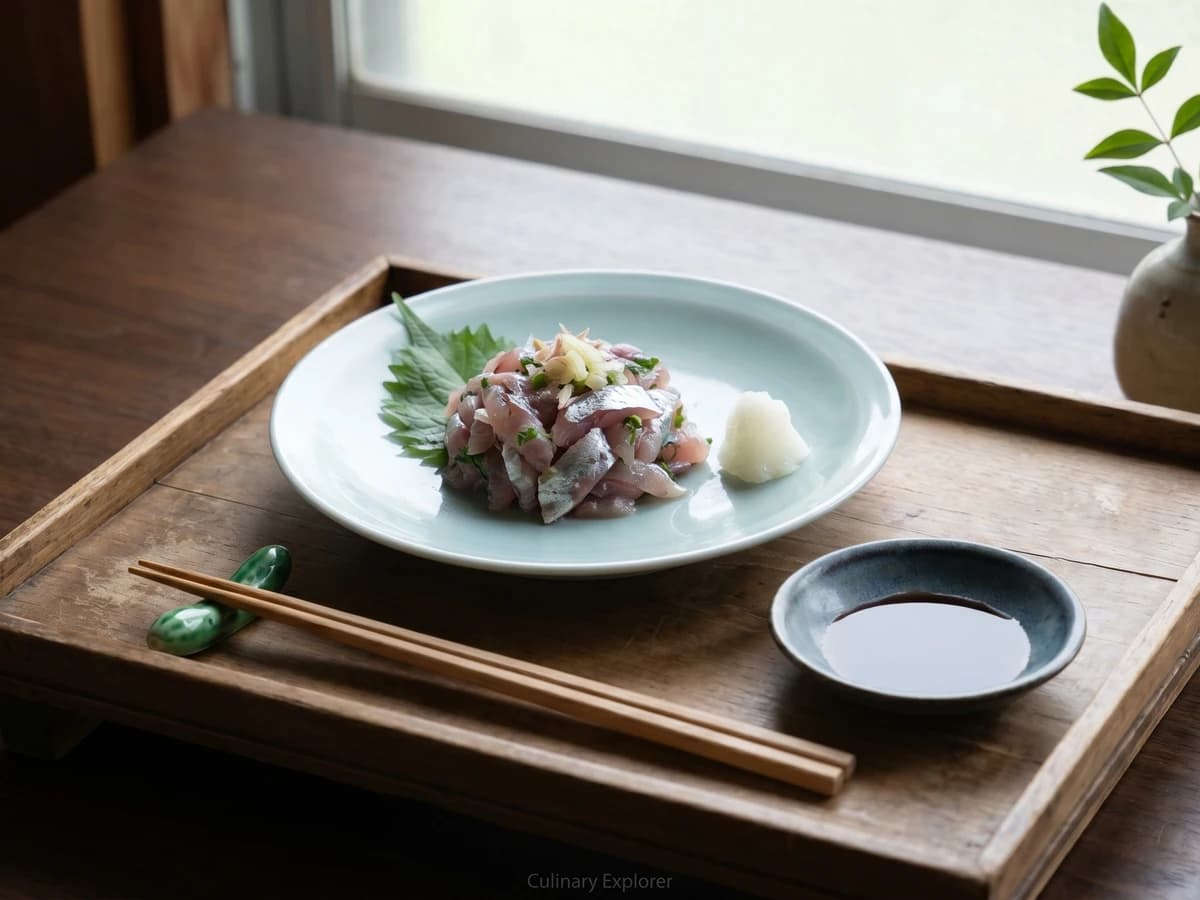
Summer horse mackerel, chopped just enough to catch ginger and scallion, becomes a cool, clean main dish with rice. The secret is fresh fish and a knife that does not bruise it.
Chef Takumi
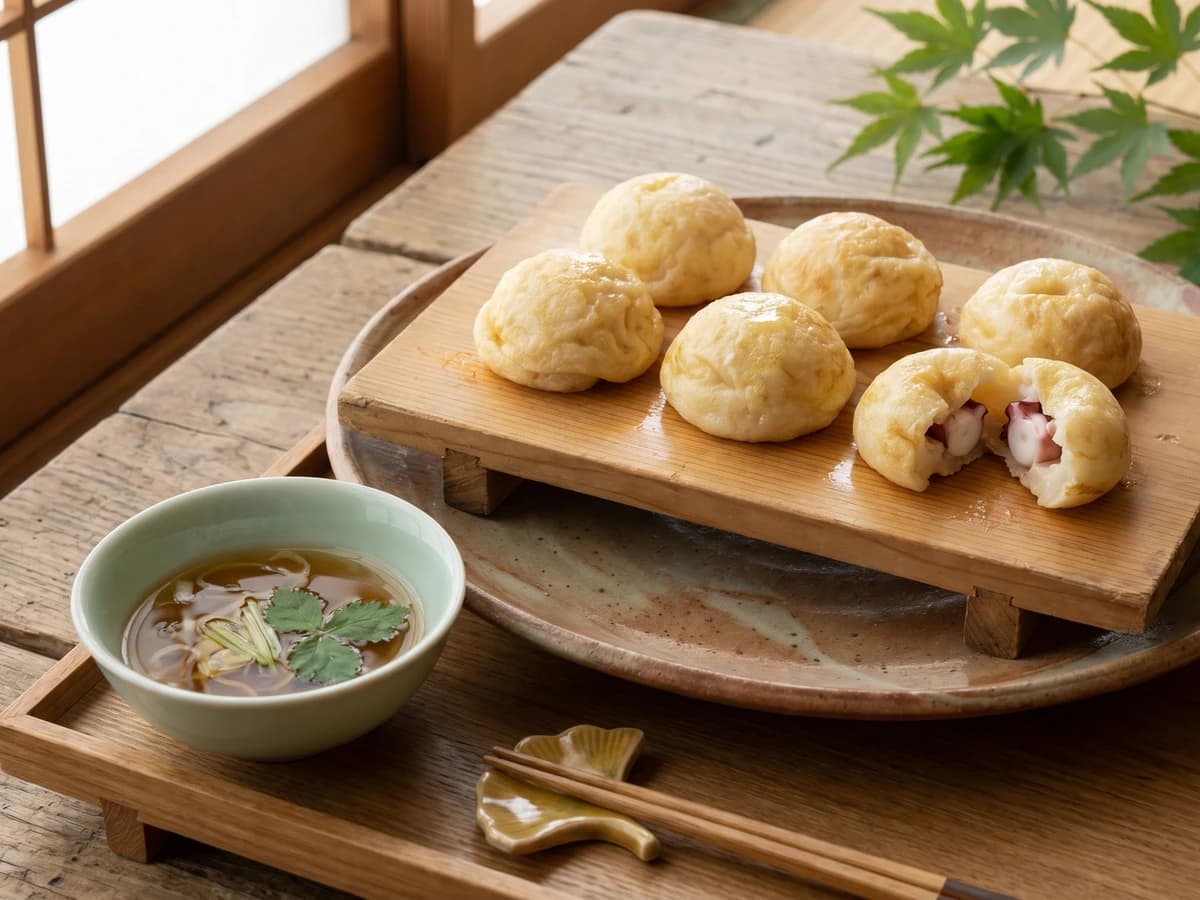
Akashi-yaki is not sauced takoyaki. It is egg-rich batter, tender octopus, and clear dashi, cooked pale and soft so each ball can be dipped like a small custard dumpling.

Chef Takumi
A whole anago looks like a test of nerve. It is mostly good sourcing, a dry skin, cold batter, and oil hot enough to leave the eel sweet under its lace.