Chef Dean
Classic Italian Focaccia
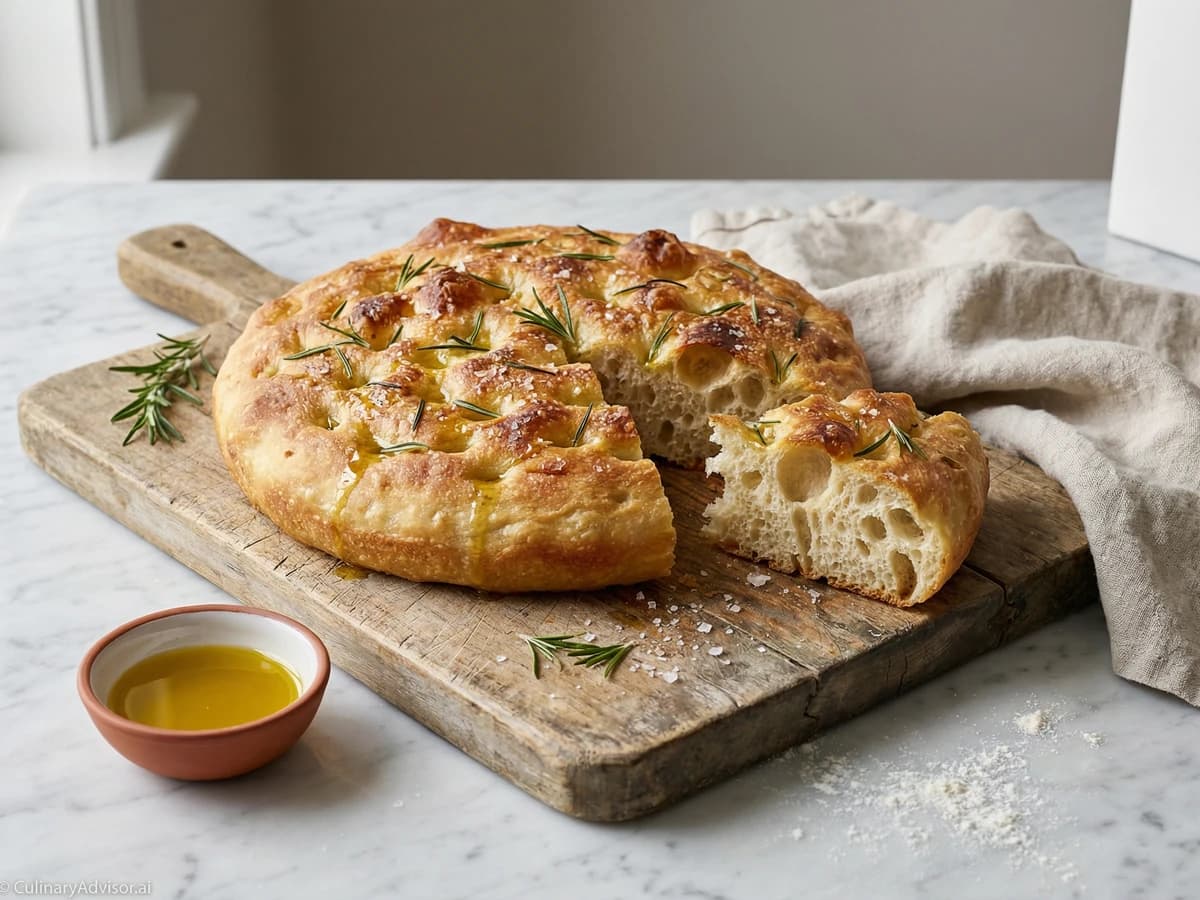
Golden-crusted Ligurian flatbread, generous with olive oil, dimpled by eager fingers, and scattered with rosemary and flaky salt. The bread that proves simplicity requires no apology.
A cooking platform built around craft, culture, and the stories behind what we eat.
Created by
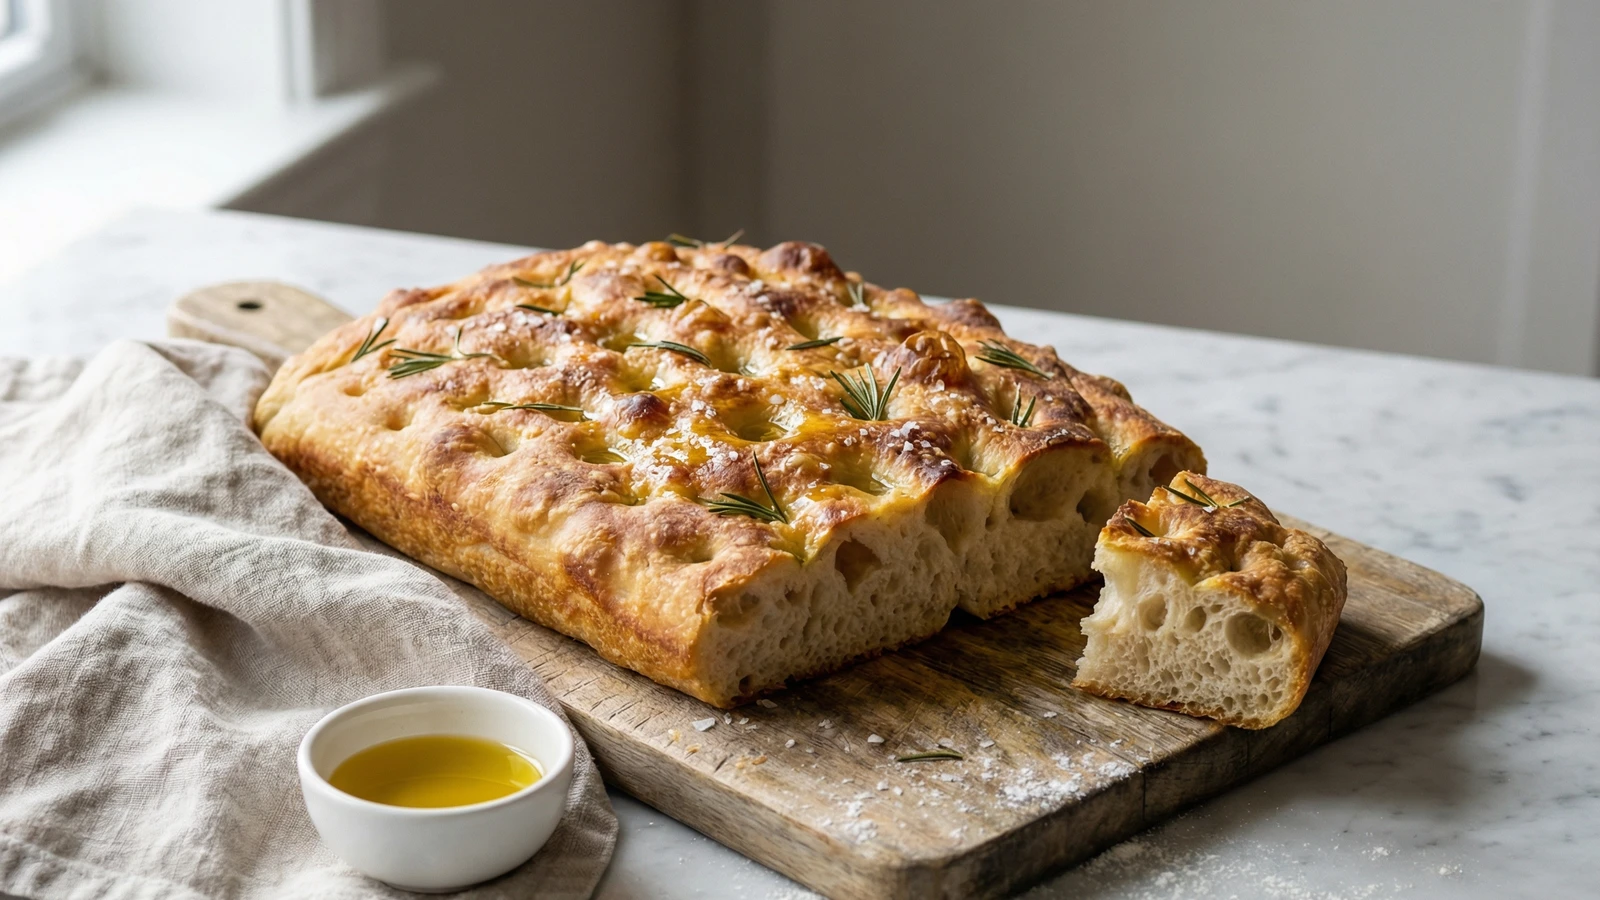
Golden, dimpled Italian flatbread transformed by sourdough fermentation. The crust shatters. The crumb stretches in long, glossy strands. This is bread that makes people stop talking mid-sentence.
Focaccia belongs to the Ligurian coast, where bakers have dimpled and oiled this bread for centuries. But the technique belongs to anyone willing to learn it. When you add sourdough to the equation, you gain something industrial yeast cannot provide: depth, complexity, and a crust that crackles with character.
The process takes time but demands little effort. Your hands touch the dough perhaps four times over two days. The rest is patience. Fermentation does the heavy lifting while you live your life. The wild yeasts in your starter produce carbon dioxide slowly, building an open crumb structure that store-bought focaccia can only dream about.
I've watched students panic at the sight of high-hydration dough. It looks wrong. Wet, sticky, impossible to control. Trust the process. This shaggy mess transforms through folding and time into something supple and alive. The olive oil coating isn't just for flavor. It protects the dough, keeps it moist, and fries the bottom to golden perfection in a hot oven.
Make this bread once. You'll understand why Italian grandmothers guarded their starters like family heirlooms.
Quantity
500g (4 cups)
Quantity
375g (1½ cups plus 2 tablespoons)
80°F
Quantity
100g (½ cup)
Quantity
10g (2 teaspoons)
Quantity
90ml (6 tablespoons)
divided
Quantity
for finishing
Quantity
to taste
| Ingredient | Quantity |
|---|---|
| bread flour | 500g (4 cups) |
| warm water80°F | 375g (1½ cups plus 2 tablespoons) |
| active sourdough starter | 100g (½ cup) |
| fine sea salt | 10g (2 teaspoons) |
| extra-virgin olive oildivided | 90ml (6 tablespoons) |
| flaky sea salt | for finishing |
| fresh rosemary sprigs (optional) | to taste |
In a large bowl, combine the warm water and sourdough starter. Stir until the starter dissolves and the water turns cloudy. Add the flour and mix with a wooden spoon or your hand until no dry patches remain. The dough will look rough and shaggy. This is correct. Cover the bowl with a damp towel and let it rest for 30 minutes. This autolyse period allows the flour to hydrate fully before you add salt.
Sprinkle the fine sea salt over the dough. Drizzle 2 tablespoons of olive oil on top. Using wet hands (this prevents sticking), squeeze the dough through your fingers repeatedly. Fold it over itself, rotate the bowl, and repeat. Work the salt and oil throughout until the dough feels cohesive, about 2 minutes. It will still be sticky. Cover and rest for 30 minutes.
With wet hands, reach under one side of the dough, stretch it upward until you feel resistance, and fold it over the center. Rotate the bowl 90 degrees and repeat. Complete four folds total, one on each side. The dough will tighten and become smoother with each set. Cover and rest 30 minutes. Repeat this folding process three more times, for a total of four sets over two hours. By the final set, the dough should feel pillowy, hold its shape, and show small bubbles beneath the surface.
After the final fold, cover the bowl tightly and leave it at room temperature (70-75°F) until the dough has grown by about 50% and looks puffy with visible bubbles. This takes 3-4 hours in a warm kitchen, longer if your space runs cool. The dough should jiggle when you shake the bowl.
Pour 2 tablespoons of olive oil into a 9x13-inch baking pan or rimmed sheet pan. Tilt to coat the bottom and sides. Using a bowl scraper or wet hands, gently release the dough from the bowl and transfer it to the oiled pan. Don't worry about shaping. Just let it settle. Drizzle another tablespoon of oil over the top. Cover tightly with plastic wrap and refrigerate for 12-24 hours. This cold fermentation develops complex flavor and makes the dough easier to handle.
Remove the pan from the refrigerator 2-3 hours before baking. The dough needs to warm up and complete its final rise. After 30 minutes at room temperature, use oiled fingertips to gently press and stretch the dough toward the corners of the pan. It will resist. That's fine. Cover and wait 30 minutes. Stretch again. Repeat until the dough fills the pan, which may take 2-3 stretching sessions. Don't force it. The gluten relaxes with time.
Preheat your oven to 450°F (230°C) with a rack in the center position. When the dough fills the pan and looks puffy and alive (it should spring back slowly when poked), drizzle the remaining tablespoon of olive oil over the surface. Dip your fingertips in the oil on top, then press straight down through the dough to create deep dimples. Work across the entire surface. These wells collect olive oil during baking and create the signature texture. Scatter flaky sea salt generously over the top. Press rosemary leaves into some of the dimples if using.
Place the pan on the center rack and bake for 22-28 minutes, rotating once at the halfway mark. The focaccia is done when the top is deeply golden, the edges pull away from the pan, and the bottom sounds hollow when you lift a corner and tap. The internal temperature should read 205-210°F on an instant-read thermometer. Don't underbake. A pale focaccia is a sad focaccia.
Transfer the pan to a wire rack. After 5 minutes, use a spatula to slide the focaccia directly onto the rack. This prevents the bottom from steaming and losing its crispness. Let it cool for at least 15 minutes before cutting. The structure needs time to set. Slice into squares or tear into pieces. Serve warm or at room temperature with good olive oil for dipping.
1 serving (about 90g)
Culinary guides, cultural storytelling, and the editorial depth that makes cooking meaningful.
Discover Culinary ExplorerChef Dean
Golden-crusted Ligurian flatbread, generous with olive oil, dimpled by eager fingers, and scattered with rosemary and flaky salt. The bread that proves simplicity requires no apology.
Chef Dean
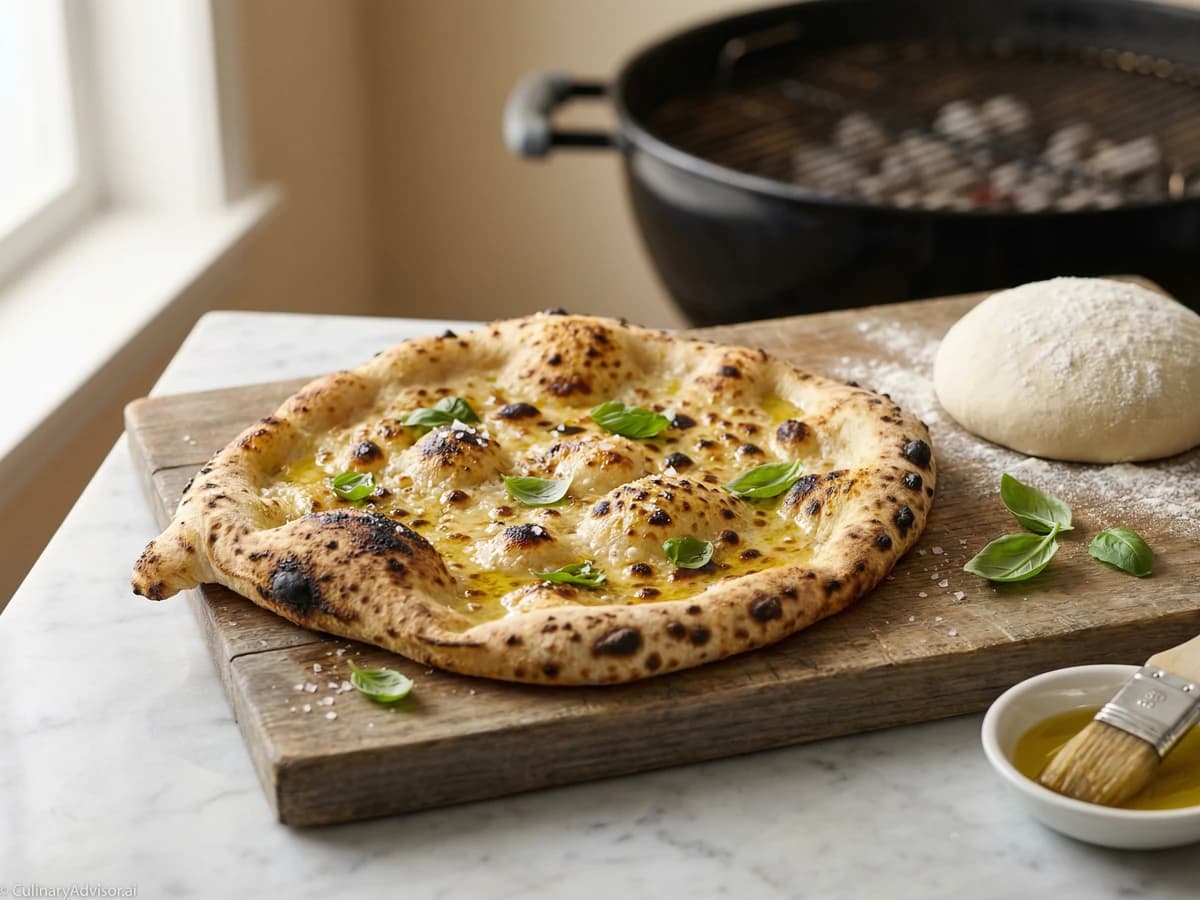
Supple, high-hydration dough stretched thin and kissed by live fire, producing the leopard-spotted char and smoky complexity that no kitchen oven can replicate. This is summer pizza.

Chef Dean
The iconic Italian slipper bread with a shattering golden crust and an interior so open and airy you could lose your car keys in there. High-hydration dough rewards patience with results no bakery can match.

Chef Dean
The legendary Milanese Christmas bread with its golden dome, butter-rich crumb, and jeweled interior of candied citrus and plump raisins. Patient fermentation rewards you with texture like sweet clouds pulled apart by eager hands.