
Chef Thomas
A Bloomer
A proper British bloomer, slashed deep and baked until the cuts open wide and the crust turns deep, glossy gold. The kind of loaf that makes the rest of the day feel deliberate.
A cooking platform built around craft, culture, and the stories behind what we eat.
Created by Chef Thomas
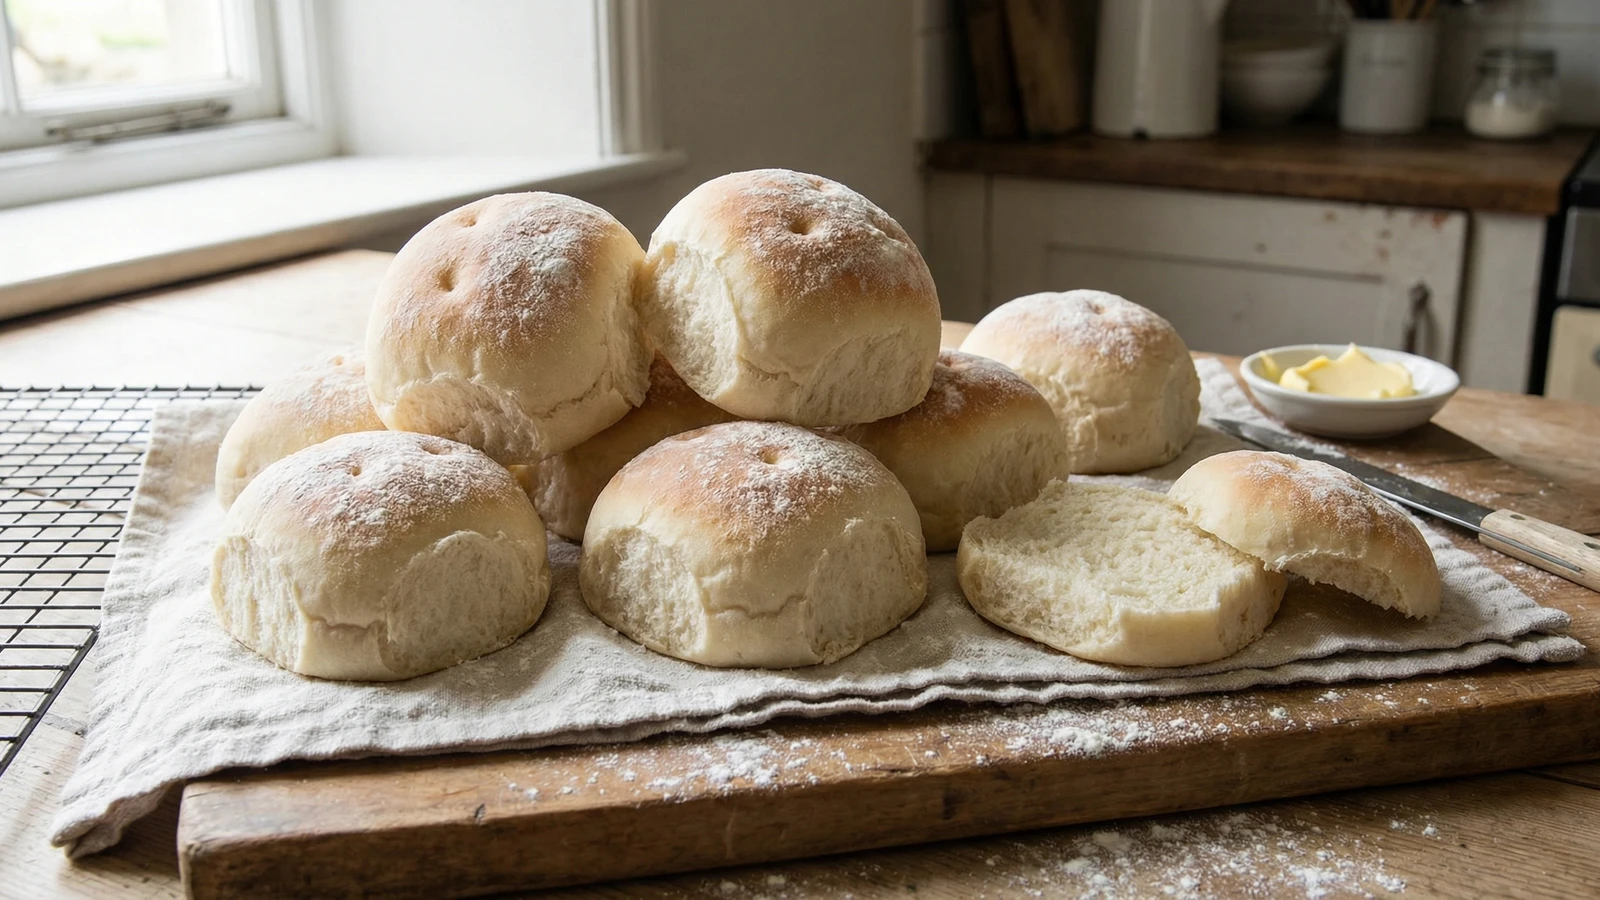
Pillowy, flour-dusted white baps with no crust worth the name, made for the kind of Saturday morning that calls for bacon, brown sauce, and not much conversation.
There's a bacon sandwich waiting at the end of this recipe. That's the whole reason a bap exists. Soft, slightly squashy, dusted with flour that comes off on your fingers, with just enough structure to hold a few rashers and a slick of brown sauce without falling apart in your hand. A crusty roll won't do. A burger bun is too sweet. A bap is its own thing, and once you've made them at home you'll wonder why you ever bought the supermarket sort.
This is weekend baking, but only just. An hour and a half of rising while you read the paper, twenty minutes of actual work, and a quarter of an hour in the oven. The dough is forgiving. The shaping is rough. There's nothing here that asks for skill, only patience and a warm kitchen. Trust your nose. It'll tell you when they're ready before any timer does.
The trick, if there is one, is restraint at the oven door. Baps want to come out pale, the colour of weak tea, with the flour still clinging to the tops. Not golden. Not crisp. Pull them too late and you've made a hard roll, which is fine, but it isn't a bap. I wrote it down in the notebook years ago: pale, soft, Saturday. That's the whole instruction.
Make them once and the routine sets itself. Friday night, mix the dough. Saturday morning, the kitchen smells like bread before anyone else is up, and there are warm baps on the rack by the time the bacon goes in the pan. Right food, right morning.
Quantity
500g
plus extra for dusting
Quantity
10g
Quantity
7g
Quantity
10g
Quantity
30g
softened
Quantity
200ml
warmed to blood temperature
Quantity
150ml
Quantity
a little extra
for brushing
| Ingredient | Quantity |
|---|---|
| strong white bread flourplus extra for dusting | 500g |
| fine sea salt | 10g |
| fast-action dried yeast | 7g |
| caster sugar | 10g |
| unsalted buttersoftened | 30g |
| whole milkwarmed to blood temperature | 200ml |
| warm water | 150ml |
| whole milk (optional)for brushing | a little extra |
Tip the flour into a large bowl. Add the salt to one side, the yeast and sugar to the other. Keeping the salt and yeast apart at this stage matters: salt directly on yeast can knock it back before it's even started. Rub the soft butter into the flour with your fingertips until it disappears. Pour in the warm milk and most of the water, then bring it together with one hand into a shaggy, slightly sticky dough. Add the rest of the water only if it feels dry. Different flours drink differently.
Turn the dough out onto a lightly floured surface and knead for ten minutes. Don't add more flour than you need to. A soft, slightly tacky dough is what makes a soft bap; a tight, dry dough makes a tight, dry roll. After ten minutes the dough should feel smooth, elastic, and a bit reluctant to let go of itself. Press a finger into it. If it springs back slowly, you're done.
Put the dough into a lightly oiled bowl, cover with a damp cloth or some cling film, and leave it somewhere warm until it has roughly doubled. This usually takes about an hour and a half, longer if the kitchen is cool. Don't watch the clock. Watch the dough. When it looks puffed and pillowy and a finger pressed into it leaves a dent that fills back slowly, it's ready.
Knock the dough back gently, just enough to release the big bubbles. Divide it into eight equal pieces. A scale helps if you want them uniform, but baps are forgiving. Shape each piece into a tight ball by cupping your hand over it and rolling against the work surface, then press each ball down with the heel of your palm into a flat disc about a centimetre and a half thick. Baps want to be flat, not domed. They'll puff up plenty in the oven.
Place the shaped baps on a baking tray lined with parchment, spaced a few centimetres apart so they have room to spread and meet at the edges. Brush the tops with a little milk, then dust generously with flour. Cover loosely with a cloth and leave for forty minutes or so until they look soft and puffy and a touch wobbly. Heat the oven to 220C/200C fan in the meantime.
Just before they go in, press a floured finger or the handle of a wooden spoon into the centre of each bap to make a shallow dimple. This is the traditional mark and it stops them doming too much. Bake for twelve to fifteen minutes. You're not after a deep brown crust here. You want a pale, soft top, the colour of weak tea, with the flour still clinging to it. Tap the bottom of one. It should sound hollow but feel soft.
Move the baps to a wire rack and immediately drape a clean tea towel over them. This traps just enough moisture to keep the tops soft as they cool. Leave them for ten minutes at least before splitting. Eaten too soon and the crumb is gummy. Eaten at the right moment and they're exactly what they should be: soft, slightly springy, faintly sweet, ready for whatever you're about to put inside them.
1 serving (about 100g)
Culinary guides, cultural storytelling, and the editorial depth that makes cooking meaningful.
Discover Culinary ExplorerChef Thomas
A proper British bloomer, slashed deep and baked until the cuts open wide and the crust turns deep, glossy gold. The kind of loaf that makes the rest of the day feel deliberate.

Chef Thomas
A simple white loaf made from flour, water, yeast, and salt. The kind of bread that fills the kitchen with the smell of a Saturday morning and teaches you, slowly, everything you need to know about baking.

Chef Thomas
A dark, fruit-heavy Welsh tea loaf, soaked overnight in strong tea and baked slowly until the kitchen smells of spice and orange peel. Sliced thick and buttered cold.

Chef Thomas
Rich, butter-laden Georgian buns from Bath, glazed deep gold and crowned with crushed sugar nibs that crack beneath your teeth, the kind of bake that turns a Sunday afternoon into something deliberate.