
Chef Freja
Boller
Soft, round, barely sweet Danish buns made with milk, butter, and patient yeast. The first thing most Danish children learn to bake, and the smell that means someone is home.
A cooking platform built around craft, culture, and the stories behind what we eat.
Created by Chef Freja
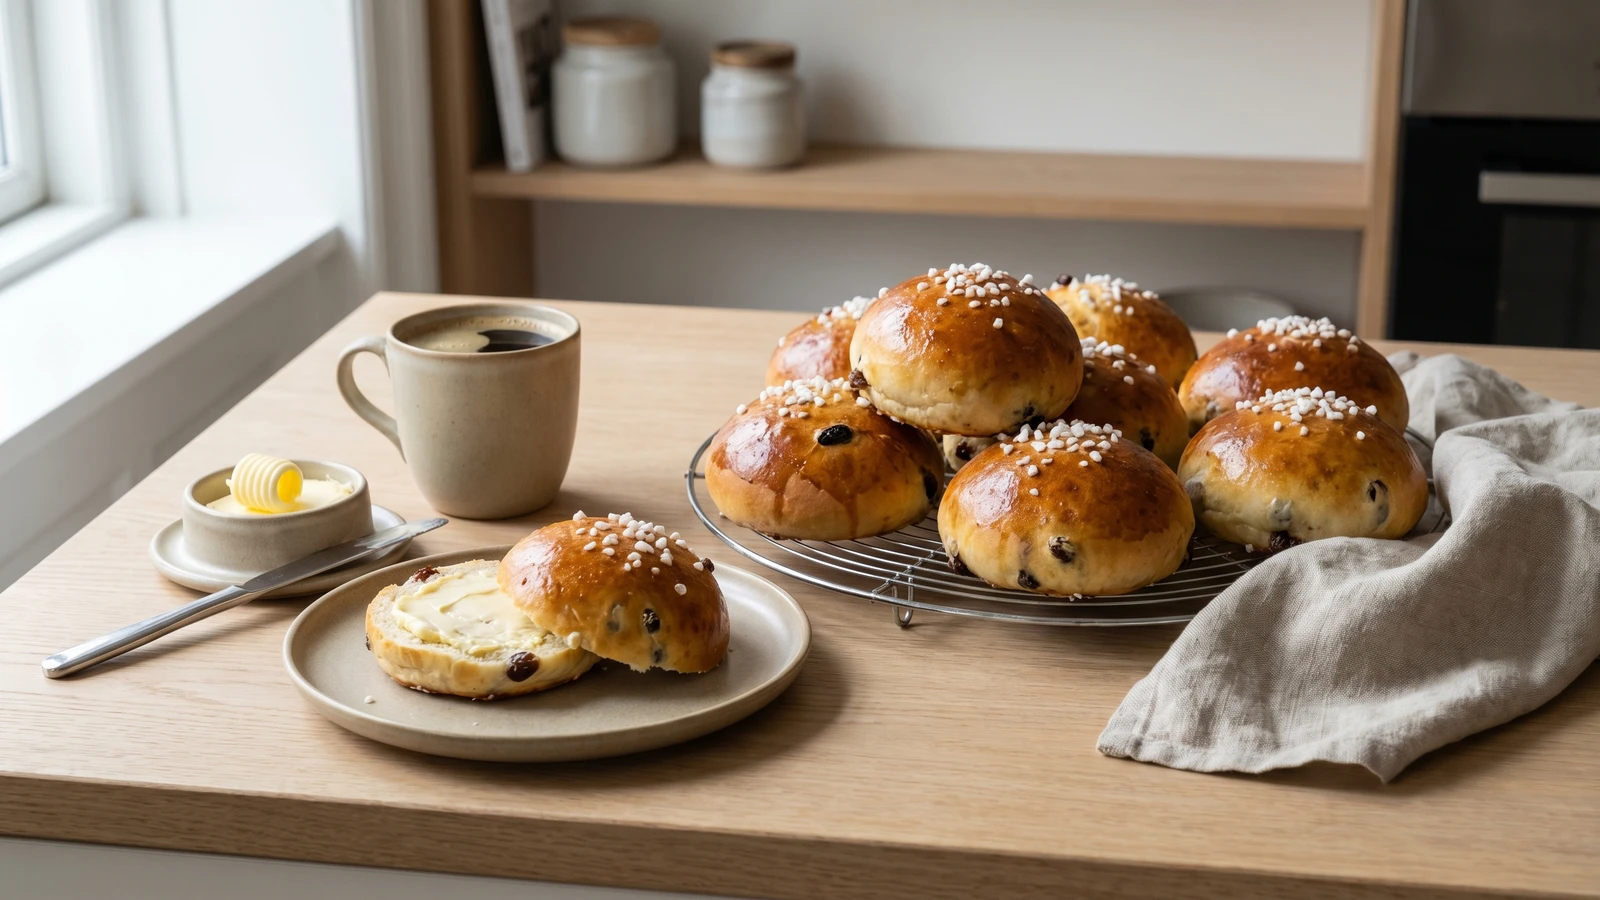
Soft cardamom-scented raisin buns from the Danish afternoon coffee table. The kind of baking that fills a house with warmth and gives you fourteen reasons to put the kettle on.
There's a moment in the Danish afternoon, around three o'clock, when the kitchen takes over from the rest of the day. The kettle goes on. Someone reaches for a plate. This is kaffebrødstid, the hour of coffee and something baked, and rosinboller are what that hour was made for.
These are not complicated buns. They're a soft, butter-enriched dough scented with cardamom, studded with raisins, shaped by hand, and baked until the tops turn the colour of dark honey. Every Danish child has eaten them. Every Danish kitchen has made them. They belong to the category of baking that requires no occasion, just the desire to have something warm and good on the table when the afternoon light starts to fade.
The dough itself is forgiving. If you've made bread before, you'll find it familiar. If you haven't, this is a fine place to start. What I want you to watch for is the texture after kneading: smooth, soft, just slightly tacky under your palm. That tackiness is the butter working into the gluten, and it's what gives the buns their tender crumb. Don't fight it with extra flour. Trust the dough. It knows where it's going. By the time they come out of the oven, golden and fragrant with cardamom, you'll have fourteen buns that taste like they were cooked with love, because they were.
Danish hvedebrød, wheat-based sweet breads and buns, became widely accessible only after wheat imports stabilised in the late 1800s. Before that, wheat was expensive and reserved for celebration baking, while rye dominated the everyday kitchen. Rosinboller emerged as an affordable weekday treat once wheat flour became a pantry staple, and the addition of raisins, which arrived through Denmark's long-standing trade connections with the Mediterranean, turned a plain bun into something worth setting the coffee table for. The tradition of afternoon coffee with baked goods, still observed in Danish workplaces and homes today, owes much of its character to these simple, unpretentious buns.
Quantity
500g, plus extra for dusting
Quantity
75g
Quantity
1 teaspoon
Quantity
1 teaspoon
Quantity
7g
Quantity
250ml
warmed to body temperature
Quantity
75g
softened
Quantity
1 large
Quantity
150g
Quantity
1
beaten with 1 tablespoon milk
Quantity
to finish
| Ingredient | Quantity |
|---|---|
| strong white bread flour | 500g, plus extra for dusting |
| caster sugar | 75g |
| fine sea salt | 1 teaspoon |
| ground cardamom | 1 teaspoon |
| instant dry yeast | 7g |
| whole milkwarmed to body temperature | 250ml |
| unsalted buttersoftened | 75g |
| egg (for the dough) | 1 large |
| raisins | 150g |
| egg (for glazing)beaten with 1 tablespoon milk | 1 |
| pearl sugar (optional) | to finish |
Warm the milk gently until it reaches body temperature, no hotter. If you dip your finger in and it feels like nothing, neither warm nor cool, it's right. Too hot and you'll kill the yeast before it starts. Too cold and the dough will be sluggish and tight. Body temperature gives the yeast exactly what it needs to wake up.
Combine the flour, sugar, salt, cardamom, and yeast in a large bowl. Make a well in the centre. Pour in the warm milk and the egg. Stir with a wooden spoon until a shaggy dough forms. Add the softened butter in small pieces and work it in until the dough is smooth, soft, and slightly tacky. This takes about ten minutes by hand, kneading firmly against the counter, or six minutes in a stand mixer with the dough hook on medium speed. The dough should pull away from the bowl cleanly and feel alive under your hands, elastic and springy when you press it.
Scatter the raisins over the dough and fold them in with your hands, pressing and turning until they're distributed evenly throughout. Some will sit on the surface. That's fine. They'll get tucked in as the dough rises. Don't knead aggressively here or you'll tear the gluten structure you just built. Gentle folds, turning the dough over on itself three or four times, is all it needs.
Shape the dough into a rough ball and place it back in the bowl. Cover with a damp cloth and leave it somewhere warm for one and a half hours, or until it has doubled in size. A kitchen counter away from drafts works well. The yeast is doing the work now, building the air structure and the subtle fermented flavour that separates real buns from something plain. Don't rush it. A slow rise gives better flavour every time.
Tip the risen dough onto a lightly floured surface and press it down gently with your palms. Don't punch it. You want to release the largest air bubbles while keeping the smaller ones intact, because those smaller bubbles are what give the buns their soft, open crumb. Divide the dough into fourteen equal pieces. The easiest way is to halve the dough, then halve each half, then cut each quarter into three or four pieces, adjusting until you have fourteen. Roll each piece into a smooth ball by cupping your hand over it and moving it in a tight circle on the counter. Tuck any raisins that poke out back under the surface, or they'll burn in the oven.
Place the shaped buns on two baking sheets lined with parchment, spacing them about 4cm apart. They'll spread as they rise. Cover loosely with a cloth and let them rest for forty minutes. They should look noticeably puffed, soft when you press the side of one gently with your fingertip. The dent should spring back slowly. If it springs back immediately, they need more time. If it doesn't spring back at all, you've gone too far and should bake immediately.
Heat the oven to 200°C. Brush each bun carefully with the egg wash, using a light hand so you don't deflate them. The egg wash is what gives them their golden shine, the deep amber colour you see in every Danish bakery window. Scatter a few grains of pearl sugar over each bun if you have it. Bake for twelve to fifteen minutes, rotating the trays halfway through. The buns are done when the tops are a rich golden brown and the bottoms sound hollow when you tap them. Let them cool on a wire rack for at least ten minutes before eating. They need that time for the crumb to set. Cut into one too early and the inside will be gummy.
1 serving (about 75g)
Culinary guides, cultural storytelling, and the editorial depth that makes cooking meaningful.
Discover Culinary ExplorerChef Freja
Soft, round, barely sweet Danish buns made with milk, butter, and patient yeast. The first thing most Danish children learn to bake, and the smell that means someone is home.

Chef Freja
Dark rye crackers from the island of Bornholm, laminated in twenty-seven butter-layered folds and scattered with caraway and sea salt. The kind of thing you keep in a tin for cheese, good butter, and cold dark beer.

Chef Freja
The soft Danish white loaf with a milk-brushed crust and blue poppy seeds that belongs on every weekday breakfast table. Simple dough, gentle rise, toast and butter and jam.

Chef Freja
Danish whole wheat rolls made with grahamsmel, ready in just over an hour. The weekday bun that fills lunch boxes, sits beside soup, and smells like a kitchen where someone cares.