
Chef Dean
San Francisco Sourdough
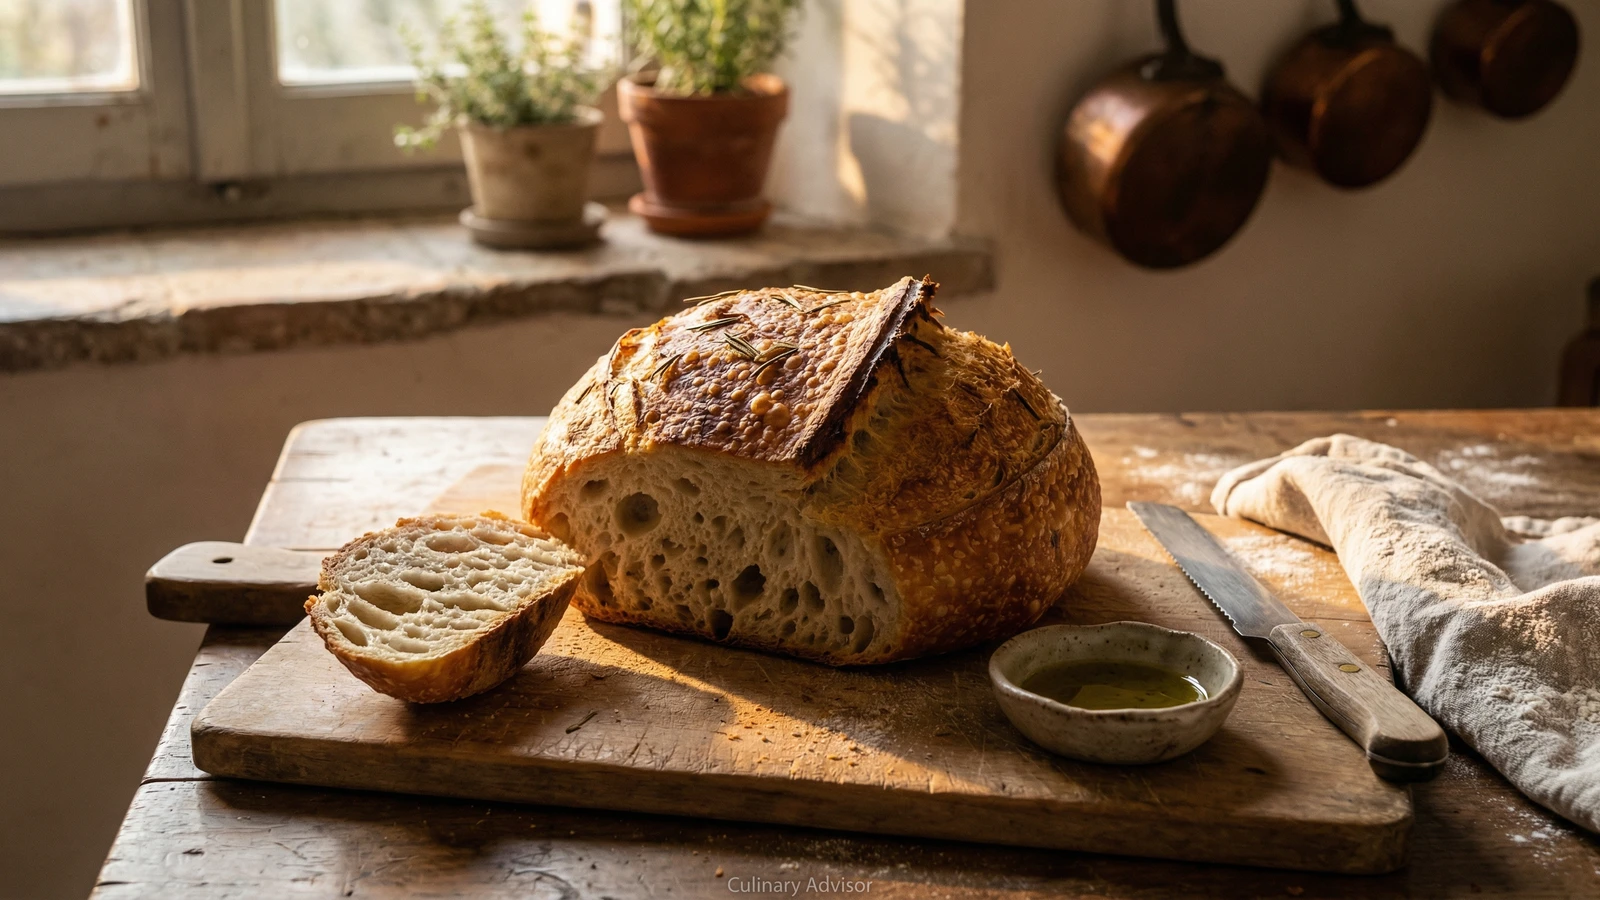
A crusty, deeply tangy boule with an open, glossy crumb that captures the wild fermentation magic of San Francisco's fog-kissed air. Three days of patient work yields bread worth every hour.
A cooking platform built around craft, culture, and the stories behind what we eat.
Created by
A golden-crusted loaf infused with garden rosemary and your finest olive oil, built on wild yeast and the kind of patience that transforms flour and water into something alive.
Start with the flour. Stone-ground, if you can find it. Milled from wheat that grew in soil someone tended. The difference between industrial flour and flour from a mill you trust is the difference between eating and nourishing. Your bread will taste of that choice.
Sourdough asks for time. There is no rushing wild yeast. The starter you feed, the long fermentation, the slow rise: these are not inconveniences. They are the process itself. The bread develops flavor and texture that commercial yeast cannot replicate because commercial yeast does not have hours to work. Your starter does.
Rosemary from the garden changes everything. Snip it in the morning when the oils are strongest. Roll the needles between your fingers and smell what you are about to bake into bread. Good olive oil, the kind that tastes green and alive, gets folded into the dough and brushed on the crust. These two ingredients, both Mediterranean, both ancient, belong together.
This is bread meant to be torn and shared. It will fill your kitchen with fragrance while it bakes and again when you slice it. Every meal is a meaningful choice, and choosing to make bread from scratch, to wait for it, to share it, is one of the most meaningful choices I know.
Quantity
100g
fed 4-8 hours before
Quantity
375g (80-85°F)
Quantity
500g
preferably stone-ground
Quantity
10g
Quantity
3 tablespoons, plus more for brushing
Quantity
2 tablespoons
roughly chopped
Quantity
for finishing
| Ingredient | Quantity |
|---|---|
| active sourdough starterfed 4-8 hours before | 100g |
| warm water | 375g (80-85°F) |
| bread flourpreferably stone-ground | 500g |
| fine sea salt | 10g |
| extra-virgin olive oil | 3 tablespoons, plus more for brushing |
| fresh rosemaryroughly chopped | 2 tablespoons |
| flaky sea salt | for finishing |
Dissolve your active starter in the warm water, stirring until it clouds and loosens. Add the flour and mix with your hands or a wooden spoon until no dry patches remain. The dough will look shaggy and feel sticky. This is correct. Cover the bowl with a damp towel and let it rest for 30 minutes. This rest, called autolyse, allows the flour to hydrate fully and begins gluten development without any kneading.
Sprinkle the fine sea salt over the dough and drizzle with olive oil. Use wet hands to dimple and fold the dough, incorporating both until you no longer feel salt crystals. The dough will feel silkier now, more cohesive. Cover again.
Over the next three to four hours, perform a series of folds. Every 30 minutes for the first two hours, wet your hands and stretch one side of the dough up and over the center. Rotate the bowl 90 degrees and repeat until you have folded all four sides. After the third fold, scatter the chopped rosemary over the dough and fold it in gently. The dough will transform from slack and sticky to smooth and billowy. It will hold its shape when you stop touching it.
Dust your work surface lightly with flour. Turn the dough out and let it relax for 15 minutes. Shape it into a round by pulling the edges toward the center, then flipping it seam-side down. Use your hands to drag the dough toward you, building tension on the surface without tearing. The skin should feel taut, like a drum. Transfer seam-side up into a well-floured proofing basket or a bowl lined with a floured towel.
Cover the basket loosely and refrigerate for 8 to 16 hours. The long, cold fermentation develops flavor that short-risen bread cannot achieve. The acids from fermentation break down the flour, making the bread more digestible and giving it that characteristic tang. This is where patience becomes flavor.
Place your Dutch oven with its lid inside a cold oven. Heat to 500°F and let it preheat for a full 45 minutes. The pot must be screaming hot. This initial blast of heat, combined with the trapped steam from the dough itself, creates the blistered, crackling crust that defines good sourdough.
Remove the dough from the refrigerator. It can go straight into the oven cold. Turn it out onto a piece of parchment paper, seam-side down. Brush the top generously with olive oil and sprinkle with flaky sea salt. Using a sharp blade or razor, score the top with a decisive slash about half an inch deep. Carefully lower the dough into the hot Dutch oven using the parchment as a sling. Cover and bake for 20 minutes.
Remove the lid, reduce heat to 450°F, and bake another 20 to 25 minutes until the crust is deeply golden and the loaf sounds hollow when tapped on the bottom. The internal temperature should reach 205-210°F. Lift the bread from the pot and let it cool on a wire rack for at least one hour before slicing. This rest is essential. The interior is still cooking, and cutting too soon releases steam that should stay in the crumb.
1 serving (about 70g)
Culinary guides, cultural storytelling, and the editorial depth that makes cooking meaningful.
Discover Culinary ExplorerChef Dean
A crusty, deeply tangy boule with an open, glossy crumb that captures the wild fermentation magic of San Francisco's fog-kissed air. Three days of patient work yields bread worth every hour.

Chef Juliette
Pâte à brioche ordinaire teaches enriched dough properly: wake the leaven, build strength before the last egg, then work in pliable butter by stages and let one long fermentation do its quiet work.

Chef Juliette
Ordinary brioche takes one exact measure of butter and a patient rise in the mould, becoming so light and silken that it can cradle fruit without losing its tender crumb.

Chef Juliette
Pâte à brioche ordinaire, butter-rich yet firm, teaches the useful side of brioche: slow fermentation, disciplined mixing, and a dough that rolls cleanly for lining, wrapping, and every sturdy pastry job.