Chef Thomas
Anchovy Sauce
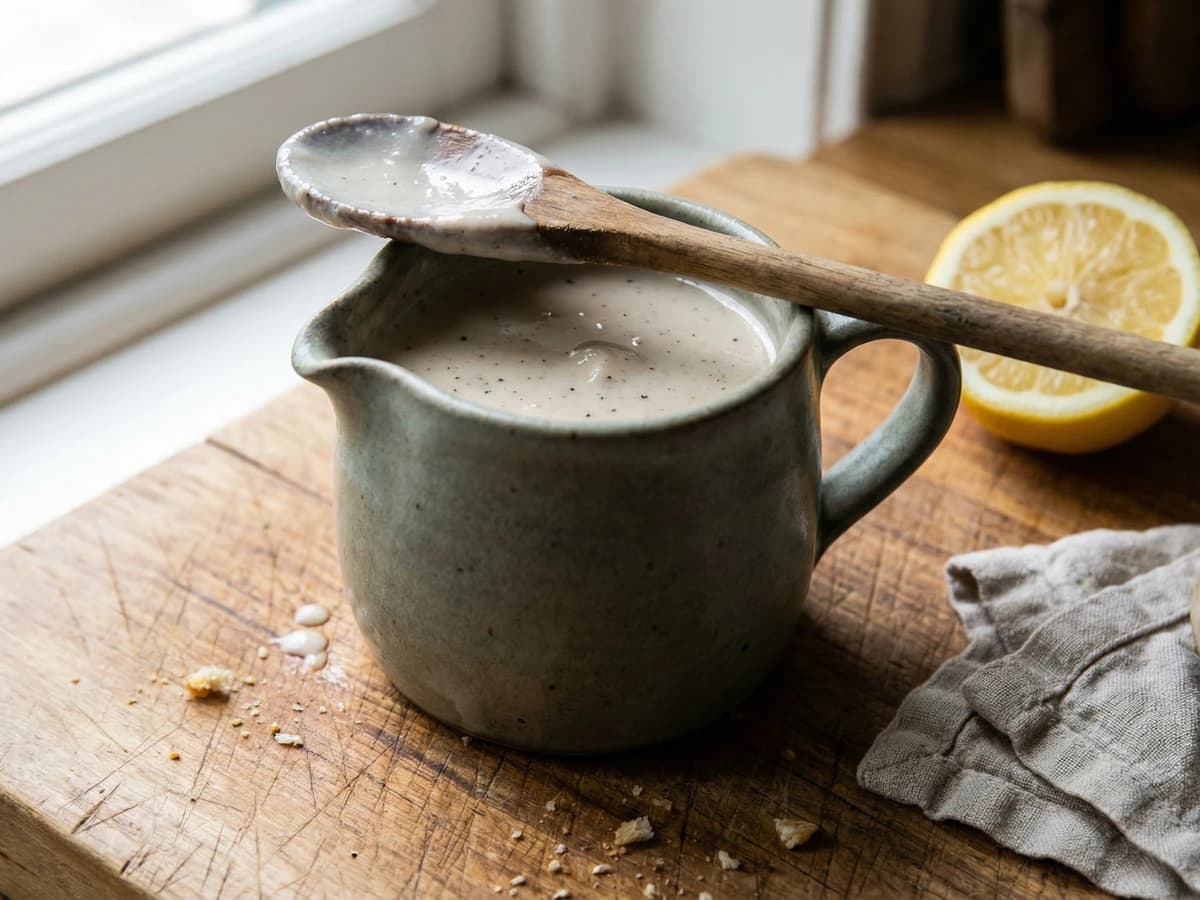
A proper white sauce sharpened with pounded anchovy, the old Georgian trick for waking up a piece of poached fish or a slice of roast lamb on a Sunday in spring.
A cooking platform built around craft, culture, and the stories behind what we eat.
Created by Chef Thomas
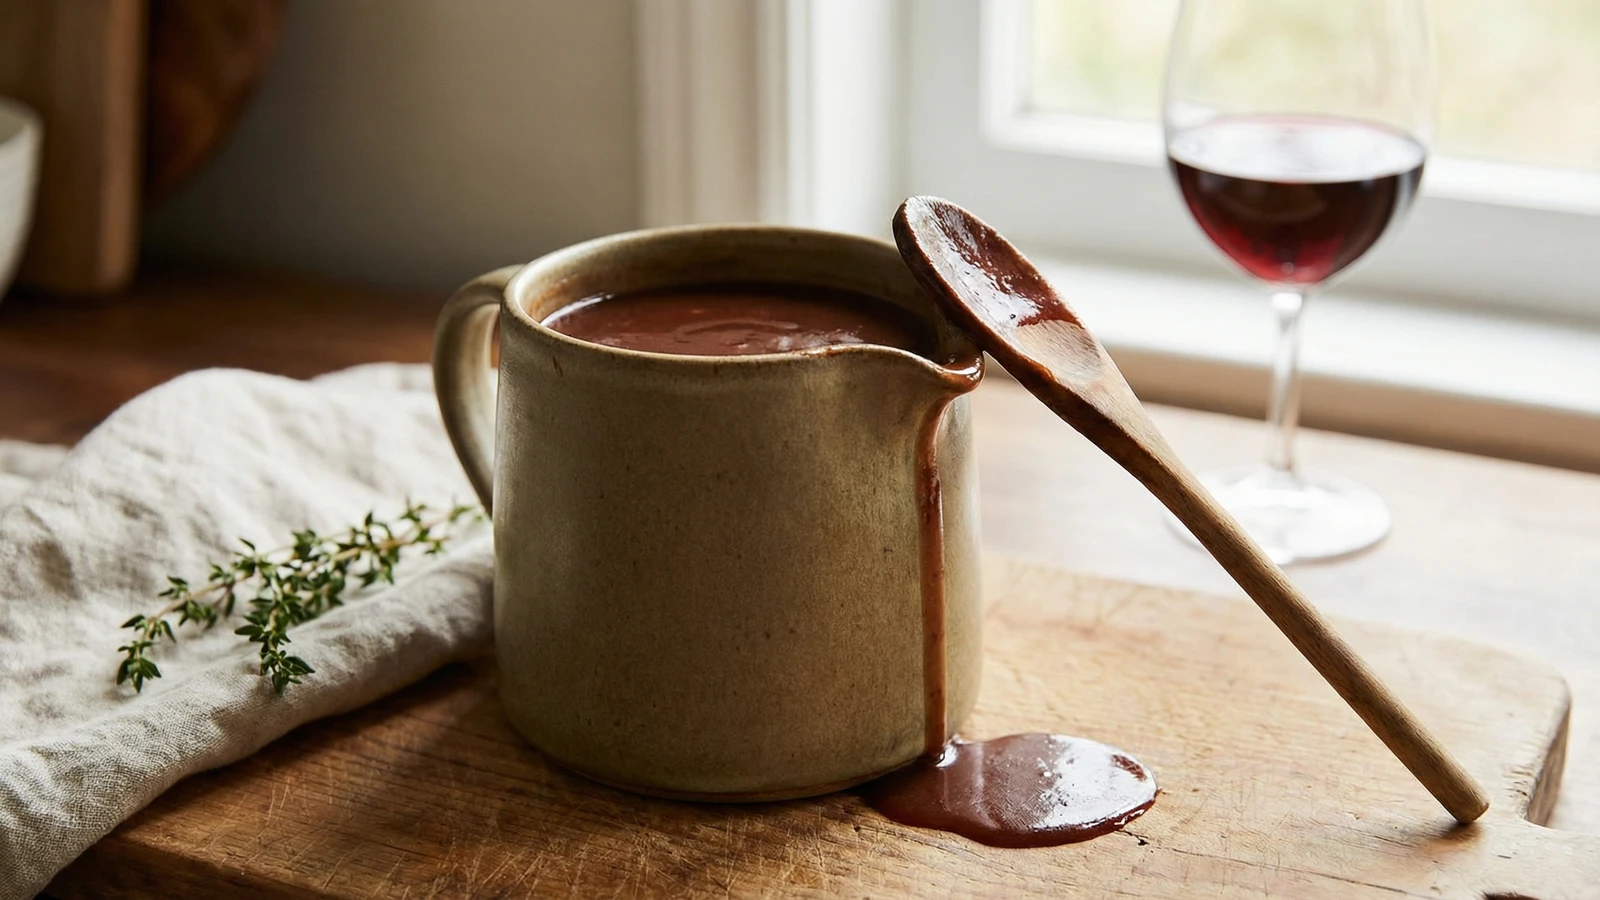
A deep, glossy gravy built on red wine and proper stock, the kind you make when a Sunday roast deserves something grander than the usual and the table is set for people you're glad to feed.
There's a particular kind of Sunday that asks for this gravy. A cold one, usually. The windows have fogged over from whatever's been in the oven for the last two hours, the roast is resting on a board under its foil tent, and the kitchen smells of beef fat and thyme and something good about to happen. That's when you make a red wine gravy. Not the weeknight kind, spooned from a jug without ceremony, but the kind that earns its place on a table set for people you're glad to feed.
The bones of it are simple. A good wine, reduced hard until the raw edge has blown off and what's left smells dark and slightly jammy. Proper stock, ideally one you made yourself from a carcass and a long afternoon. The sticky brown bits left in the roasting tin, which are not to be wasted or washed away. Shallots softened slowly in butter. A bit of flour to hold it all together. Nothing clever. A recipe is a conversation, not a contract.
The wine matters more than people pretend. Use something you'd drink. Not the dusty bottle at the back of the cupboard marked 'cooking wine,' because there's no such thing. A medium-bodied red with some backbone, a Rhône, a Cotes du Rhône, something honest, will give you more than any specialist ingredient. Cook with the wine you'd pour into your own glass, and pour some into your glass while you're at it. It's Sunday.
I wrote it down in the notebook the first time I made it properly: 'Wine, stock, time, attention. The rest is just stirring.' Thirty years on, I haven't found a shorter version of the truth.
Quantity
all of them
beef, lamb, or game
Quantity
2
finely chopped
Quantity
30g
Quantity
1 tablespoon
Quantity
300ml
something you would drink
Quantity
500ml
warm, ideally homemade
Quantity
2 sprigs
Quantity
1
Quantity
1 teaspoon
Quantity
to taste
Quantity
to taste
| Ingredient | Quantity |
|---|---|
| pan drippings from a roastbeef, lamb, or game | all of them |
| banana shallotsfinely chopped | 2 |
| unsalted butter | 30g |
| plain flour | 1 tablespoon |
| full-bodied red winesomething you would drink | 300ml |
| beef stockwarm, ideally homemade | 500ml |
| fresh thyme | 2 sprigs |
| bay leaf | 1 |
| redcurrant jelly (optional) | 1 teaspoon |
| fine sea salt | to taste |
| freshly ground black pepper | to taste |
When the roast comes out of the oven, lift it onto a board to rest and tent it loosely with foil. Tip the roasting tin gently, and with a spoon skim off most of the fat, leaving behind the dark, caramelized juices stuck to the bottom of the tin. Those sticky brown bits are the whole point of this gravy. Don't wash them away. Don't apologize for them.
Set the roasting tin over a low flame on the hob, or scrape everything into a heavy saucepan if the tin is awkward. Add the butter and the chopped shallots. Stir them through the drippings and let them soften gently for five or six minutes until they've gone translucent and sweet-smelling. You don't want colour on them yet. Low and patient.
Scatter the flour over the shallots and stir it in until it disappears into the butter and becomes a loose, sandy paste. Cook it for a minute or two, stirring, until it smells faintly biscuity. This is the step that gives the gravy its body, and it's the step most people rush. Don't.
Turn the heat up and pour in the wine in a steady stream, stirring as you go. It will hiss and bubble furiously and smell, for a moment, like every roast dinner you've ever had. Use a wooden spoon to scrape up any sticky bits clinging to the bottom of the pan. Let the wine bubble hard and reduce by at least half, until the raw alcohol smell has blown off and what's left smells deep and slightly jammy. This takes six or seven minutes. Trust your nose.
Pour in the warm stock, add the thyme and bay leaf, and bring everything to a gentle simmer. Let it tick away, uncovered, for fifteen to twenty minutes, stirring now and then. It will gradually thicken and darken to a deep mahogany, glossy enough to coat the back of a spoon. If it looks too thick, add a splash more stock. If it looks too thin, give it another few minutes.
Fish out the thyme stalks and bay leaf. If you like a little sweetness against the wine, stir in the redcurrant jelly now and let it melt through. Season with salt and pepper, taste it, then taste it again. If it needs brightness, a few drops more wine. If it needs richness, a small knob of cold butter stirred in at the end will give it that final gloss. Pour through a fine sieve into a warm jug if you want it silky, or leave the shallots in if you want it rustic. Your kitchen, your rules.
1 serving (about 85g)
Culinary guides, cultural storytelling, and the editorial depth that makes cooking meaningful.
Discover Culinary ExplorerChef Thomas
A proper white sauce sharpened with pounded anchovy, the old Georgian trick for waking up a piece of poached fish or a slice of roast lamb on a Sunday in spring.

Chef Thomas
A spiced autumn chutney made from a glut of apples and a quiet afternoon, simmered down until the kitchen smells of October and the jars line up on the counter like a small, useful insurance policy.
Chef Thomas
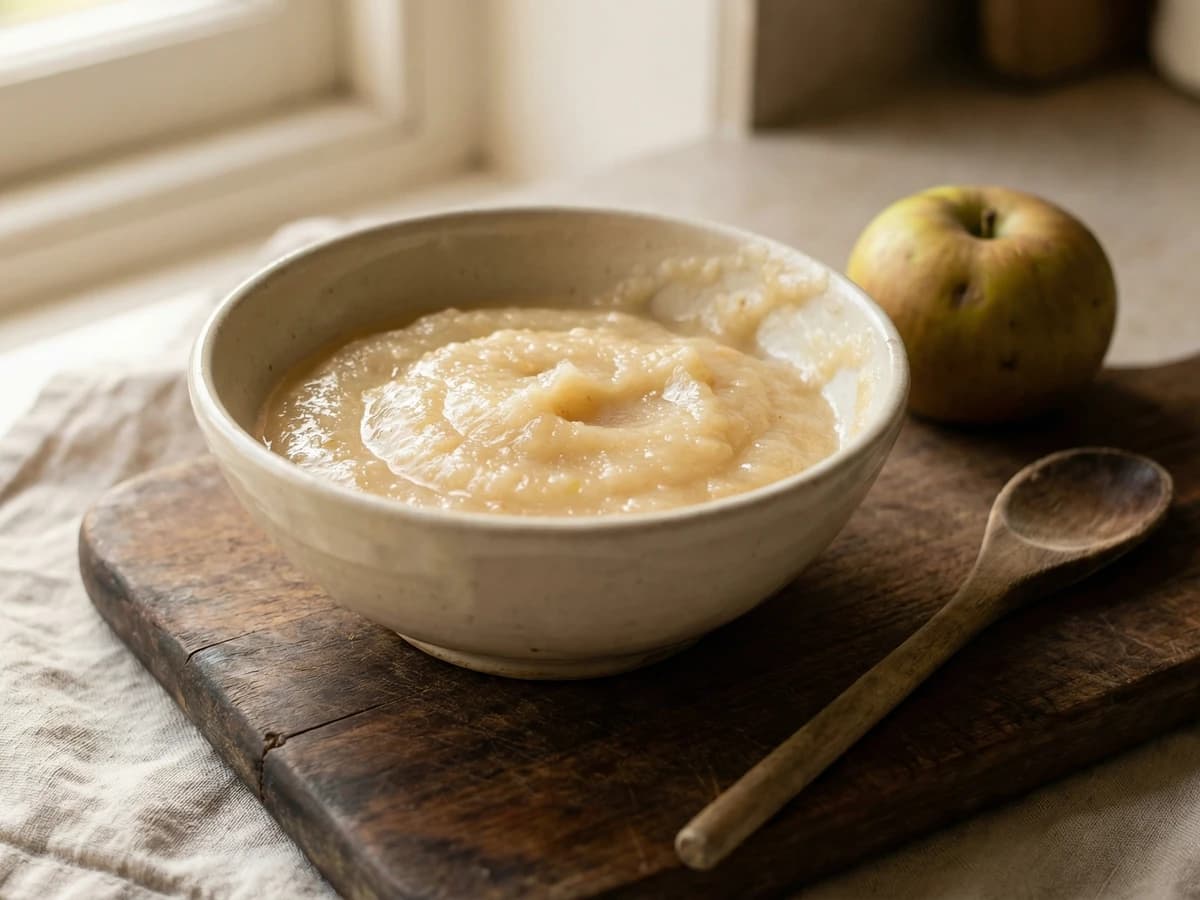
A bowl of sharp, fluffy Bramley apple sauce, made in the time it takes to carve the pork, the kind of small condiment that quietly makes the whole meal make sense.
Chef Thomas
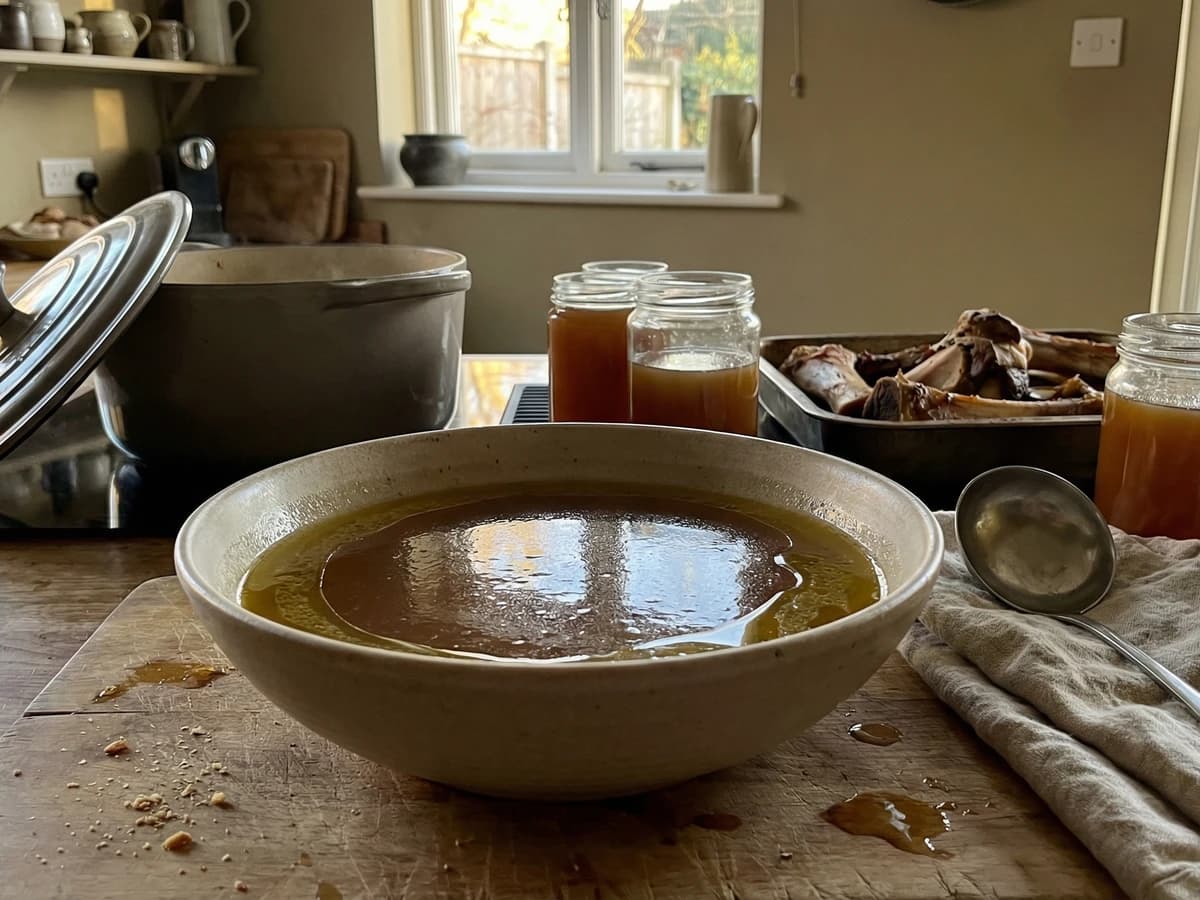
Beef bones roasted until dark, then coaxed for a long afternoon into a deep amber stock, the foundation of every good gravy, every braise, every bowl of winter soup worth the trouble.