
Chef Dean
Classic French Baguette
Four humble ingredients transformed through time and technique into shattering-crusted, airy-crumbed bread that rivals any Parisian bakery. This is bread worth the effort.
A cooking platform built around craft, culture, and the stories behind what we eat.

Created by
A tender, lightly sweet loaf studded with plump raisins and toasted walnuts, the kind of bread meant to be torn at the table and eaten with good butter or a wedge of aged cheese.
Good flour is everything here. Find stone-ground bread flour from a mill you trust, where someone can tell you when the wheat was harvested and how it was grown. Industrial flour will make bread, but it will not make this bread, the one with character and chew and that faint sweetness from the grain itself.
Raisins and walnuts are an ancient pairing, appearing in breads across France and Italy for centuries. The raisins bring pockets of sweetness that caramelize slightly against the crust. The walnuts, toasted until fragrant, add richness and a gentle crunch. Together they transform a simple loaf into something worth anticipating.
Breadmaking teaches patience better than almost anything else in the kitchen. You cannot rush fermentation. You cannot force the dough to rise before it is ready. What you can do is learn to read the signs: the slow inflation, the way the surface tightens, the give when you press your finger into it. This is observation, not technique. Let the dough guide you.
Slice this bread thick for morning toast, spread with salted butter and a drizzle of honey. Or serve it in the evening alongside a sharp cheese and a glass of wine. Either way, you have made something with your hands that will feed the people you love. That matters.
Quantity
500g (about 4 cups)
preferably stone-ground
Quantity
10g (2 teaspoons)
Quantity
7g (2 1/4 teaspoons)
Quantity
15g (1 tablespoon)
Quantity
30g (2 tablespoons)
softened
Quantity
320ml (1 1/3 cups)
about 100°F
Quantity
150g (1 cup)
Quantity
100g (1 cup)
lightly toasted and roughly chopped
| Ingredient | Quantity |
|---|---|
| bread flourpreferably stone-ground | 500g (about 4 cups) |
| fine sea salt | 10g (2 teaspoons) |
| instant yeast | 7g (2 1/4 teaspoons) |
| honey | 15g (1 tablespoon) |
| unsalted buttersoftened | 30g (2 tablespoons) |
| warm waterabout 100°F | 320ml (1 1/3 cups) |
| raisins | 150g (1 cup) |
| walnut halveslightly toasted and roughly chopped | 100g (1 cup) |
Spread the walnut halves on a dry baking sheet and toast in a 350°F oven for eight to ten minutes, stirring once halfway through. You will smell them before you see the color change. They should be fragrant and just beginning to deepen. Rough chop them while still warm, then set aside to cool completely.
Place raisins in a small bowl and cover with warm water. Let them sit for fifteen minutes while you prepare the dough. Plump raisins stay moist during baking rather than turning to hard pebbles. Drain well and pat dry before using.
In a large bowl, whisk together the flour, salt, and yeast. Add the honey, softened butter, and warm water. Stir with a wooden spoon until a shaggy dough forms and no dry flour remains. The dough will look rough and uneven. That is fine.
Turn the dough onto a lightly floured surface. Knead for eight to ten minutes, pushing with the heel of your hand, folding, and turning. The dough will transform from sticky and rough to smooth and elastic. When you poke it, it should spring back slowly. This is the gluten developing, building the structure that will hold those raisins and walnuts in place.
Flatten the dough into a rough rectangle. Scatter the drained raisins and toasted walnuts over the surface. Fold the dough over itself and knead gently for another two minutes to distribute the additions evenly. Some will poke through the surface. Let them.
Shape the dough into a ball and place in a lightly oiled bowl, turning once to coat. Cover with a clean kitchen towel and let rise in a warm spot until doubled in size, about one and a half to two hours. The dough is ready when you press two fingers into it and the indentations remain.
Turn the risen dough onto a lightly floured surface and press gently to deflate. Shape into a tight oval by folding the sides toward the center, then rolling the dough away from you to create surface tension. The seam goes on the bottom. Place seam-side down on a parchment-lined baking sheet or in a lightly greased 9x5 inch loaf pan.
Cover loosely with the towel and let rise again until the dough has expanded by about fifty percent, forty-five minutes to one hour. It should look puffy and feel pillowy when you touch it gently. While the dough rises, preheat your oven to 375°F.
Using a sharp knife or razor blade, slash the top of the loaf with one long cut down the center, about half an inch deep. This controls where the bread expands. Bake for forty to forty-five minutes until deeply golden brown. The loaf should sound hollow when you tap the bottom, and an instant-read thermometer inserted into the center should read 190°F.
Transfer the loaf to a wire rack and let it cool for at least one hour before slicing. This is perhaps the hardest part. The bread is still cooking inside, the crumb setting. Cut too soon and you will have a gummy center. Listen to the crust crackle as it cools. That sound is the bread finishing its work.
1 serving (about 83g)
Culinary guides, cultural storytelling, and the editorial depth that makes cooking meaningful.
Discover Culinary ExplorerChef Dean
Four humble ingredients transformed through time and technique into shattering-crusted, airy-crumbed bread that rivals any Parisian bakery. This is bread worth the effort.
Chef Dean
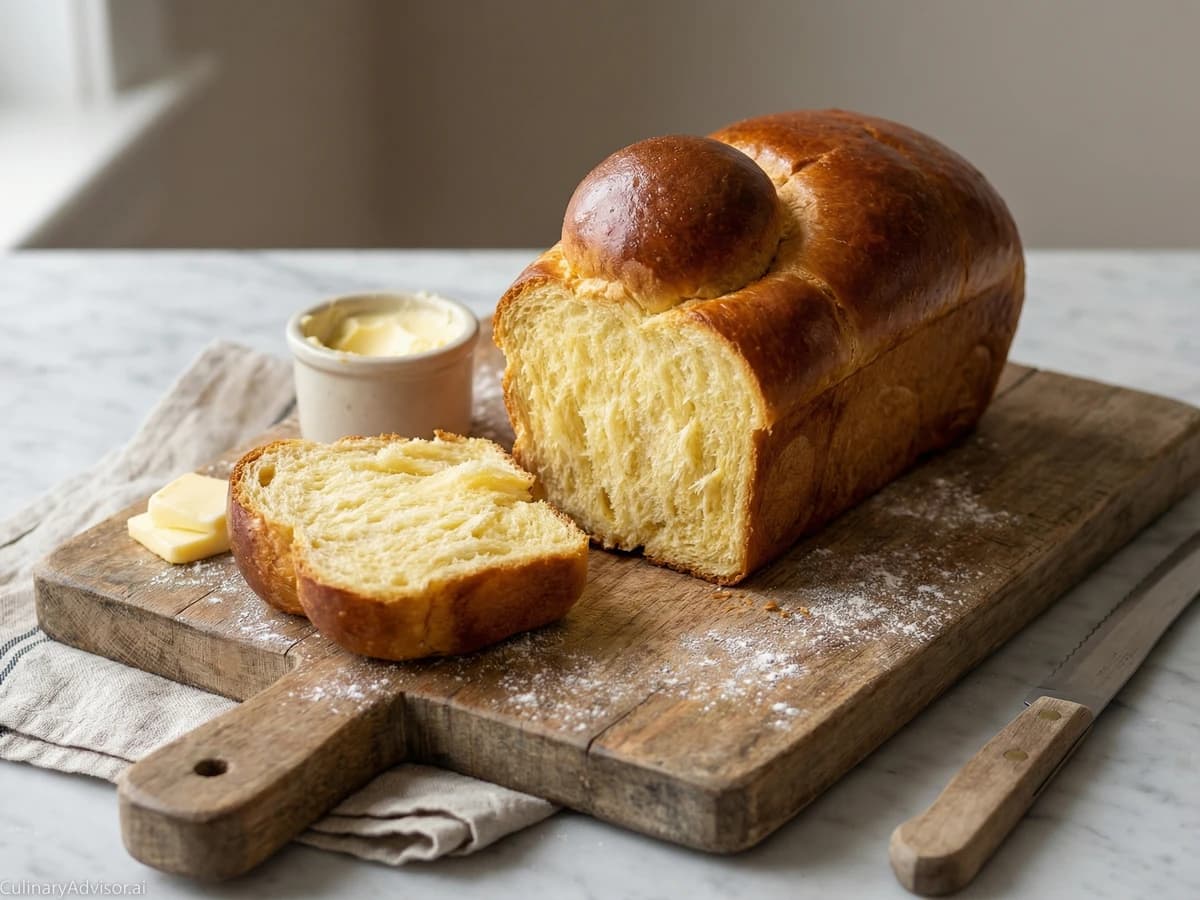
The crown jewel of enriched breads, brioche walks the line between bread and pastry with shameless amounts of butter and eggs folded into a tender, golden crumb that tears like clouds.

Chef Ally
A golden loaf of butter-rich French bread with a mahogany crust and a crumb so tender it tears like cotton. This is bread meant for holiday mornings, French toast that matters, and the simple pleasure of something made with your own hands.

Chef Ally
Four ingredients, two hands, and one day of unhurried attention. This is the loaf that connects you to ten thousand years of bread-making, and it starts with flour you can trust.