Chef Ally
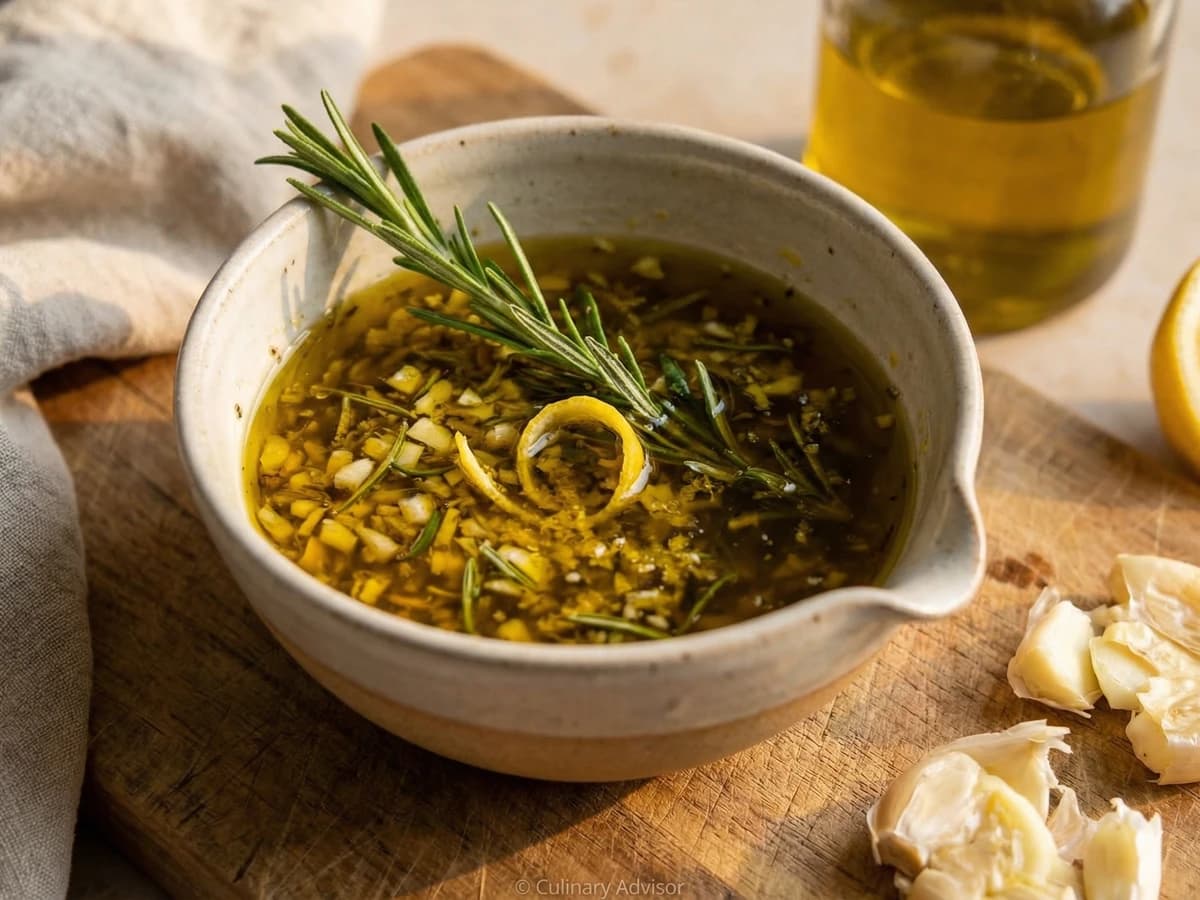
Garlic and Rosemary Marinade
Olive oil, garlic, and rosemary in honest proportion. This is what happens when you trust your ingredients and get out of the way.
A cooking platform built around craft, culture, and the stories behind what we eat.
Created by
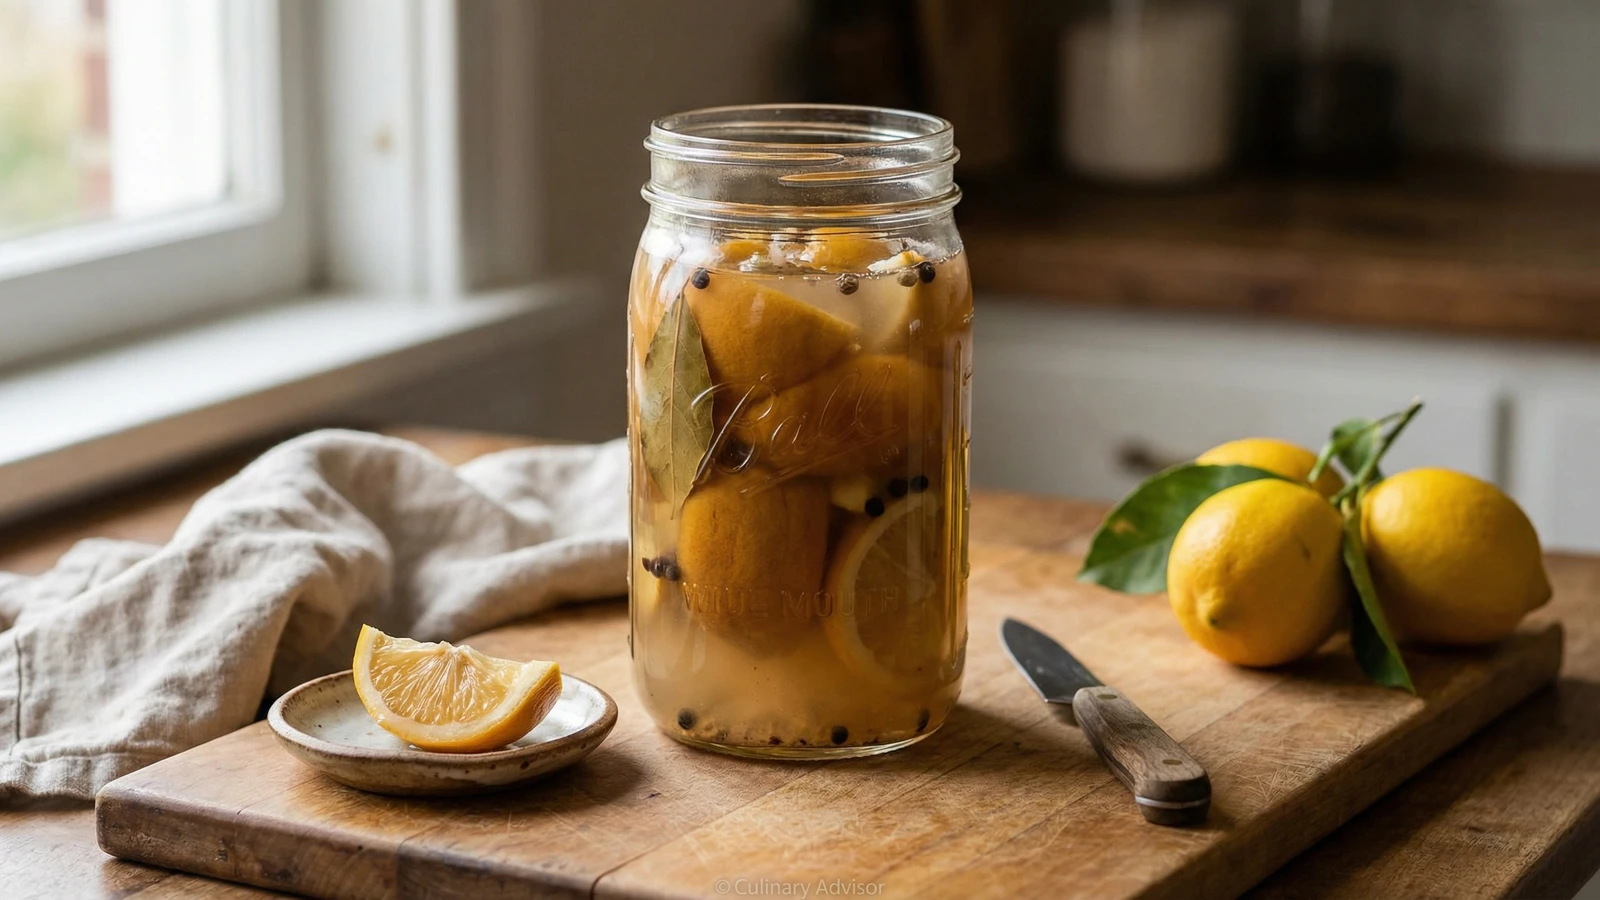
Winter's most fragrant citrus, transformed by salt and patience into something silky, complex, and indispensable. Once you have a jar in your refrigerator, you will wonder how you ever cooked without it.
Meyer lemons arrive in winter, exactly when we need brightness most. They are sweeter than regular lemons, less acidic, with a fragrance that sits somewhere between lemon and mandarin orange. When you preserve them in salt, something remarkable happens. The bitterness leaves the rind. What remains is pure, concentrated citrus flavor, silky and deep.
This is one of the simplest preserving projects you will ever attempt. Salt. Lemons. Time. That is all. The technique comes from North Africa, where preserved lemons have flavored tagines and salads for centuries. I learned it from a Moroccan cook who laughed at how little there was to explain.
The waiting is the hardest part. Three to four weeks while the salt works its quiet transformation. But once you have a jar of these golden gems in your refrigerator, your cooking changes. A few slivers turn a roast chicken into something memorable. A spoonful minced into vinaigrette makes a salad sing. They belong anywhere you want depth and brightness without adding liquid or acid.
Quantity
8
organic and unwaxed
Quantity
1 cup, plus more as needed
Quantity
2
Quantity
1 teaspoon
Quantity
as needed (from 2-3 additional lemons)
| Ingredient | Quantity |
|---|---|
| Meyer lemonsorganic and unwaxed | 8 |
| kosher salt | 1 cup, plus more as needed |
| bay leaves | 2 |
| black peppercorns | 1 teaspoon |
| fresh Meyer lemon juice | as needed (from 2-3 additional lemons) |
Start with the lemons. They should feel heavy for their size, which tells you the juice is abundant. The skin should be thin, fragrant, and free of blemishes. Smell them. A ripe Meyer lemon has a perfume that regular lemons cannot match, something floral and sweet beneath the citrus. If they do not smell like anything, they will not taste like much either.
Scrub each lemon under cool running water with a vegetable brush. Even organic fruit carries dust and residue. Dry them completely with a clean towel. Wet lemons dilute the salt and can introduce unwanted bacteria to your jar.
Wash a wide-mouth quart jar and its lid with hot soapy water. Rinse thoroughly and let air dry, or dry with a clean lint-free towel. Spread two tablespoons of salt across the bottom of the jar. This creates a bed that begins drawing juice immediately.
Slice each lemon lengthwise from the top almost to the bottom, stopping about half an inch from the base. Turn the lemon ninety degrees and make another lengthwise cut, again stopping before you cut all the way through. The lemon should open like a flower but remain connected at the stem end. This shape allows salt to penetrate while keeping the quarters intact.
Working over a bowl to catch drips, pry open each lemon and pack the inside generously with kosher salt, about one tablespoon per lemon. Do not be timid. The salt is doing the preserving. Reshape the lemon gently and place it in the jar. Press down firmly with a wooden spoon or your clean fist. The lemon should begin releasing juice immediately.
Continue with each lemon, pressing down firmly after adding each one. Tuck bay leaves and peppercorns between the layers as you go. By the time the jar is full, the lemons should be completely submerged in their own juice. If they are not, squeeze enough fresh Meyer lemon juice to cover them by at least half an inch. No lemon flesh should be exposed to air.
Sprinkle another tablespoon of salt over the top. Seal the jar tightly and let it sit at room temperature, away from direct sunlight, for three to four weeks. Shake or invert the jar every day or two to redistribute the salt and juices. The lemons are ready when the rinds have softened completely and turned silky, almost translucent.
When you are ready to cook, remove a lemon quarter from the jar. Rinse it briefly under cool water to wash away excess salt. Scrape out and discard the soft pulp. The rind is what you want. Slice it thin or mince it fine. A little goes a long way. Return unused lemons to the jar and refrigerate. They will keep for a year, becoming more mellow and complex with time.
1 serving (about 95g)
Culinary guides, cultural storytelling, and the editorial depth that makes cooking meaningful.
Discover Culinary ExplorerChef Ally
Olive oil, garlic, and rosemary in honest proportion. This is what happens when you trust your ingredients and get out of the way.
Chef Ally
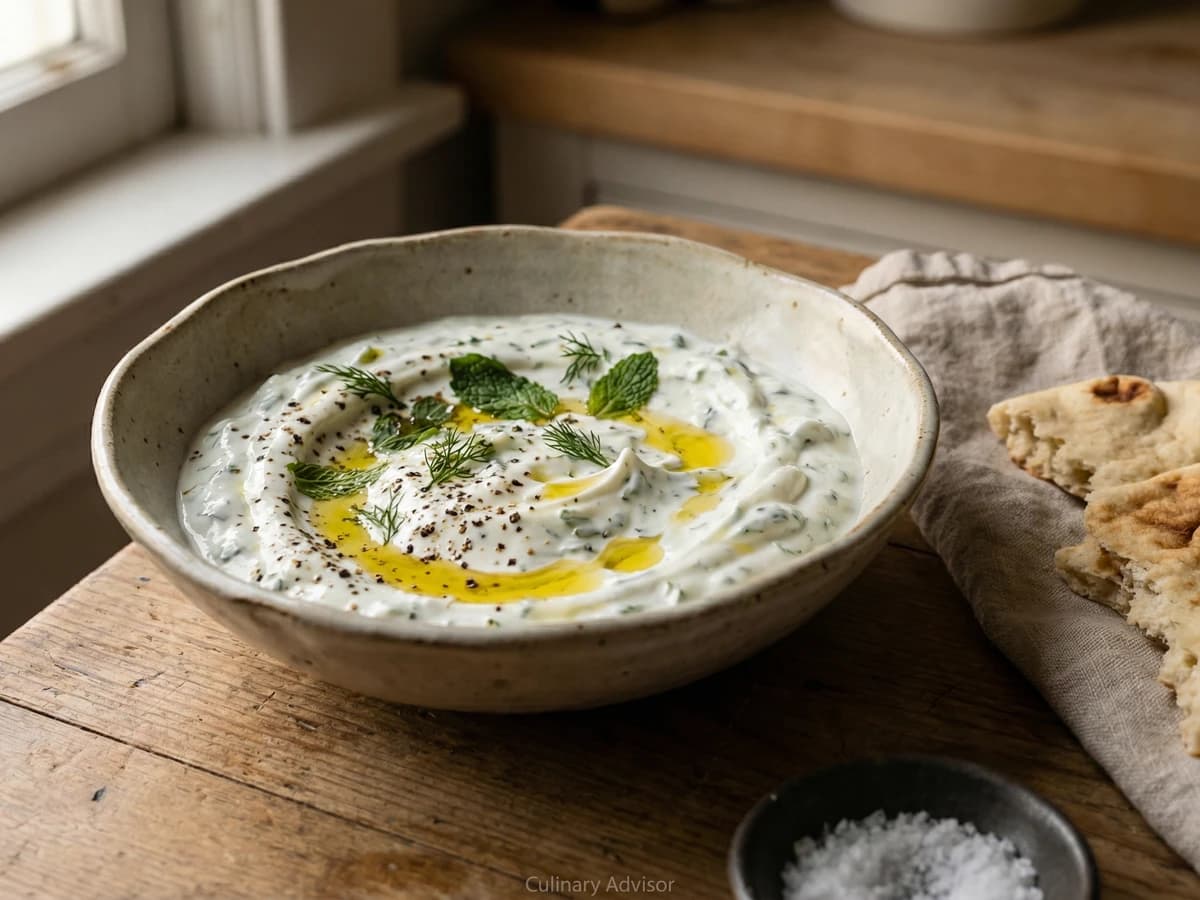
A cool, tangy sauce that celebrates whatever fresh herbs you bring home from the market, stirred into thick yogurt with lemon and good olive oil. Let the herbs do the work.
Chef Ally
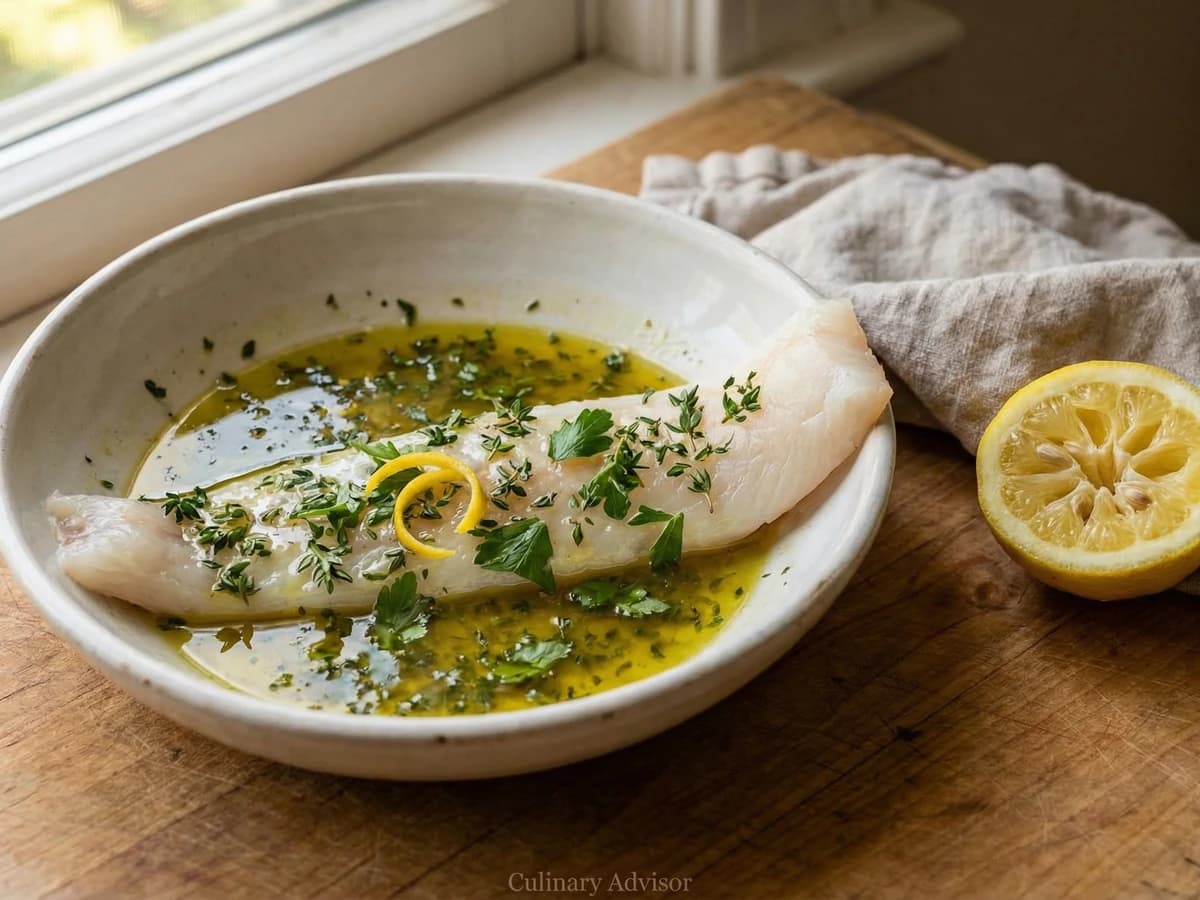
Bright citrus and soft herbs suspended in good olive oil, designed not to overpower but to wake up the clean, sweet flavor of fish that was swimming this morning.
Chef Juliette
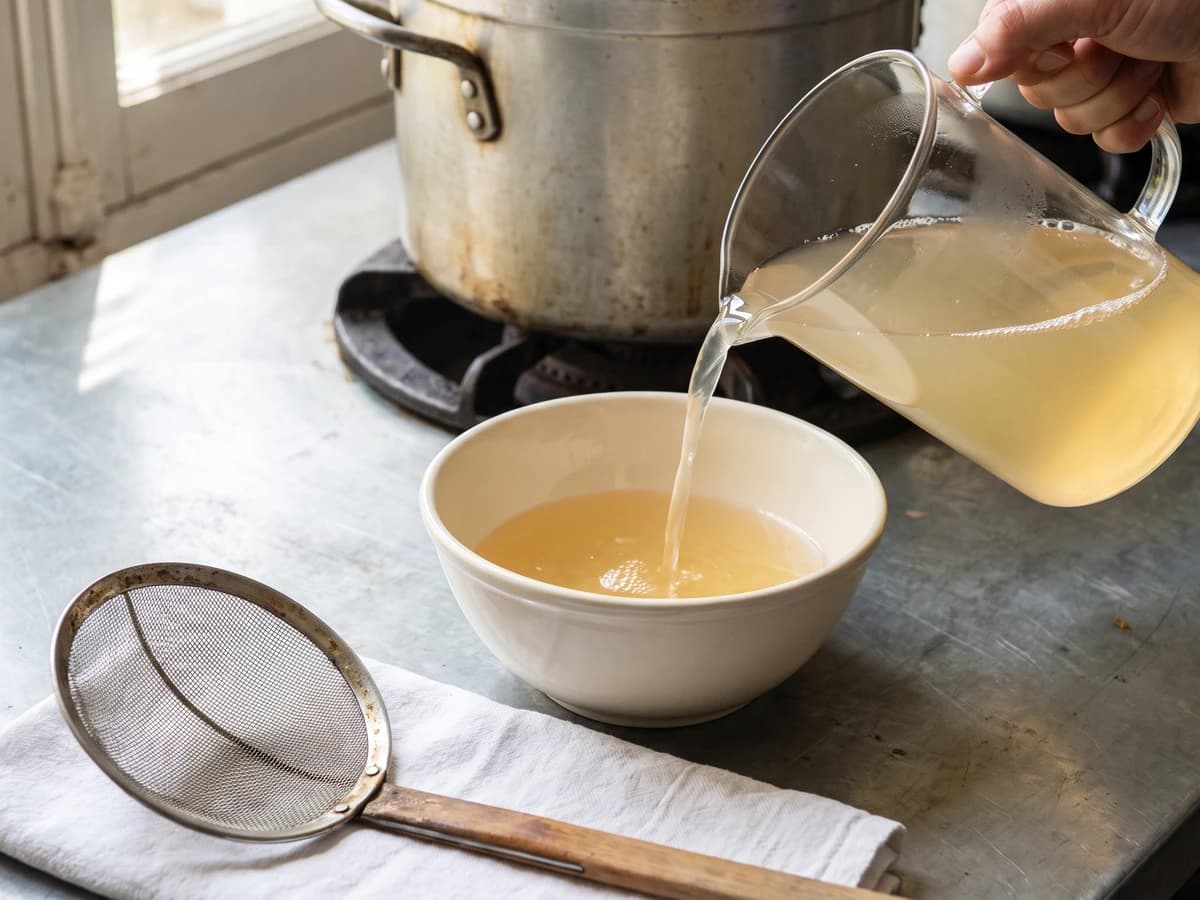
Beef shin, lean beef, and fowl begin in cold water and rise slowly toward a tremble. Skim before the boil, and you learn the quiet discipline that gives every clear French broth its backbone.