
Chef Graziella
Pane di Lariano
The bread of the Castelli Romani, with a crust like armor and a crumb that stays moist for a week. This is what Romans mean when they speak of bread worth eating.
A cooking platform built around craft, culture, and the stories behind what we eat.
Created by
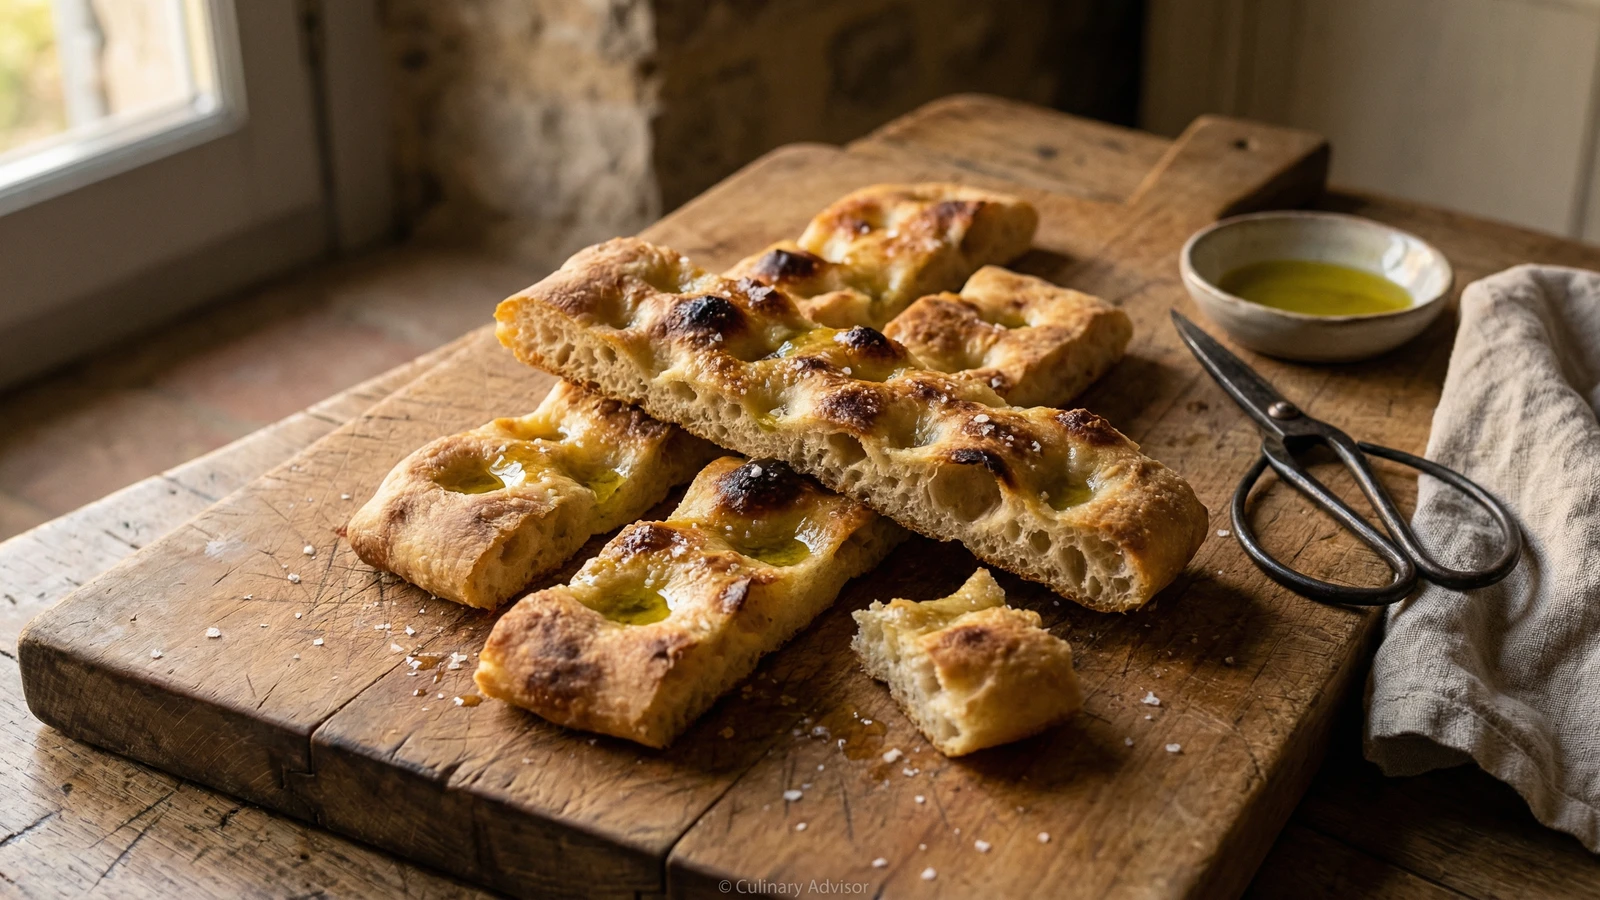
The street bread of Rome, nothing but flour, water, salt, and good olive oil, baked until blistered and eaten warm from the forno. What you keep out is as significant as what you put in.
Romans do not call this pizza. They call it what it is: pizza bianca, white pizza, the bread you buy by weight at the neighborhood forno and eat while walking to wherever you are going. No tomato. No mozzarella. Just dough that has had time to develop character, good olive oil, and salt.
The hydration is high, which terrifies people who learned to make bread from dry, obedient doughs. This dough is alive. It sticks to your hands. It moves when you touch it. It creates the open, irregular crumb and the blistered surface that distinguish Roman pizza bianca from lesser flatbreads. You cannot achieve this texture with a stiff dough, no matter how long you knead.
Time does the work here. The overnight rest in the refrigerator costs you nothing but patience, and it gives you flavor that a two-hour rise cannot approach. The forni of Rome have understood this for generations. Their ovens never cool, but their doughs always rest.
Pizza bianca has been sold in Roman bakeries since at least the 19th century, when it emerged as the bread of the working class. The forni baked it in the cooler parts of their wood-fired ovens while waiting for the temperature to rise enough for the day's loaves. Today it remains the standard by which Romans judge their local bakery, eaten plain or split and filled with mortadella.
Quantity
500g
Quantity
375g
at room temperature
Quantity
10g
Quantity
3g
Quantity
for the pan and finishing
| Ingredient | Quantity |
|---|---|
| bread flour or tipo 00 flour | 500g |
| waterat room temperature | 375g |
| fine sea salt | 10g |
| instant yeast | 3g |
| extra virgin olive oil | for the pan and finishing |
In a large bowl, combine the flour and yeast. Add the water all at once. Mix with your hand or a wooden spoon until a shaggy, sticky mass forms with no dry flour visible. This takes only two or three minutes. Do not knead. Cover tightly with plastic wrap and let rest for 30 minutes. This rest period allows the flour to hydrate fully.
Sprinkle the salt over the dough. Wet your hand and fold the dough over itself several times, pressing the salt into the mass. The dough will feel loose and sticky. This is correct. A wet dough creates the characteristic open crumb and blistered surface. Cover again and let rest 30 minutes more.
With wet hands, reach under the dough, stretch it upward, and fold it over itself. Turn the bowl a quarter turn and repeat. Do this eight to ten times around the bowl. The dough will become smoother and more elastic. Cover and rest 30 minutes. Repeat this folding process two more times, with 30-minute rests between. After three rounds of folding, the dough should feel supple and alive.
Transfer the dough to a lightly oiled container at least three times its size. Cover tightly and refrigerate for 12 to 24 hours. The long, cold fermentation develops flavor that no quick rise can replicate. The dough will double and become puffy with large bubbles visible beneath the surface.
Pour two tablespoons of olive oil into each of two rimmed baking sheets. Tilt to coat the entire surface. Remove the dough from the refrigerator. Divide it in half and place each portion on a prepared pan. Let rest at room temperature for one hour. The dough must warm up before you stretch it.
Oil your fingertips generously. Press into the dough, dimpling it across the entire surface and pushing it toward the edges of the pan. Work from the center outward. The dough will resist and spring back. Let it rest five minutes, then stretch again. Repeat until the dough fills the pan in a thin, uneven layer. Some spots thicker, some thinner. This is traditional.
Drizzle another tablespoon of olive oil over each stretched dough. Let rise uncovered at room temperature until puffy and full of air bubbles, 30 to 45 minutes. The dough should jiggle when you shake the pan. Meanwhile, position a rack in the lower third of the oven and heat to 450 degrees Fahrenheit.
Sprinkle coarse salt over the surface. Bake one pan at a time on the lower rack for 12 to 15 minutes, until deeply golden on top and the edges are dark and crisp. The center should be lighter than the edges, soft beneath a thin crust. Remove from the oven and drizzle immediately with more olive oil while still hot.
Slide the pizza bianca onto a cutting board. Cut into strips or squares with scissors, as the Roman bakers do. Eat it warm, within the hour if possible. This is street food. It waits for no one. The exterior should shatter slightly, the interior should be soft and open with irregular holes, and the olive oil should leave your fingers glistening.
1 serving (about 105g)
Culinary guides, cultural storytelling, and the editorial depth that makes cooking meaningful.
Discover Culinary ExplorerChef Graziella
The bread of the Castelli Romani, with a crust like armor and a crumb that stays moist for a week. This is what Romans mean when they speak of bread worth eating.

Chef Graziella
The iconic Roman breakfast roll with its hollow heart and shattering crust. Five points like a star, light as air inside. This is what Romans have broken over their morning coffee for generations.

Chef Juliette
Pâte à brioche ordinaire teaches enriched dough properly: wake the leaven, build strength before the last egg, then work in pliable butter by stages and let one long fermentation do its quiet work.

Chef Juliette
Ordinary brioche takes one exact measure of butter and a patient rise in the mould, becoming so light and silken that it can cradle fruit without losing its tender crumb.