
Chef Juliana
Beiju Chica de Santarém Novo
You don't need the right grandmother or a festival oven to learn the logic: grate mandioca fine, squeeze it damp, mix in coconut, and bake thin. Two ingredients, no packet, real crunch.
A cooking platform built around craft, culture, and the stories behind what we eat.
Created by
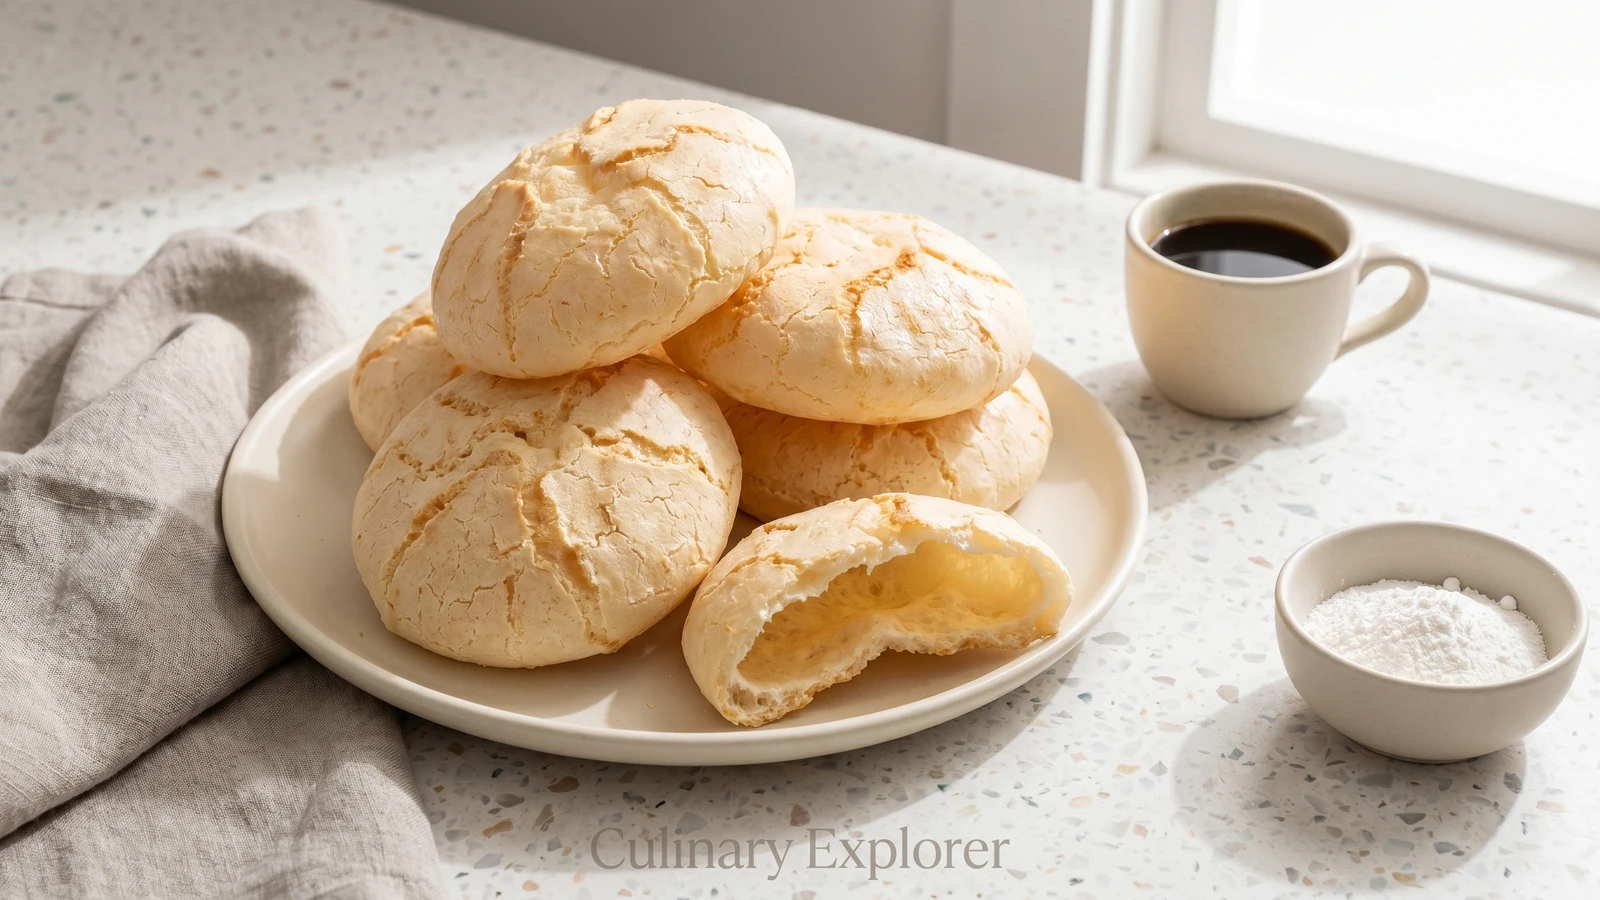
You think the giant hollow biscuit is bakery mystery. It isn't. Scald the polvilho, beat in the eggs, give it space in the oven, and coffee is already calling.
You, with your quiet 'isso não é pra mim,' are exactly the cook I wrote this for. I know that face. It's the face people make when a dough looks sticky, strange, and a little rude, as if the bowl is testing their character. Good. Let it look strange. Cozinhar não é dom, é um aprendizado, and polvilho is a very good teacher because it tells the truth fast.
Peta belongs beside coffee, but it comes from the same common sense that holds the pê-efe together: rice, beans, an egg or a piece of meat or chicken, something green, then a table that still has room for a biscoito made from mandioca starch, eggs, oil, salt, and heat. Comida de verdade doesn't mean complicated food. It means food made from real ingredients, with a method you can repeat, not a packet pretending it knows your kitchen better than you do.
The method is the whole story. You scald the polvilho so the starch swells and stops tasting raw. You let it cool so the eggs don't cook into little yellow bits, which I have done, naturally, because I am not above being taught by failure. You beat until the dough turns shiny and sticky, then you bake it hot enough to puff before it dries. That's how you get the big hollow middle.
Anota aí: the dough will not behave like wheat dough. Don't ask cassava to act like bread. It wants to be a thick paste, glossy and stubborn, and once you accept that, the rest gets simple. Big spoonfuls, hot oven, no opening the door early. By the end, you'll have golden petas that feel almost too light for their size, which is exactly the argument they were born to win.
In Goiás and parts of Minas Gerais, peta is the oversized member of the biscoito de polvilho family, baked for coffee tables, festas, and long visits where one tray has to feed many hands. The technique sits on two histories at once: Indigenous cassava processing, which gave Brazil polvilho, and colonial home baking, which added eggs, fat, and hot ovens to make airy biscuits from a root starch. Names and shapes shift by region, rings in one town, domes in another, but the expected result is the same: a dry, light shell with a hollow middle.
Quantity
3 cups
spooned and leveled
Quantity
1 cup
Quantity
1/2 cup, plus more for shaping
Quantity
1 teaspoon
Quantity
3 large
at room temperature
Quantity
2 to 4 tablespoons
only if needed
| Ingredient | Quantity |
|---|---|
| sour cassava starch (polvilho azedo)spooned and leveled | 3 cups |
| water | 1 cup |
| neutral oil | 1/2 cup, plus more for shaping |
| fine salt | 1 teaspoon |
| eggsat room temperature | 3 large |
| room-temperature water (optional)only if needed | 2 to 4 tablespoons |
Heat the oven to 220°C (425°F). Line two baking sheets with parchment paper and set the racks in the upper and lower thirds. Give the petas room from the start, because this dough puffs wide and tall before it dries. A crowded tray gives you biscuits stuck together at the shoulders, and nobody asked for one giant accident.
Put the polvilho azedo in a large heatproof bowl. In a small saucepan, bring the 1 cup water, oil, and salt to a full boil, with the surface bubbling and the salt dissolved. Pour it over the polvilho all at once and stir hard with a wooden spoon until the mixture turns into damp, crumbly clumps. This hot liquid wakes up the starch and takes away the raw chalkiness. Cold liquid won't do the same job.
Spread the hot clumps around the bowl and let them cool for 10 to 12 minutes, stirring once or twice. Touch the dough with a fingertip. It should feel warm, not hot. Add eggs to a hot dough and they cook into little bits before they can help the peta rise, which is a very annoying lesson and entirely avoidable.
Add the eggs one at a time, stirring hard after each one. The dough will look broken, then sticky, then glossy and stretchy. Keep going until it holds a spoon mark for one second and then slowly closes over itself. If it stays stiff and tears instead of stretching, add room-temperature water 1 tablespoon at a time. The dough needs enough moisture to puff, but not so much that it spreads flat.
Oil a 1/3-cup measuring cup or two large spoons. Scoop eight big mounds onto the prepared sheets, leaving at least 8 cm between them. Smooth any sharp peaks with an oiled fingertip so they don't brown too fast. The mounds should look too tall and too sticky. That's correct. This is paste, not bread dough, and a gente is not here to force it into behaving like wheat.
Bake at 220°C (425°F) for 12 minutes without opening the oven. When the petas are puffed, round, and just beginning to color, lower the oven to 190°C (375°F) and bake 15 to 18 minutes more, until pale golden, firm, and light for their size. The hot start makes the moisture inside expand before the shell sets. The lower heat dries the biscuit so the middle stays hollow instead of gummy.
Move the petas to a rack and let them cool for 10 minutes. Break one open if you're unsure: it should be mostly hollow inside, with a dry, thin shell and a crisp bite. Serve with coffee. If one disappears while you're checking the texture, that is not a mistake. That's the cook's tax.
1 serving (about 85g)
Culinary guides, cultural storytelling, and the editorial depth that makes cooking meaningful.
Discover Culinary ExplorerChef Juliana
You don't need the right grandmother or a festival oven to learn the logic: grate mandioca fine, squeeze it damp, mix in coconut, and bake thin. Two ingredients, no packet, real crunch.

Chef Juliana
You think tiny wrapped wedding sweets are for people with magic hands. They're not. They're sponge, filling, glaze, and patience, taught in plain steps until they behave.

Chef Juliana
You think this is bakery magic. It isn't. Scald sour cassava starch, beat in eggs, pipe rings, and let a hot oven crack them into crisp, hollow biscuits.

Chef Juliana
You don't need bakery courage for this. Polvilho, queijo Minas, milk, butter, and your hands make crisp little sticks for coffee, lunchboxes, or the snack that keeps dinner sane.