Culinary Explorer

A cooking platform built around craft, culture, and the stories behind what we eat.
Discover Culinary Explorer
Peanut Butter Chocolate Chip Cookies

Peanut Butter Chocolate Chip Cookies

Created by

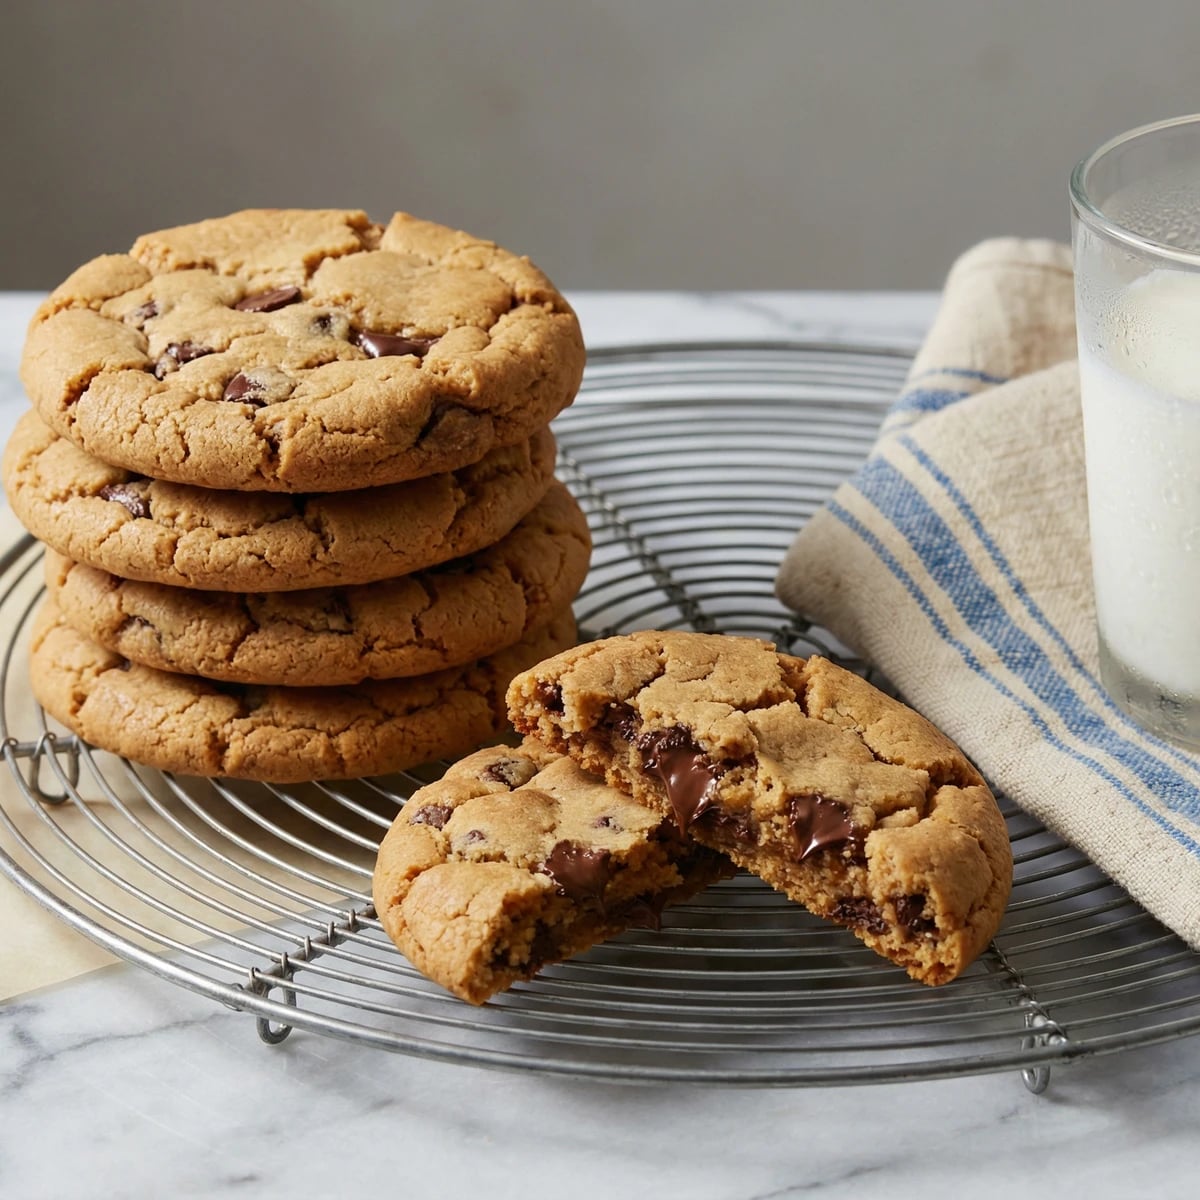
Tender, chewy cookies where creamy peanut butter meets pockets of melted chocolate. Two American icons in perfect harmony, with just enough salt to make you reach for another.

Pastries & Cookies
American
Make Ahead
Batch Cooking
20 min
Active Time
12 min cook32 min total
Yield36 cookies

Peanut butter cookies arrived in American kitchens around 1916, when George Washington Carver's crusade for the humble legume was changing how we ate. The original versions were simple: peanut butter, sugar, eggs. Someone, somewhere, had the good sense to add chocolate chips, and the result is one of those combinations that feels like it should have existed forever.

The secret to these cookies lives in the ratio. Too much flour and you lose the peanut butter's richness. Too little and they spread into lace. I've tested this formula dozens of times, and it delivers what you want: a cookie that holds its shape, stays chewy for days, and tastes unmistakably of peanut butter without the chocolate playing second fiddle.

Use a good peanut butter here. Not the natural kind that separates—you need the emulsified grocery store variety for proper texture. The stabilizers actually help the cookie structure. Sometimes the processed version is the right choice. Save your artisanal nut butter for toast.

The technique, the tradition, and the story behind every dish.

Discover Culinary Explorer

Ingredients

unsalted butter, softened

Quantity

1 cup (2 sticks)

creamy peanut butter

Quantity

1 cup

light brown sugar

Quantity

1 cup

packed

granulated sugar

Quantity

1/2 cup

large eggs, room temperature

Quantity

2

pure vanilla extract

Quantity

2 teaspoons

all-purpose flour

Quantity

2 1/2 cups

baking soda

Quantity

1 teaspoon

fine sea salt

Quantity

1 teaspoon

semisweet chocolate chips

Quantity

2 cups

Equipment Needed

  • Stand mixer or hand mixer
  • Two large baking sheets
  • Parchment paper
  • Wire cooling rack
  • Cookie scoop (1.5 tablespoon capacity)

Instructions

  1. 1

    Cream the butter and peanut butter

    In a large bowl, beat the softened butter and peanut butter together on medium speed until completely smooth and unified, about 2 minutes. You're looking for a homogeneous mixture with no streaks. Scrape down the sides of the bowl with a rubber spatula.

    Truly softened butter should give easily when pressed but not look greasy or melted. Leave it at room temperature for 45 minutes before starting.
  2. 2

    Add sugars and beat until fluffy

    Add both sugars to the butter mixture. Beat on medium-high speed for 3 full minutes, stopping once to scrape the bowl. The mixture should become noticeably lighter in color and fluffy in texture. This aeration is crucial for a tender cookie.

  3. 3

    Incorporate eggs and vanilla

    Add the eggs one at a time, beating well after each addition until fully absorbed. Add the vanilla and mix until combined. The batter may look slightly curdled at this point. Don't worry. The flour will bring it back together.

  4. 4

    Mix dry ingredients

    In a separate bowl, whisk together the flour, baking soda, and salt. This takes thirty seconds and ensures even distribution of the leavening. Skip this step and you risk pockets of pure baking soda in your cookies. Nobody wants that.

  5. 5

    Combine wet and dry

    Add the flour mixture to the butter mixture in two additions, mixing on low speed just until no white streaks remain. Stop the mixer the moment it comes together. Overworking develops gluten and makes tough cookies.

    If your mixer struggles with the stiff dough, finish the last bit by hand with a wooden spoon or sturdy spatula.
  6. 6

    Fold in chocolate chips

    Add the chocolate chips and fold them in by hand using a rubber spatula or wooden spoon. Work from the bottom of the bowl upward, turning the dough to distribute the chips evenly. Every bite should have chocolate.

  7. 7

    Chill the dough

    Cover the bowl tightly with plastic wrap and refrigerate for at least 30 minutes, or up to 3 days. Cold dough spreads less in the oven, giving you thicker cookies with chewier centers. This rest also allows the flour to hydrate fully.

    For even better flavor, chill the dough overnight. The sugars dissolve more completely and the peanut butter flavor deepens.
  8. 8

    Prepare for baking

    Position racks in the upper and lower thirds of your oven and preheat to 350°F. Line two baking sheets with parchment paper. Remove the dough from the refrigerator about 5 minutes before scooping so it's workable but still cold.

  9. 9

    Portion the cookies

    Scoop rounded tablespoons of dough (about 1.5 ounces each) and roll into balls between your palms. Place them 2 inches apart on the prepared sheets. Don't flatten them. The weight of the dough will spread naturally in the oven.

  10. 10

    Bake until just set

    Bake for 10 to 12 minutes, rotating the pans halfway through. The cookies are done when the edges are set and lightly golden but the centers still look slightly underdone and puffy. They'll continue cooking on the hot pan. Pull them when you think they need another minute. Trust me.

  11. 11

    Cool completely

    Let the cookies rest on the baking sheets for 5 minutes. They're too fragile to move immediately. Transfer to a wire rack to cool completely. The chocolate will still be molten inside. Waiting is difficult but worthwhile.

Chef Tips

  • Use a commercial peanut butter like Skippy or Jif for this recipe. Natural peanut butters with oil separation produce a greasier cookie with less structure. Save the fancy stuff for spreading on bread.
  • For a more pronounced peanut butter flavor, reduce the chocolate chips to 1 1/2 cups. Sometimes restraint serves the cookie.
  • A cookie scoop (the kind that looks like a small ice cream scoop) makes portioning faster and ensures even baking. A 1.5-tablespoon scoop is ideal here.
  • These cookies stay soft for 5 days in an airtight container at room temperature. After that, they're still good but begin to dry out. Not that they'll last that long.
  • For thinner, crispier cookies, skip the chilling step and bake the dough immediately. They'll spread more and develop crunchier edges.

Advance Preparation

  • Dough can be refrigerated for up to 3 days before baking. The flavor actually improves with time.
  • Portioned dough balls freeze beautifully. Arrange on a parchment-lined sheet, freeze solid, then transfer to a freezer bag. They'll keep for 3 months. Bake from frozen, adding 2 to 3 minutes to the baking time.
  • Baked cookies freeze well in an airtight container for up to 2 months. Thaw at room temperature for 30 minutes before serving.

Frequently Asked Questions

Nutrition Information

1 cookie (about 44g)

Calories
210 calories
Total Fat
12 g
Saturated Fat
7 g
Trans Fat
0 g
Unsaturated Fat
4 g
Cholesterol
18 mg
Sodium
160 mg
Total Carbohydrates
23 g
Dietary Fiber
1 g
Sugars
9 g
Protein
3 g

Note: Chef personas and recipes are created with AI assistance. Cook with care: follow safe food-handling practices, check doneness with a thermometer when needed, and adapt for allergies and your kitchen.

Where cooking meets culture.

Culinary guides, cultural storytelling, and the editorial depth that makes cooking meaningful.

Discover Culinary Explorer

More from The Great American Cookie Collection

Browse the full collection