Chef Makoa
Kalo Rolls (Hawaiian Taro Bread)
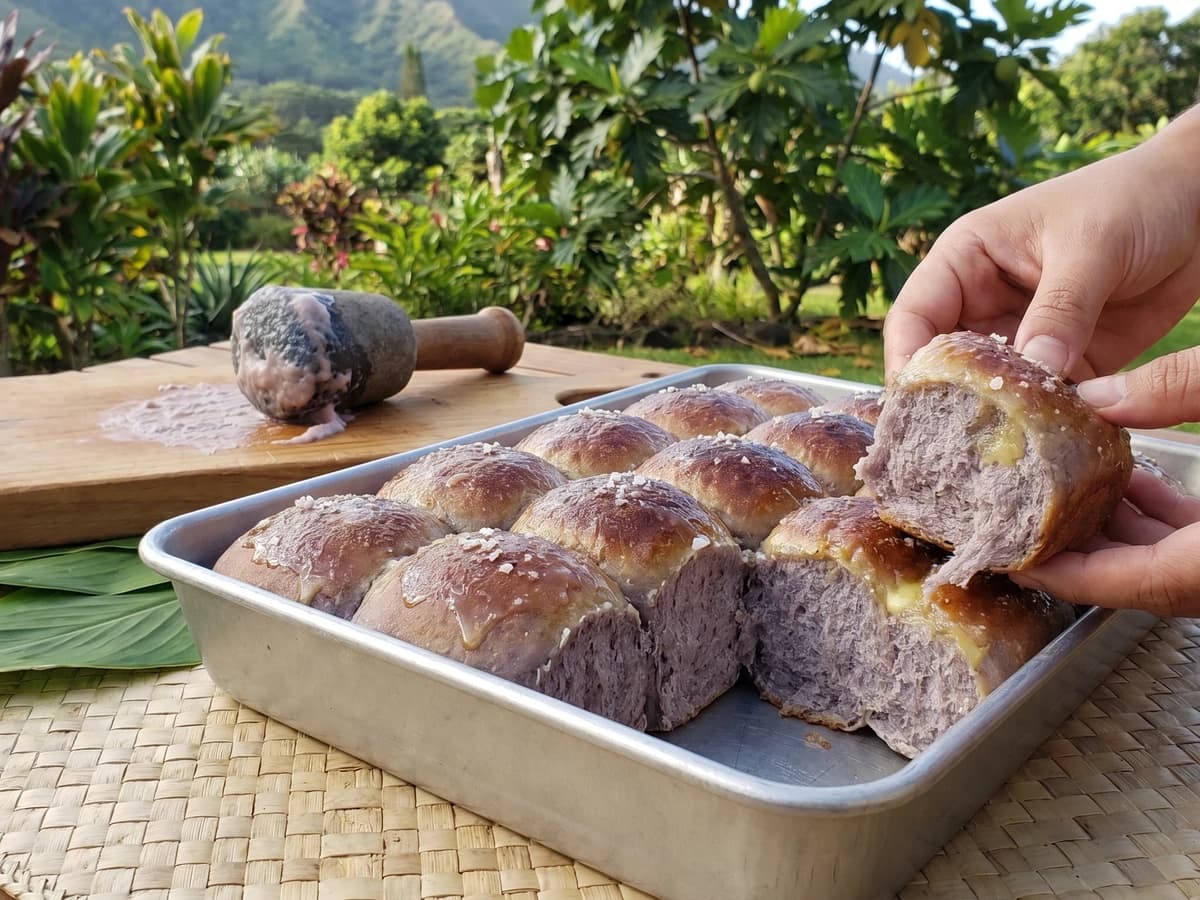
Soft Hawaiian kalo rolls, lavender from poi (pounded taro) and tender with butter, baked pull-apart for the lūʻau (feast) table, the potluck pan, or breakfast.
A cooking platform built around craft, culture, and the stories behind what we eat.
Created by
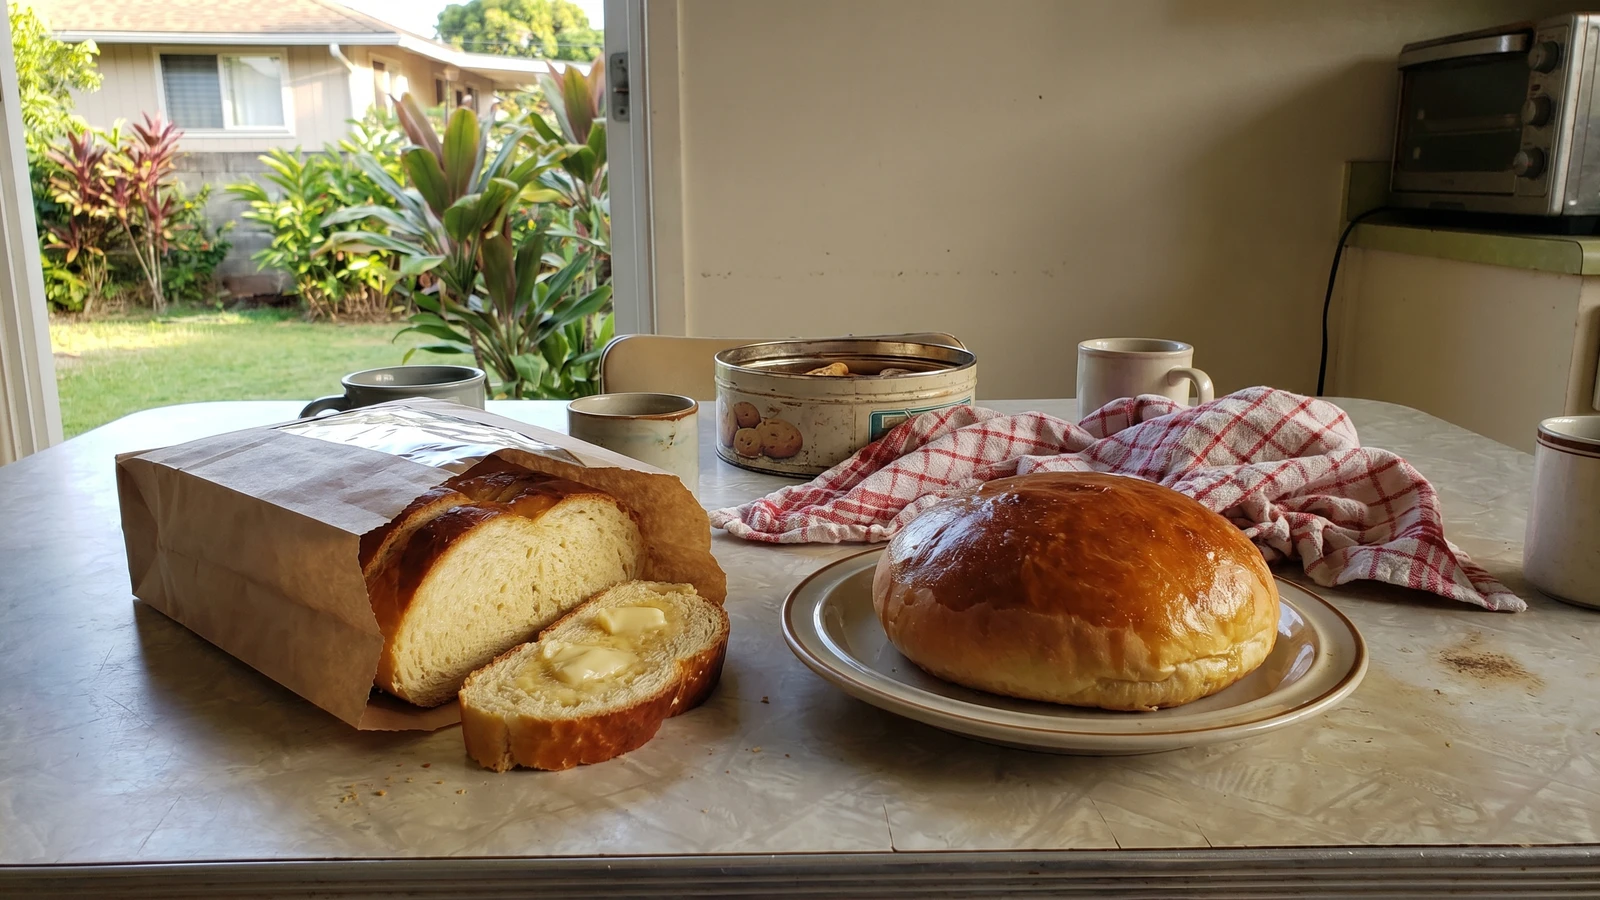
A soft, golden egg-and-butter loaf the Portuguese carried to Hawaiʻi from the Azores and Madeira, now a Local table bread for holidays, breakfast toast, and one more auntie walking in.
Some relatives come by canoe, some by contract ship, and Hawaiʻi learned to feed them all. This bread is Hawaiʻi Local, from Portuguese hands, especially families from Madeira and the Azores who came into plantation life and brought their sweet, egg-rich bread with them. It isn't the food of the loʻi, the wetland taro patch. It's not Hāloa on the board. But it is part of the table my island actually eats from, the bakery case, the church sale, the Christmas morning loaf wrapped in plastic and carried to somebody's house.
I remember this kind of bread showing up already sliced thick, soft as a pillow, yellow from the eggs, with that little sweetness that makes butter taste like it got better manners. The old people didn't talk fancy about it. They toasted it, gave it to children, made French toast with it, sent you home with half a loaf because no house should be empty-handed. That's Hawaiʻi too. ʻĀina, kānaka, meaʻai, land, people, food, and every wave of people leaving a mark without erasing the ones before.
Across the Triangle, flour found its own island voices after contact: Sāmoan pani popo, coconut buns baked in sweet coconut sauce; Māori rēwena, potato-starter bread in Aotearoa; Tahitian pain coco at the modern table. Same ocean table, different hands. This one belongs to Hawaiʻi's Portuguese Local story, and the method asks for patience more than cleverness: warm milk, alive yeast, soft butter, a slow rise until the dough feels full and breathing.
So don't rush the rising. Sweet dough is rich with eggs, sugar, and butter, and that richness slows the yeast down. Let it come around in its own time. No blame the bread if the kitchen is cold. Give it warmth, give it time, and it'll feed the house.
Portuguese laborers from Madeira and the Azores began arriving in Hawaiʻi in large numbers in 1878 to work in the sugar plantations, bringing breads like pão doce into island home kitchens and bakeries. Over generations, the loaf became Hawaiʻi Local food: sold in bakery cases, baked for Easter and Christmas, and used for thick toast and French toast. This is post-contact plantation-era food, not Kanaka Maoli deep food, and it sits honestly beside malasadas, andagi, gau, hopia, and the other immigrant sweets Hawaiʻi made its own.
Quantity
1 cup
warmed to 105F to 110F
Quantity
2 1/4 teaspoons
Quantity
3/4 cup
divided
Quantity
5 to 5 1/2 cups
plus more for dusting
Quantity
1 teaspoon
Quantity
4
room temperature
Quantity
1/2 cup
softened
Quantity
1 tablespoon
Quantity
1 teaspoon
Quantity
1/4 teaspoon
Quantity
1 large egg beaten with 1 tablespoon milk
| Ingredient | Quantity |
|---|---|
| whole milkwarmed to 105F to 110F | 1 cup |
| active dry yeast | 2 1/4 teaspoons |
| granulated sugardivided | 3/4 cup |
| all-purpose flourplus more for dusting | 5 to 5 1/2 cups |
| fine sea salt | 1 teaspoon |
| large eggsroom temperature | 4 |
| unsalted buttersoftened | 1/2 cup |
| lemon zest or orange zest | 1 tablespoon |
| vanilla extract | 1 teaspoon |
| ground nutmeg (optional) | 1/4 teaspoon |
| egg wash | 1 large egg beaten with 1 tablespoon milk |
Stir the warm milk, yeast, and 1 tablespoon of the sugar together in a large bowl or mixer bowl. Let it sit 5 to 10 minutes, until the surface looks creamy and a little foamy. If nothing happens, the yeast is tired or the milk was too hot, so start again before you give good flour to bad yeast.
Add 5 cups flour, the remaining sugar, salt, eggs, softened butter, zest, vanilla, and nutmeg if using. Mix until a shaggy dough forms, then knead 8 to 10 minutes by machine or 12 to 15 minutes by hand, adding only enough extra flour to keep it from smearing. The dough should be soft, tacky, and smooth, not stiff like a dinner roll.
Set the dough in a lightly buttered bowl, cover it, and let it rise in a warm place for 1 1/2 to 2 hours, until doubled and full-feeling under your hand. Rich dough moves slow because the butter, eggs, and sugar are weighing it down in the best way. Give it time. No need bully the bread.
Turn the dough onto a lightly floured counter and divide it in half. Shape each half into a tight round, pulling the surface smooth and tucking the seams underneath. Set the rounds on a parchment-lined baking sheet with room between them, or into two greased 9-inch round pans if you want taller loaves.
Cover the loaves loosely and let them rise 45 to 75 minutes, until puffy and almost doubled. Press a floured fingertip gently into the side: the dent should spring back slowly, not snap back fast. That slow return tells you the dough is ready for the oven.
Heat the oven to 350F. Brush the loaves lightly with egg wash, then bake 30 to 35 minutes, until deep golden brown and the centers read 190F. The crust should shine, the kitchen should smell buttery and sweet, and the bottom should sound hollow when tapped.
Let the loaves cool at least 45 minutes before slicing so the crumb sets soft instead of gummy. Serve thick slices with butter, toast them the next morning, or turn them into French toast when the loaf gets a little old. Eat what you have. Good bread has more than one life.
1 serving (about 75g)
Culinary guides, cultural storytelling, and the editorial depth that makes cooking meaningful.
Discover Culinary ExplorerChef Makoa
Soft Hawaiian kalo rolls, lavender from poi (pounded taro) and tender with butter, baked pull-apart for the lūʻau (feast) table, the potluck pan, or breakfast.

Chef Makoa
Hawaiʻi Local manapua, born from Chinese char siu bao and raised by lunch wagons, with soft sweet dough wrapped around glossy red pork, big enough for one hand and one small-kid memory.

Chef Juliette
Pâte à brioche ordinaire teaches enriched dough properly: wake the leaven, build strength before the last egg, then work in pliable butter by stages and let one long fermentation do its quiet work.

Chef Juliette
Ordinary brioche takes one exact measure of butter and a patient rise in the mould, becoming so light and silken that it can cradle fruit without losing its tender crumb.