
Chef Takumi
Aji Fry (アジフライ, panko-fried horse mackerel)
Aji fry is weeknight fish with no mystery: fresh horse mackerel opened cleanly, breaded lightly, and fried until the panko crackles while the flesh stays sweet.
A cooking platform built around craft, culture, and the stories behind what we eat.
Created by
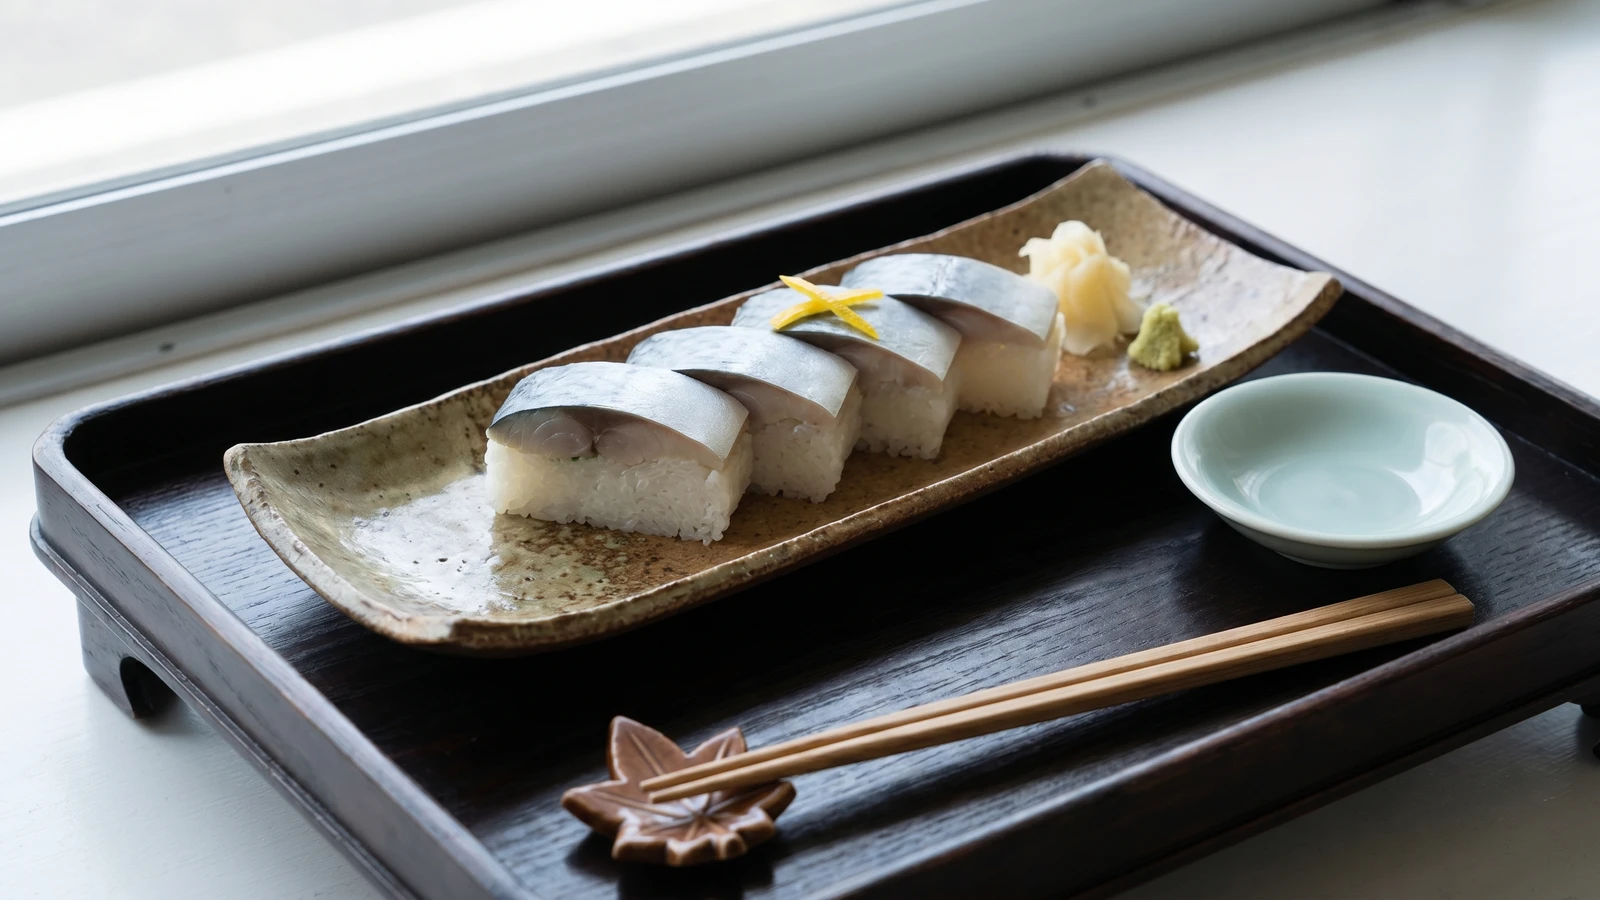
Pressed sushi is the home cook's quiet advantage: seasoned rice, a good topping, firm pressure, and a clean knife. The box does the shaping while you keep the fish honest.
Oshizushi looks severe at first: a block of rice and fish cut into perfect little rectangles, the sort of thing people imagine requires a specialist and a very serious box. It doesn't. The box helps, of course, but the heart of the dish is simpler: vinegared rice, a topping good enough to stand uncovered, and patient pressure.
The one detail that decides it is moisture. The rice must be seasoned while hot so it drinks the vinegar, then cooled until glossy and body-warm before it meets the fish. If the rice is wet or the topping is dripping, the pressed block turns heavy and dull. If both are just right, the layers hold together cleanly and every slice shows its face.
In Kansai we think of sushi as older than the quick hand-shaped nigiri of Edo. Oshizushi is made ahead, carried, cut, and shared, which is why it belongs so naturally to picnics and gatherings. Use shime saba, mackerel cured with salt and rice vinegar, when you can get a fresh, glistening fish. Nothing hidden. The vinegar sharpens what is good already; it will not rescue what is tired.
Pressed sushi is strongly associated with Kansai, especially Osaka, where hakozushi, or box sushi, developed as a neat, make-ahead form suited to merchants, travelers, and theater-going crowds. It predates the rise of Edo-style nigiri, which became popular in nineteenth-century Tokyo as a faster street food shaped by hand. Osaka's battera, a well-known pressed mackerel sushi, appeared in the late nineteenth century and takes its name from the Portuguese word bateira, because its early shape resembled a small boat.
Quantity
2 cups
Quantity
2 cups, plus more for rinsing
Quantity
1 piece (about 5g)
Quantity
1/3 cup
Quantity
2 tablespoons
Quantity
1 1/2 teaspoons
Quantity
2 fillets (about 300g total)
pin bones removed
Quantity
2 tablespoons
for curing
Quantity
1/2 cup
for curing
Quantity
1 tablespoon
for curing
Quantity
1 piece (about 5g)
for curing
Quantity
1 sheet
Quantity
1 tablespoon
Quantity
small amount
Quantity
for serving
| Ingredient | Quantity |
|---|---|
| Japanese short-grain rice | 2 cups |
| water | 2 cups, plus more for rinsing |
| konbu (dried kelp) | 1 piece (about 5g) |
| rice vinegar | 1/3 cup |
| sugar | 2 tablespoons |
| fine sea salt | 1 1/2 teaspoons |
| very fresh mackerel filletspin bones removed | 2 fillets (about 300g total) |
| fine sea saltfor curing | 2 tablespoons |
| rice vinegarfor curing | 1/2 cup |
| sugarfor curing | 1 tablespoon |
| konbu (dried kelp)for curing | 1 piece (about 5g) |
| toasted nori (optional) | 1 sheet |
| pickled ginger (optional) | 1 tablespoon |
| grated wasabi (optional) | small amount |
| soy sauce (optional) | for serving |
Start with mackerel that is glistening fresh, firm, and clean-smelling, with bright skin and no sour odor. Ask when it came in and whether it is suitable for curing. The vinegar cure is seasoning, not camouflage, and a tired fish will announce itself no matter how neatly you press it.
Lay the mackerel fillets flesh-side up and cover the flesh evenly with the curing salt. Rest in the refrigerator for 30 minutes, then rinse quickly under cold water and pat very dry. The salt firms the flesh and draws out excess moisture, which helps the fish slice cleanly and keeps the sushi from weeping.
Stir the curing vinegar with the sugar until dissolved, add the konbu, and lay in the salted mackerel. Cure for 20 to 30 minutes, turning once. The fish should look slightly opaque at the surface but still tender inside. Pat it dry, then peel away the thin outer skin from the head end toward the tail if it lifts easily.
Rinse the rice in several changes of cold water, rubbing the grains gently with your fingertips until the water runs almost clear. Drain for 20 minutes. Washing removes loose starch, so the finished rice is glossy and separate instead of pasty. Wash it twice, wash it thrice, and the rice repays you.
Put the drained rice, water, and konbu in a rice cooker or heavy pot. Cook as you normally cook Japanese rice, then discard the konbu as soon as the rice is done. Rest the rice, covered, for 10 minutes. The konbu gives a quiet depth, and the rest lets moisture settle evenly through the grains.
Warm the rice vinegar, sugar, and salt just enough to dissolve them, then pour over the hot rice in a wide bowl. Cut through the rice with a paddle instead of stirring in circles. You want to coat the grains without crushing them. Fan as you fold until the rice is glossy and only warm to the touch.
Moisten the inside of an oshibako, the wooden pressing box, and line it with plastic wrap if you want easier lifting. No oshibako? Use a small loaf pan or rectangular container, with a flat board or another pan that fits inside. The tool matters less than even pressure and straight sides.
Lay the mackerel skin-side down in the box, trimming pieces to cover the base neatly. Add a thin sheet of nori if using, then spread the vinegared rice over it in an even layer about 3/4 inch thick. Cover with the box lid and press firmly with both hands, then weight it for 20 to 30 minutes. Pressure makes one block of the layers, but too much force compacts the rice into a brick. We are persuading it, not punishing it.
Lift out the block and turn it fish-side up. Use a sharp knife dipped in water and wiped clean between cuts, slicing straight down into rectangles. A wet, clean blade passes through the rice instead of dragging it, so each piece keeps its edges and the mackerel shows a smooth face. Let the knife do the last bit of seasoning.
Arrange the pieces in an odd-number grouping on a small plate, with pickled ginger, a little wasabi, and soy sauce alongside if you like. Serve at room temperature, not cold from the refrigerator. Rice tightens when chilled, and oshizushi should feel firm but alive.
1 serving (about 360g)
Culinary guides, cultural storytelling, and the editorial depth that makes cooking meaningful.
Discover Culinary ExplorerChef Takumi
Aji fry is weeknight fish with no mystery: fresh horse mackerel opened cleanly, breaded lightly, and fried until the panko crackles while the flesh stays sweet.
Chef Takumi
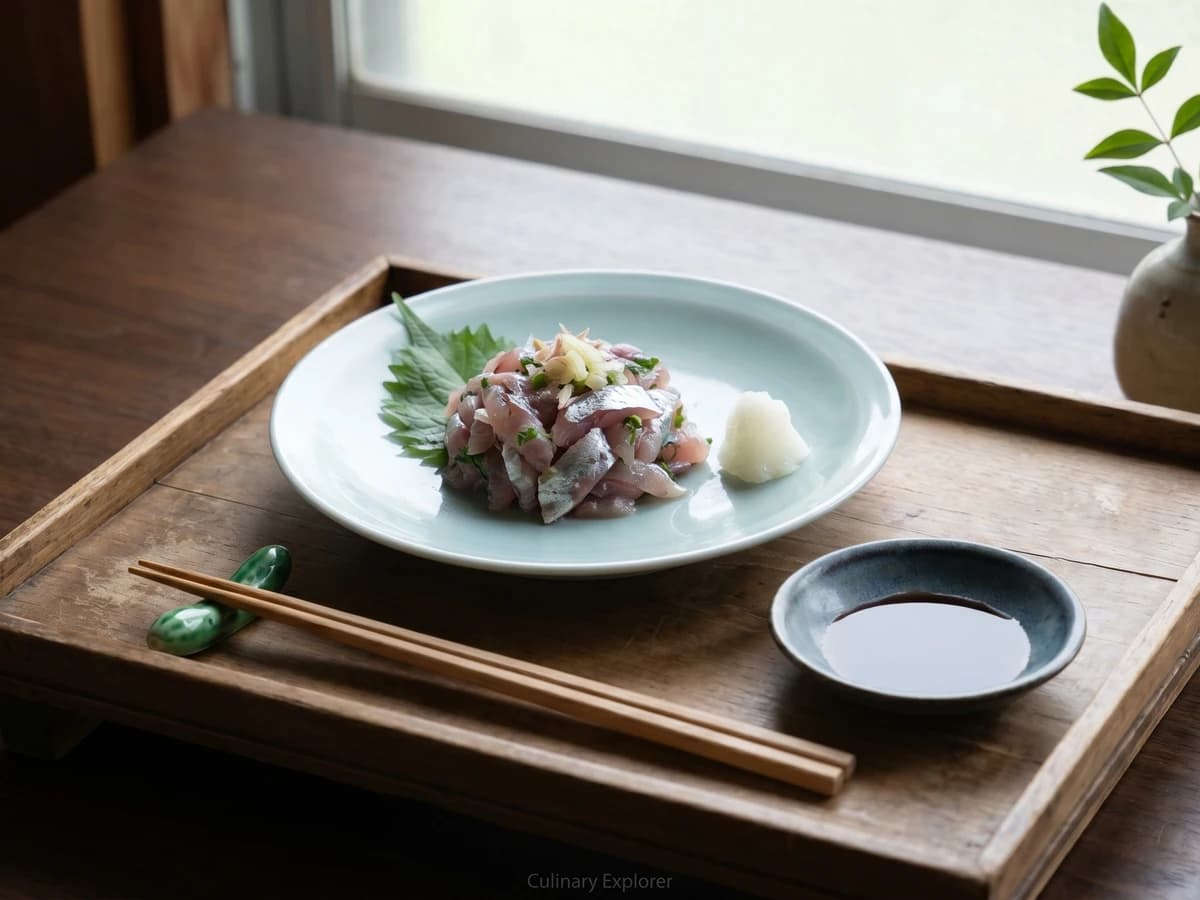
Summer horse mackerel, chopped just enough to catch ginger and scallion, becomes a cool, clean main dish with rice. The secret is fresh fish and a knife that does not bruise it.
Chef Takumi
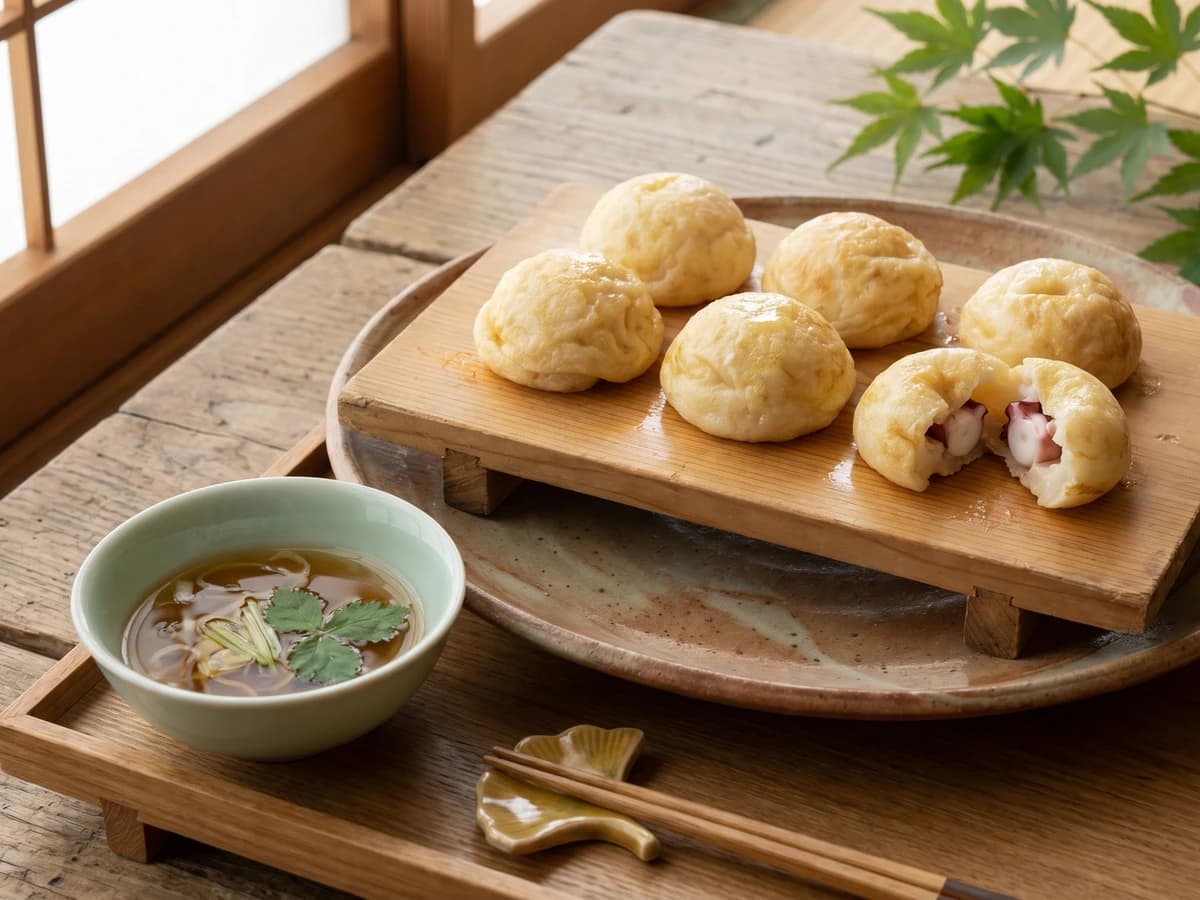
Akashi-yaki is not sauced takoyaki. It is egg-rich batter, tender octopus, and clear dashi, cooked pale and soft so each ball can be dipped like a small custard dumpling.

Chef Takumi
A whole anago looks like a test of nerve. It is mostly good sourcing, a dry skin, cold batter, and oil hot enough to leave the eel sweet under its lace.