
Chef Takumi
Arare (あられ, small mochi rice crackers)
Arare begins as firm mochi, cut small and dried until patient enough to puff. Brush it with soy at the end, and the little hailstones turn crisp and savory.
A cooking platform built around craft, culture, and the stories behind what we eat.
Created by
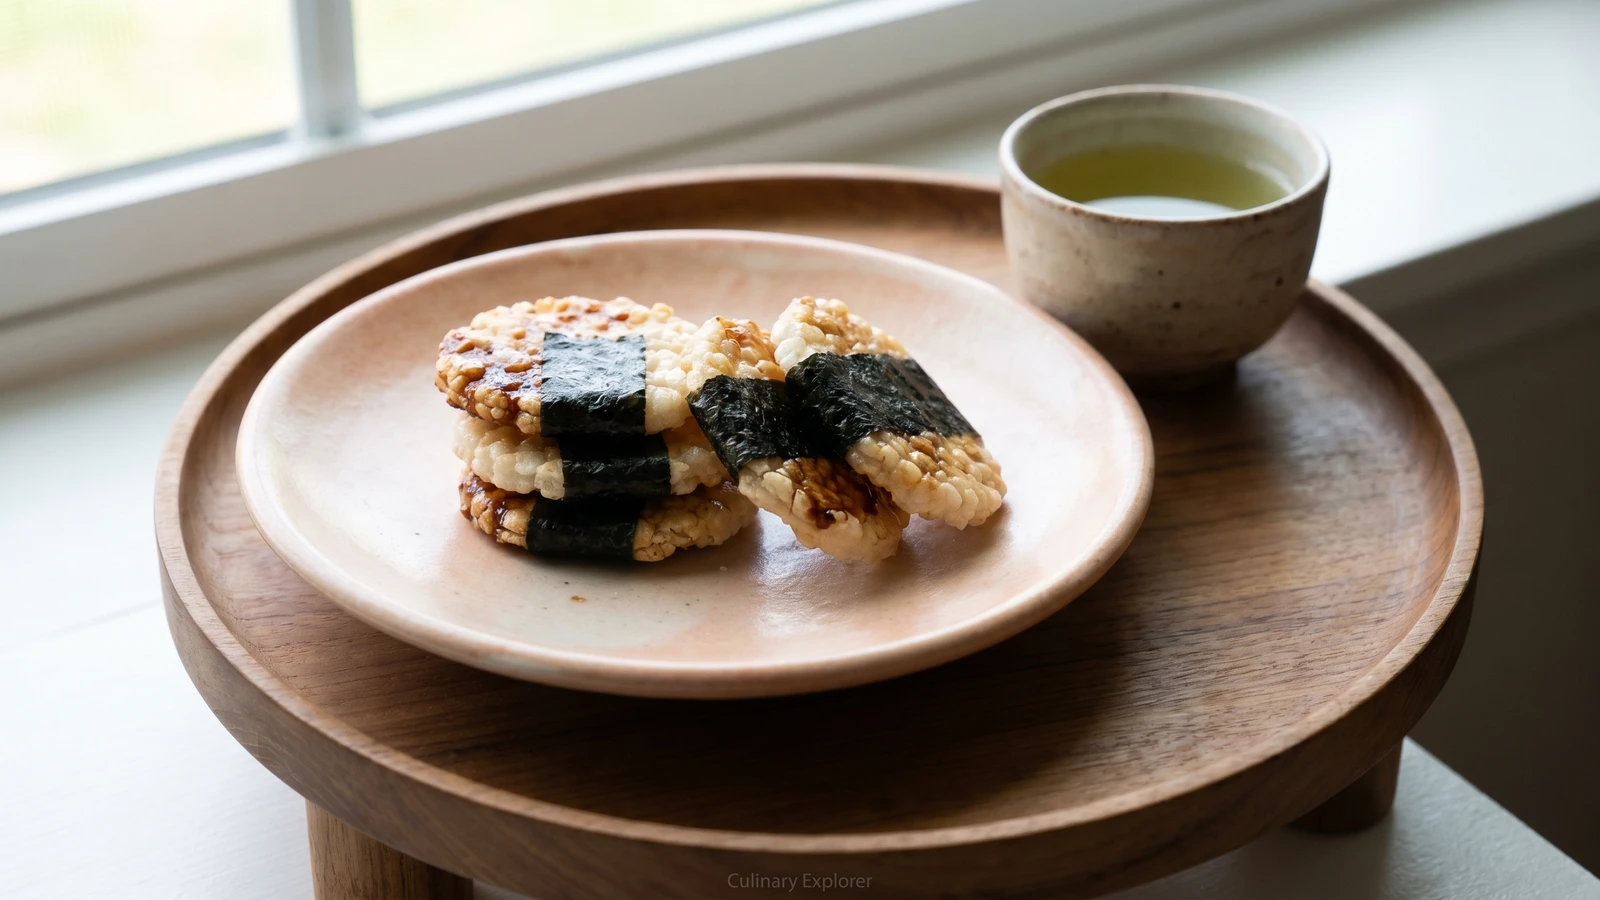
A proper nori-maki senbei is a small lesson in timing: dry the rice dough fully, brush it with soy while crisp, then wrap the nori while the cracker is still warm.
Astrip of nori tells on the cracker. Wrap it around a cool senbei and it sits there like a bandage, sulking. Wrap it while the soy glaze is warm and just tacky, and the seaweed takes hold, then crisps against the warmth held inside. That little timing is the door into nori-maki senbei.
The cracker underneath is not difficult, only unfamiliar. We use uruchi rice flour, jōshinko, the flour of ordinary Japanese table rice, steam it into a dough, pound it smooth, roll it thin, and let it dry. Drying is not waiting for its own sake. It moves moisture out of the dough so the heat can make a clean snap instead of a tough chew.
The seasoning is plain: shōyu, mirin, and a little sugar. Brush, bake briefly, brush again. The first coat sinks in and seasons the rice; the second dries to a soy-dark gloss that catches the nori. These are picnic crackers and tea crackers, built for a box or a quiet plate, but they still follow the same washoku habit: nothing hidden, no heaviness, just rice, soy, seaweed, and enough space to hear the crack.
Senbei is an old word in Japan, but its meaning changed: early forms were flour cakes related to Chinese bing, while the soy-brushed rice crackers familiar today became especially strong in eastern Japan during the Edo period. Sōka, on the old Nikkō Kaidō in present-day Saitama, built its name on grilled rice senbei sold to travelers, a practical food that kept well on the road. The nori-wrapped style belongs to the same Edo food world, when sheet nori from Edo Bay became an everyday urban flavor rather than a rare coastal gift.
Quantity
200g
Quantity
1/4 teaspoon
Quantity
160ml, plus 1 to 2 tablespoons more if needed
Quantity
3 tablespoons
Quantity
1 tablespoon
Quantity
2 teaspoons
Quantity
3 sheets
cut into 18 strips long enough to wrap each cracker
| Ingredient | Quantity |
|---|---|
| jōshinko (non-glutinous Japanese rice flour) | 200g |
| fine sea salt | 1/4 teaspoon |
| boiling water | 160ml, plus 1 to 2 tablespoons more if needed |
| koikuchi shōyu (Japanese dark soy sauce) | 3 tablespoons |
| mirin | 1 tablespoon |
| sugar | 2 teaspoons |
| yaki-nori (toasted nori)cut into 18 strips long enough to wrap each cracker | 3 sheets |
Combine the shōyu, mirin, and sugar in a small pan. Warm it just until the sugar dissolves and the surface looks glossy, about one minute, then take it off the heat. This is a light tare, a brushing sauce. Boil it hard and it becomes too thick and salty for the rice.
Put the jōshinko and salt in a bowl. Pour in the boiling water a little at a time, stirring with chopsticks or a wooden spoon until the flour gathers into damp crumbs. Cover for five minutes, then press it together. It should feel like warm clay, not batter. Add more hot water by the teaspoon only if dry flour remains.
Line a steamer with a damp cloth or perforated parchment. Break the dough into walnut-size pieces so the heat can reach the middle, then steam for 20 to 25 minutes. The pieces should look slightly translucent at the edges and have no dry white center when torn open.
While the dough is still hot, move it to a suribachi or a sturdy bowl. Pound and knead it with a damp surikogi or wooden spoon for 3 to 5 minutes, wetting the tool lightly whenever it sticks. Stop when the dough is smooth and cohesive, with no sandy patches.
Divide the dough in two and roll each piece between sheets of parchment to about 2mm thick. Cut into rounds, ovals, or rectangles, about 6cm across, and prick each one once or twice with a skewer. Keep the thickness even. A thick center stays chewy while the edges darken.
Set the cut crackers on wire racks and leave them uncovered at cool room temperature for 8 to 12 hours, turning once. They should be matte, firm, and dry to the touch, with no fingerprint left when pressed. In damp weather, dry them in a 95C oven for 60 to 90 minutes with the door slightly ajar, then cool completely.
Heat the oven to 190C. Bake the dried crackers on racks or a parchment-lined sheet for 8 minutes, flip, and bake 6 to 8 minutes more, until pale gold, blistered in spots, and crisp when tapped. For the old charcoal flavor, use a shichirin over gentle coals; for the home kitchen, the oven does the honest work.
Lower the oven to 150C. Brush one side of each cracker lightly with the tare and bake for 2 minutes. Turn, brush the other side, and bake 2 to 3 minutes more, just until the surface is dry and glossy. Repeat once for a deeper soy color, but keep the coats thin.
While the senbei are still warm and the tare is just tacky, wrap a strip of yaki-nori around each cracker, shiny side out and rough side touching the glaze. Press the seam underneath for a few seconds. Return the wrapped crackers to the turned-off oven for 1 to 2 minutes, or set them on a rack while they finish crisping.
Cool the senbei completely on a rack before storing. If they go into a tin while even faintly warm, the trapped moisture softens them. Store airtight once cool, and re-crisp in a 120C oven for 4 to 5 minutes if the weather has been damp.
1 serving (about 14g)
Culinary guides, cultural storytelling, and the editorial depth that makes cooking meaningful.
Discover Culinary ExplorerChef Takumi
Arare begins as firm mochi, cut small and dried until patient enough to puff. Brush it with soy at the end, and the little hailstones turn crisp and savory.

Chef Takumi
Chocolate shu cream is judged twice: first by the hollow shell, then by the custard. Dry the dough properly, choose chocolate with backbone, and the little puff behaves.

Chef Takumi
Start with the lightest choux: tiny unfilled puffs, properly dried over heat, loosened with eggs, and baked until the shell lifts hollow under a coat of pearl sugar.

Chef Takumi
Zarame senbei is not a cookie wearing a Japanese coat. It is a rice cracker, dried well, baked crisp, brushed with soy, then caught while hot with coarse sugar.