
Chef Takumi
Aji Fry (アジフライ, panko-fried horse mackerel)
Aji fry is weeknight fish with no mystery: fresh horse mackerel opened cleanly, breaded lightly, and fried until the panko crackles while the flesh stays sweet.
A cooking platform built around craft, culture, and the stories behind what we eat.

Created by
One clean slice of fish, a small oval of vinegared rice, wasabi hidden between them: edomae nigiri asks for care, not theater, and the key is temperature.
Nigiri-zushi frightens people because the finished piece looks so exact. Good. It should look exact. But the work itself is small: one slice of neta, the topping, and one little oval of shari, the vinegared rice. You are not performing a trick. You are keeping good fish and good rice from being spoiled.
Sourcing comes first. Raw fish gives you no place to hide, and that is the beauty of it. Ask the fishmonger what came in today that they would serve raw, and listen carefully if they steer you away from something. Shun, the ingredient at its prime, does more for nigiri than clever fingers ever will. If the fish smells strong, cook it and make another dish. Nothing hidden.
The detail that decides the dish is temperature. The shari should be near body temperature, soft and fragrant, while the neta stays cold and firm. Warm rice carries the vinegar and loosens gently in the mouth; cold fish keeps its clean face and sweet bite. Put wasabi between them, not on top, because it seasons the meeting place where fish and rice become one mouthful.
Edomae is the method, not the menu. Brush with a little nikiri shōyu if you like, set out gari to clear the palate, and make only a few pieces at a time. A crowded plate of nigiri grows tired while everyone admires it, which is a very polite way to ruin dinner. Serve it with room around each piece, and let the work stay quiet.
Nigiri-zushi emerged in Edo in the early nineteenth century and is commonly linked to Hanaya Yohei, who sold hand-pressed sushi near Ryōgoku in the 1820s. The word edomae first meant seafood from Edo Bay, but it also came to describe the handling that made sushi possible before refrigeration: salting, simmering, brushing with nikiri, or curing in vinegar. Early pieces were larger street food, closer to a quick meal than the small, polished pieces served today.
Quantity
2 rice-cooker cups (about 300g)
Quantity
360ml, or to the sushi-rice line
Quantity
1 piece (about 5cm square)
wiped with a damp cloth
Quantity
75ml
Quantity
1 1/2 tablespoons
Quantity
1 1/4 teaspoons
Quantity
1/2 cup water mixed with 2 tablespoons rice vinegar
Quantity
120g
kept cold
Quantity
120g
sea bream, flounder, or sea bass, kept cold
Quantity
8
peeled, butterflied, and chilled
Quantity
2 teaspoons
Quantity
60ml
Quantity
2 tablespoons
Quantity
1 tablespoon
Quantity
for serving
| Ingredient | Quantity |
|---|---|
| Japanese short-grain rice | 2 rice-cooker cups (about 300g) |
| cold water | 360ml, or to the sushi-rice line |
| konbu (optional)wiped with a damp cloth | 1 piece (about 5cm square) |
| akazu (red sake-lees vinegar), or unseasoned rice vinegar | 75ml |
| sugar | 1 1/2 tablespoons |
| fine sea salt | 1 1/4 teaspoons |
| tezu hand water | 1/2 cup water mixed with 2 tablespoons rice vinegar |
| sushi-ready tuna akami blockkept cold | 120g |
| sushi-ready white fishsea bream, flounder, or sea bass, kept cold | 120g |
| cooked shrimp (ebi)peeled, butterflied, and chilled | 8 |
| freshly grated wasabi, or good prepared wasabi | 2 teaspoons |
| shōyu (Japanese soy sauce) | 60ml |
| mirin | 2 tablespoons |
| sake | 1 tablespoon |
| gari (pickled ginger) (optional) | for serving |
Buy fish from a fishmonger you trust and ask plainly what is suitable for raw service today. It should smell clean and faintly sweet, never fishy, and it should stay cold from shop to board. Where parasite risk applies, the fish must have been frozen according to local safety rules. If you are unsure, cook it. Sourcing first, always.
Rinse the rice in a bowl with cold water, stirring with your fingers, then pour off the cloudy water. Repeat until the water runs almost clear, then drain the rice in a sieve for 30 minutes. This rest lets moisture settle evenly into the grains, so the rice cooks tender without turning wet at the surface.
Put the drained rice in a rice cooker or heavy pot with the measured water. Lay the konbu on top if using, then remove it just before cooking. Cook the rice, then let it rest covered for 10 minutes. The rest finishes the center of each grain, which matters because sushi rice should be firm enough to hold its shape and soft enough to loosen in the mouth.
Warm the vinegar, sugar, and salt in a small pan only until the sugar and salt dissolve, then take it off the heat. Do not boil it hard. Vinegar carries aroma, and boiling drives off the edge you need to wake up the rice. Let the sushi-zu cool while the rice finishes.
Turn the hot rice into a hangiri, the cypress sushi tub, or a wide shallow wooden bowl. A rimmed sheet pan works if that is what you have. Sprinkle the sushi-zu over the rice and fold with a shamoji, or rice paddle, using cutting motions while you fan gently. You are coating grains, not mashing them. When the rice is glossy and near body temperature, cover it with a barely damp cloth.
Combine the shōyu, mirin, and sake in a small pan. Bring to a quiet simmer for 1 minute, then cool completely. This is nikiri shōyu, a brushing sauce. Cooking off the raw alcohol edge makes it settle into the fish instead of shouting over it.
Keep the fish cold and slice only what you will shape soon. With a yanagiba, or the longest sharp knife you own, draw the blade through the fish in one clean pull. Cut slices about 6 to 7cm long and 3cm wide, adjusting to the fish. Sawing bruises the flesh and clouds the cut face. Let the knife do the seasoning.
Set the shari, sliced neta, wasabi, tezu, and cooled nikiri within easy reach. Dip your fingertips lightly in tezu and rub your palms together, then shake off the excess. Wet hands keep rice from sticking, but dripping hands make the shari sour and loose. This is one of those small rules that is only common sense wearing a clean apron.
Pick up about 18g of shari and shape it lightly into a small oval. Lay one slice of neta across the fingers of your other hand, smear a trace of wasabi along its center, and set the rice on top. Press gently at the center, turn the piece fish-side up, then press the sides and top just enough to make fish and rice meet. It should hold when lifted and loosen when eaten, not sit in the mouth like a brick.
Brush the top of each piece lightly with nikiri and set it on the serving plate as soon as it is made. Serve in small rounds, with gari between pieces to clear the palate. The contrast is short-lived: warm shari, cold neta, wasabi between. That is why nigiri belongs at the table, not waiting in the kitchen.
1 serving (about 300g)
Culinary guides, cultural storytelling, and the editorial depth that makes cooking meaningful.
Discover Culinary ExplorerChef Takumi
Aji fry is weeknight fish with no mystery: fresh horse mackerel opened cleanly, breaded lightly, and fried until the panko crackles while the flesh stays sweet.
Chef Takumi
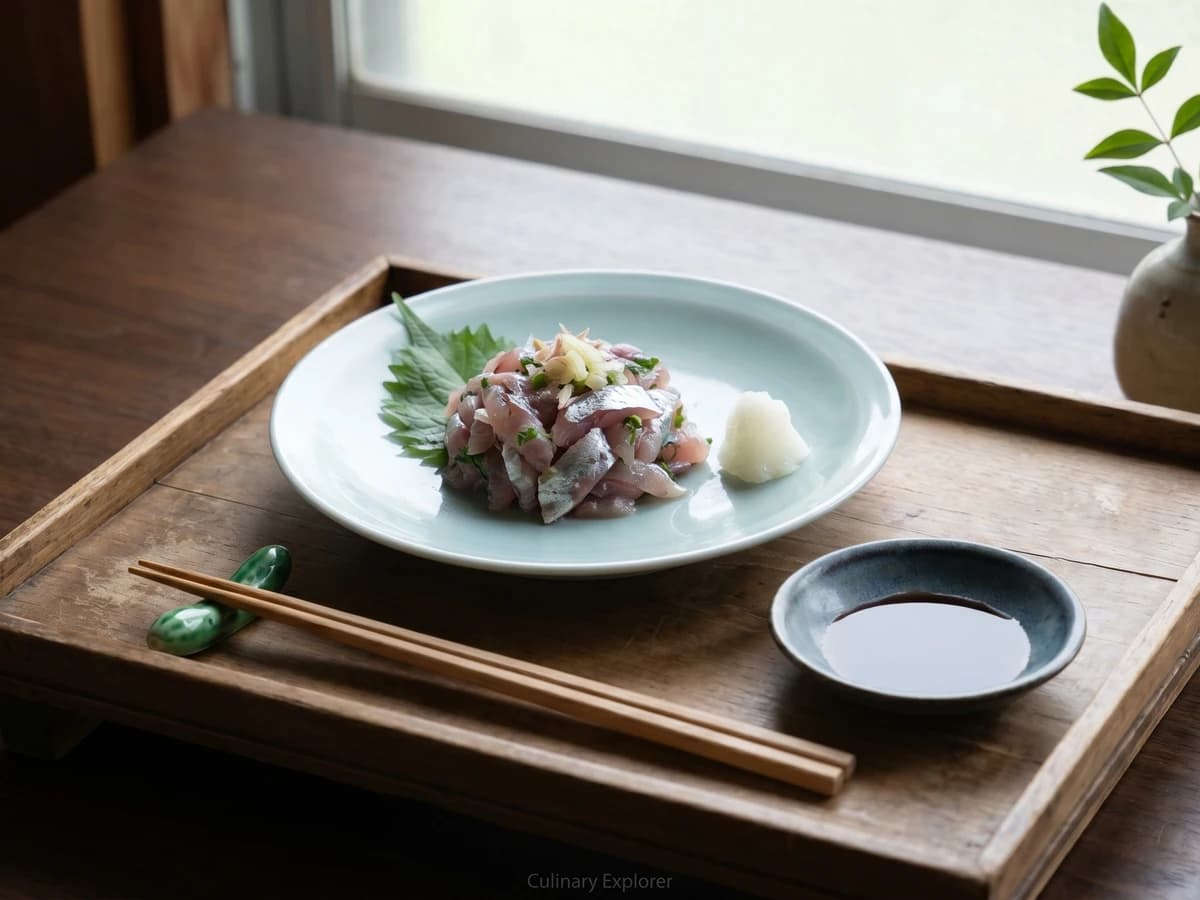
Summer horse mackerel, chopped just enough to catch ginger and scallion, becomes a cool, clean main dish with rice. The secret is fresh fish and a knife that does not bruise it.
Chef Takumi
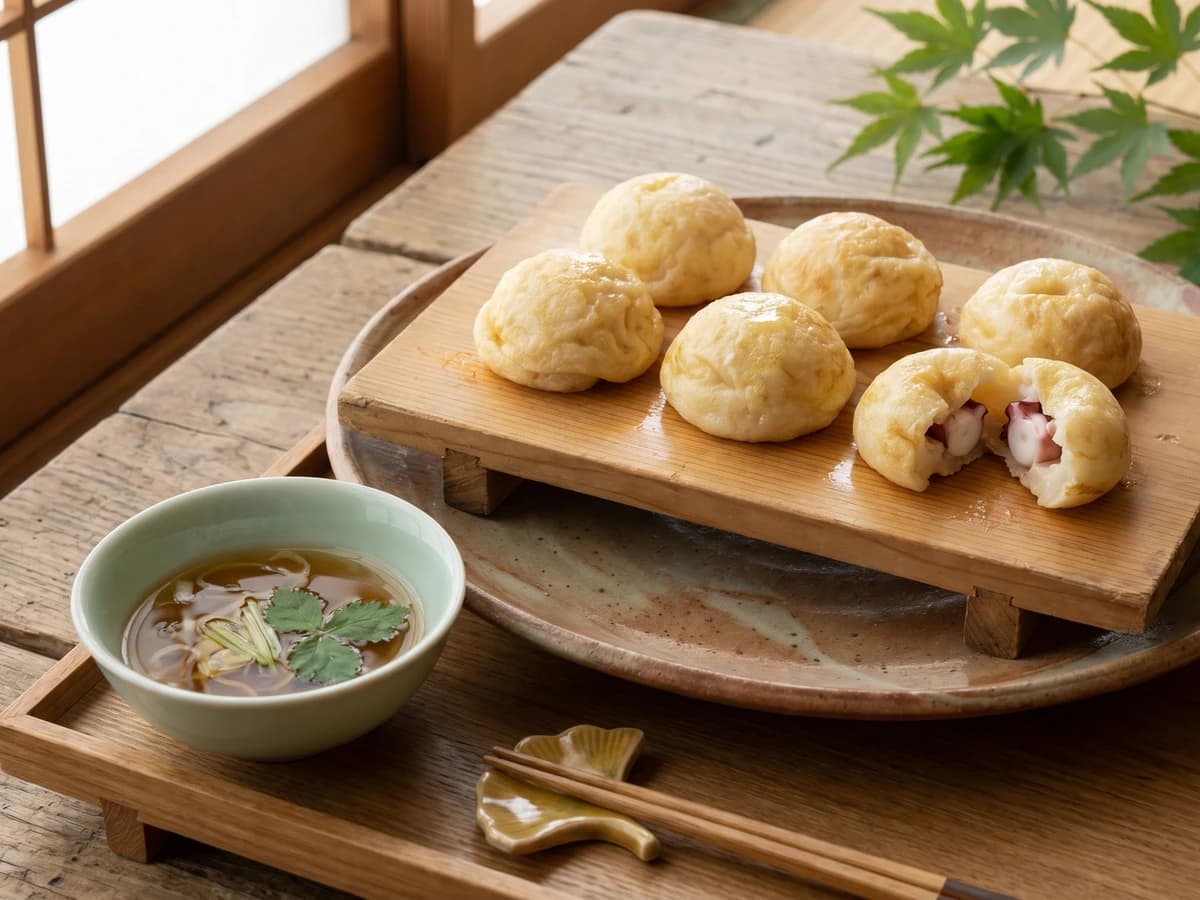
Akashi-yaki is not sauced takoyaki. It is egg-rich batter, tender octopus, and clear dashi, cooked pale and soft so each ball can be dipped like a small custard dumpling.

Chef Takumi
A whole anago looks like a test of nerve. It is mostly good sourcing, a dry skin, cold batter, and oil hot enough to leave the eel sweet under its lace.