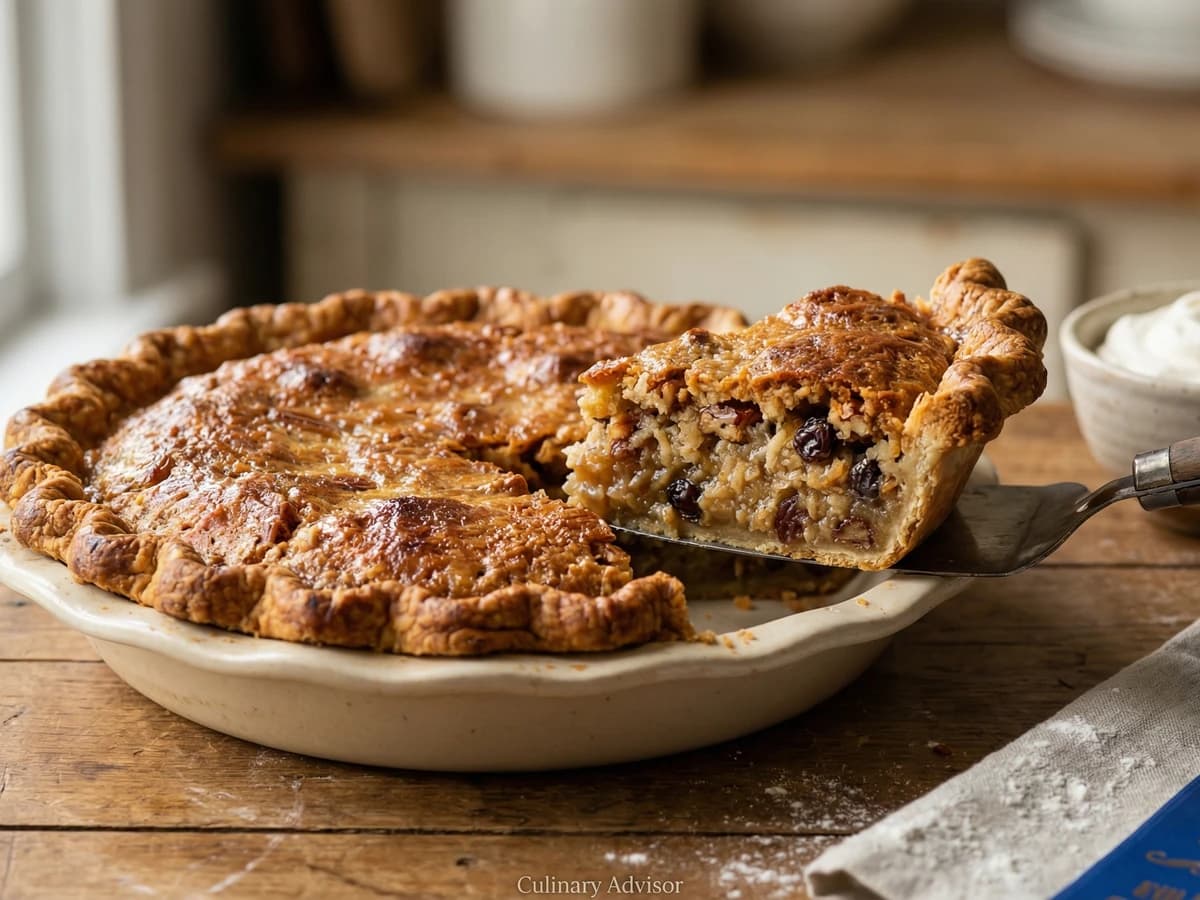
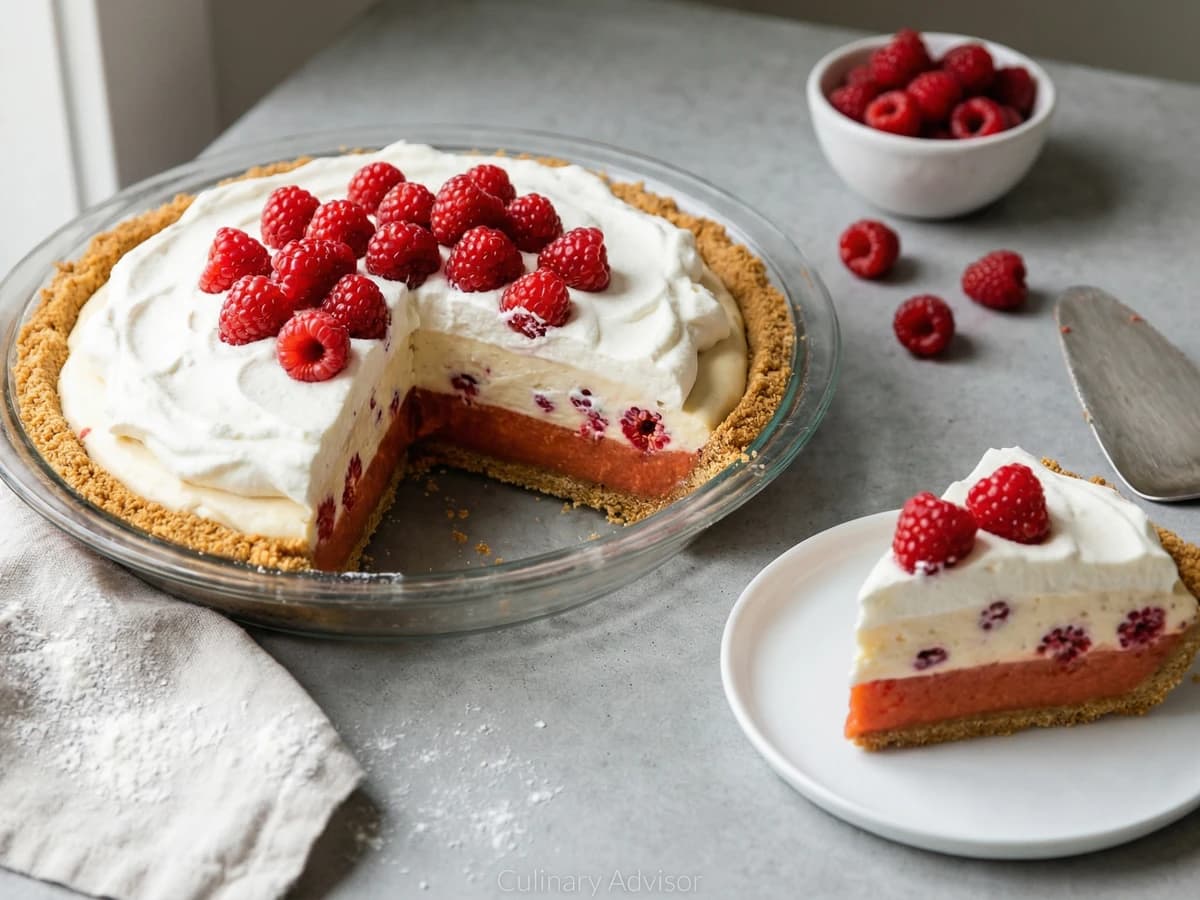
All the dense, tangy magnificence of a New York deli cheesecake baked into a humble pie pan with a buttery graham crust that shatters under your fork. No water bath, no drama, just honest technique.
Pastries & Cookies
American
Birthday, Special Occasion, Celebration
25 min
Active Time
55 min cook•5 hr 30 min total
Yield8-10 slices
The cheesecake arrived in New York harbor with Eastern European immigrants who carried recipes for käsekuchen in their memories and little else. Jewish delis on the Lower East Side transformed these old-world curd cakes into something distinctly American by using cream cheese, that Philadelphia invention that changed everything. By the 1920s, Lindy's on Broadway was serving slices so dense and tall they required their own mythology.
This pie version democratizes the classic. Same tangy, velvet filling. Same satisfying heft. But the graham cracker crust replaces the traditional pastry, and the shallower depth of a pie pan means faster baking with less fuss. No water bath. No cracked tops to worry about. Just a proper cheesecake that happens to fit in your pie plate.
The secret lives in two places: room temperature ingredients and restraint with the mixer. Cold cream cheese leaves lumps that no amount of beating will smooth. And that beating itself becomes the enemy once eggs enter the bowl. Overwork the batter and you've whipped in air that will rise, then fall, leaving you with a cratered surface and dense, gummy texture. Gentle hands. Patient mixing. Trust the process.
The technique, the tradition, and the story behind every dish.
graham cracker crumbsabout 14 full sheets, crushed
2 cups (200g)
granulated sugar (for crust)
3 tablespoons
fine sea salt (for crust)
1/4 teaspoon
unsalted buttermelted
6 tablespoons (85g)
cream cheeseat room temperature
2 pounds (four 8-ounce packages)
granulated sugar (for filling)
1 cup (200g)
fine sea salt (for filling)
1/4 teaspoon
pure vanilla extract
2 teaspoons
fresh lemon juice
1 tablespoon
lemon zestfinely grated
1 teaspoon
large eggsat room temperature
4
sour creamat room temperature
1/2 cup (120ml)
Equipment Needed
•9-inch pie plate (standard, not deep-dish)
•Stand mixer with paddle attachment (or hand mixer)
•Rubber spatula
•Offset spatula or butter knife
•Microplane or fine grater for zest
Instructions
1
Prepare the crust
Position a rack in the center of your oven and preheat to 325°F. Combine graham cracker crumbs, three tablespoons sugar, and a quarter teaspoon salt in a medium bowl. Pour the melted butter over the crumbs and stir with a fork until every grain is moistened. The mixture should hold together when pressed but not feel greasy or wet.
2
Press and pre-bake
Transfer the crumb mixture to a 9-inch pie plate. Press firmly and evenly across the bottom and up the sides using the flat bottom of a measuring cup for the floor and your fingers for the walls. The crust should be compact and uniform, about a quarter-inch thick throughout. Bake for 10 minutes until fragrant and just beginning to darken at the edges. Set aside to cool while you make the filling.
A loose, crumbly crust means soggy bottom later. Press with conviction. You want it dense enough that a slice will hold its shape.
3
Beat the cream cheese
Place the softened cream cheese in the bowl of a stand mixer fitted with the paddle attachment. Beat on medium speed for two to three minutes, stopping twice to scrape down the sides and bottom of the bowl. The cream cheese should be completely smooth with no lumps visible. This is your foundation. Any lumps here stay forever.
Room temperature means truly soft, yielding to gentle finger pressure. Set cream cheese on the counter at least three hours before baking, or cut into cubes to speed the process.
4
Add sugar and seasonings
With the mixer on medium-low, add the cup of sugar gradually, then the salt, vanilla, lemon juice, and lemon zest. Beat until incorporated, about one minute. Scrape the bowl thoroughly. The mixture should look pale and fluffy, the sugar fully dissolved when you rub a bit between your fingers.
5
Incorporate eggs gently
Reduce mixer speed to low. Add eggs one at a time, mixing just until each disappears before adding the next, about 20 seconds per egg. After the final egg, mix only until you see a uniform color. Overmixing here is your enemy. Every extra rotation whips in air that will cause cracks.
The batter will look looser and shinier after the eggs. This is correct. Resist the urge to beat it smooth again.
6
Finish with sour cream
Add the sour cream and mix on the lowest setting for ten seconds, then finish by hand with a rubber spatula, scraping the bottom and folding gently until uniformly combined. The batter should be satiny and pourable, with no streaks of sour cream visible.
7
Fill and bake
Pour the filling into the cooled crust. It will nearly reach the rim. Smooth the top with an offset spatula or the back of a spoon. Bake at 325°F for 45 to 55 minutes. The cheesecake is done when the edges are set and puffed slightly, but the center three inches still wobble like gelatin when you gently shake the pan. It will seem underdone. Trust the process.
Open the oven door as little as possible. Temperature swings cause cracks. Check through the window if you can.
8
Cool slowly
Turn off the oven and crack the door open about two inches. Let the cheesecake cool in the oven for one hour. This gradual temperature drop prevents the dramatic surface cracks that plague lesser recipes. After an hour, transfer to a wire rack and cool to room temperature, another one to two hours.
9
Chill and serve
Cover loosely with plastic wrap, not touching the surface, and refrigerate for at least four hours, preferably overnight. The texture firms and the flavors marry. To slice cleanly, run a thin knife under hot water, wipe dry, and cut in one smooth motion. Repeat between each slice for professional results.
Chef Tips
•Full-fat cream cheese is non-negotiable. Reduced-fat versions contain stabilizers that prevent proper texture. Philadelphia is the standard for good reason.
•If your cream cheese came straight from the refrigerator, cut it into one-inch cubes and microwave in ten-second bursts, checking between each. You want pliable, not melted.
•The lemon juice and zest might seem minimal, but they're doing essential work. Acid brightens the richness and prevents the filling from tasting flat. Skip them and you'll wonder why your cheesecake lacks soul.
•Serve plain in the New York tradition, or with a handful of fresh berries in summer. A drizzle of fruit compote honors the original without masking the honest cream cheese flavor.
Advance Preparation
•The crust can be pressed into the pan and refrigerated, unbaked, up to two days ahead. Bake directly from the refrigerator, adding two minutes to the pre-bake time.
•The finished cheesecake keeps refrigerated for up to five days, improving in texture through day three.
•Slice and freeze individual portions wrapped in plastic, then foil, for up to two months. Thaw overnight in the refrigerator.
Frequently Asked Questions
Nutrition Information
1 serving (about 62g)
Calories
560 calories
Total Fat
44 g
Saturated Fat
28 g
Trans Fat
0 g
Unsaturated Fat
16 g
Cholesterol
185 mg
Sodium
485 mg
Total Carbohydrates
56 g
Dietary Fiber
1 g
Sugars
52 g
Protein
17 g
Where cooking meets culture.
Culinary guides, cultural storytelling, and the editorial depth that makes cooking meaningful.