
Chef Takumi
Anpan (あんぱん)
Anpan is not a pastry trick. It is soft bread, sweet azuki, and a careful seal, so the bean paste stays centered while the bun rises round and tender.
A cooking platform built around craft, culture, and the stories behind what we eat.

Created by
Melonpan looks like bakery sorcery, but it is only two doughs: a tender milk bun and a thin cookie coat that must stay cool enough to crackle cleanly.
Melonpan tells a small joke before you ever bite it. There is no melon inside. The name comes from the scored cookie crust, a little grid that looks like the rind of a melon if you are feeling generous, or like a baker with a tidy knife if you are not.
People hesitate because it seems like pastry work. It isn't. You make one soft bread dough, one simple cookie dough, then wrap the first in the second. The point is contrast: the bun should be soft and lightly sweet, while the crust bakes into a thin, sandy shell. If the cookie layer gets too warm, it smears into the bread instead of sitting proudly on top, so chill it and handle it quickly. That is the detail that decides the dish.
This is kashi-pan, Japanese sweet bread, the sort of thing bought from a neighborhood bakery for an afternoon comfort rather than set into a formal meal. Honmono here doesn't mean making it severe. It means keeping the bun tender, the crust thin, and the sweetness modest enough that you want the second bite more than the first.
Melonpan belongs to the modern Japanese bakery tradition that grew after Western-style breadmaking spread in the Meiji and Taishō periods. Its exact origin is disputed, but by the early Shōwa period sweet breads covered with biscuit or cookie dough were common in Japanese bakeries. Regional names still show that history: in parts of Kansai, the round cookie-crusted bun is often called sunrise, while melonpan can mean a different oval bun shaped after the makuwa-uri melon.
Quantity
300g
Quantity
30g
Quantity
5g
Quantity
5g
Quantity
1
beaten
Quantity
150ml
lukewarm
Quantity
30g
softened, for the bread dough
Quantity
120g
Quantity
1/2 teaspoon
Quantity
50g
softened, for the cookie dough
Quantity
60g
plus more for coating
Quantity
1
Quantity
1 tablespoon
Quantity
1/2 teaspoon
| Ingredient | Quantity |
|---|---|
| bread flour | 300g |
| sugar | 30g |
| instant yeast | 5g |
| fine sea salt | 5g |
| large eggbeaten | 1 |
| whole milklukewarm | 150ml |
| unsalted buttersoftened, for the bread dough | 30g |
| all-purpose flour | 120g |
| baking powder | 1/2 teaspoon |
| unsalted buttersoftened, for the cookie dough | 50g |
| sugarplus more for coating | 60g |
| large egg yolk | 1 |
| whole milk (optional) | 1 tablespoon |
| vanilla extract (optional) | 1/2 teaspoon |
Beat the 50g butter with the 60g sugar until smooth, then mix in the egg yolk and vanilla if using. Add the all-purpose flour and baking powder and stir only until the dough comes together. Overmixing makes the crust tough, and this crust should break gently under the teeth, not fight back.
Divide the cookie dough into 8 pieces, flatten each into a small disc, wrap, and chill for at least 30 minutes. Cold cookie dough keeps its own shape when it meets the bread dough, which is how you get a proper shell instead of a sweet smear.
In a bowl, combine the bread flour, sugar, yeast, and salt, keeping the salt from sitting directly on the yeast at first. Add the beaten egg and lukewarm milk and mix until no dry flour remains. The milk should feel warm to the hand, not hot, because heat that feels sharp to you is already too harsh for yeast.
Knead until the dough begins to smooth out, then work in the 30g softened butter a little at a time. At first it will look ruined. Keep going. The dough will become glossy, elastic, and soft enough to stretch without tearing at once. Butter added after the flour hydrates gives tenderness without stopping the gluten from forming.
Set the dough in a lightly greased bowl, cover it, and let it rise until nearly doubled, about 60 to 75 minutes. It should look puffy and relaxed, and a floured fingertip pressed into the dough should leave a slow-filling dent. Time is only a guide; the dough tells you when it is ready.
Divide the bread dough into 8 equal pieces and round each one tightly, tucking the surface underneath so the top is smooth. A tight surface helps the bun rise upward instead of spreading flat, which gives melonpan its good bakery shape.
Roll each chilled cookie disc into a circle wide enough to cover the top and sides of a bun. Drape it over a dough ball and gently cup it around the sides, leaving the bottom bare. Do not seal it underneath. The bread needs room to expand, and the uncovered base lets it rise without tearing the crust.
Dip the cookie-coated tops in sugar, then score a shallow diamond grid with a bench scraper or the back of a knife. Cut the crust, not the bread. Shallow scoring gives the classic melon-rind pattern and controls where the cookie shell opens as the bun rises.
Place the buns on a lined baking sheet with space between them, cover lightly, and proof for 35 to 45 minutes, until puffy but not wobbling. If they overproof, the bread weakens and the crust slides. You want lift, not collapse dressed in sugar.
Bake at 180°C or 350°F for 13 to 16 minutes, until the crust is pale golden at the edges and the bottoms sound light when tapped. Cool on a rack. The crust firms as it cools, so give it ten quiet minutes before judging it.
1 serving (about 100g)
Culinary guides, cultural storytelling, and the editorial depth that makes cooking meaningful.
Discover Culinary ExplorerChef Takumi
Anpan is not a pastry trick. It is soft bread, sweet azuki, and a careful seal, so the bean paste stays centered while the bun rises round and tender.
Chef Takumi
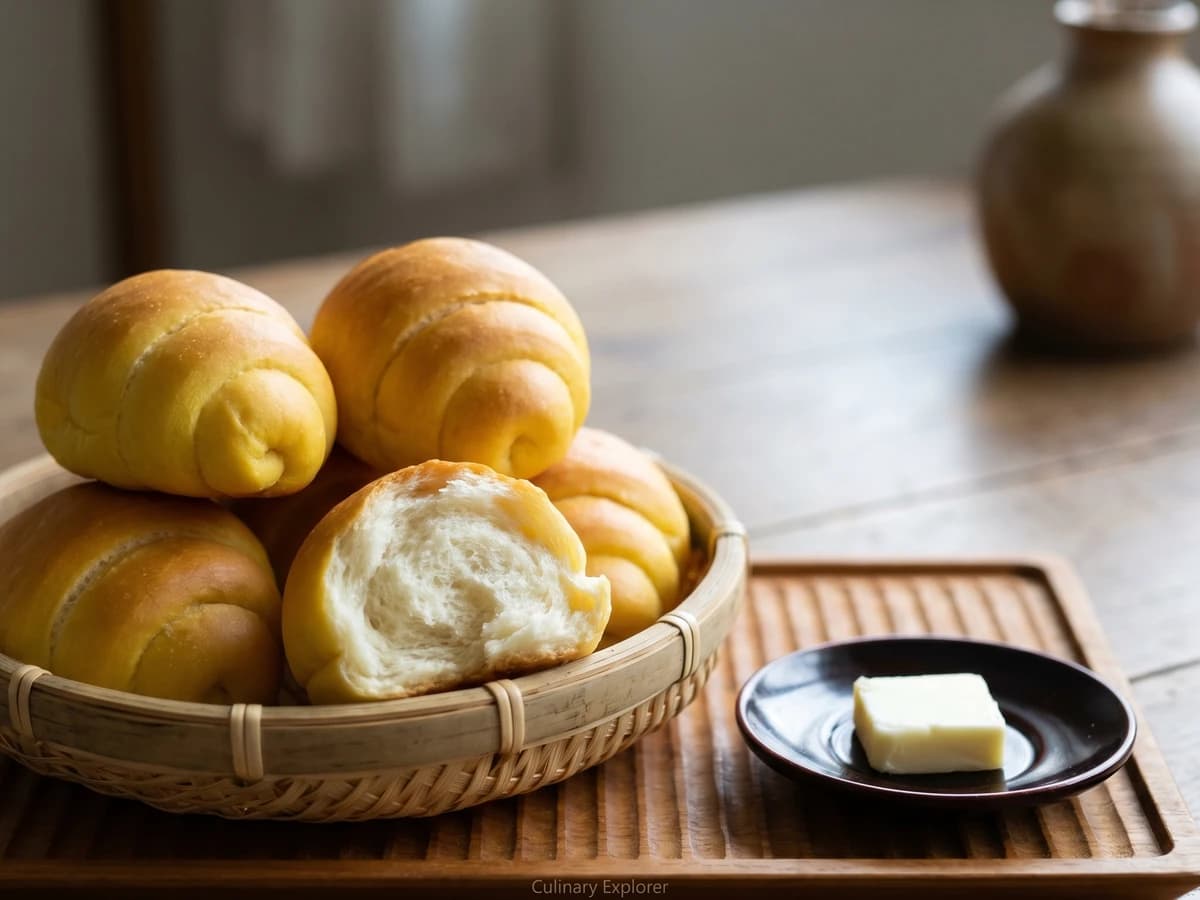
A panya staple made reachable: soft milk dough rolled wide-to-narrow into its little horn shape, proofed until light, then brushed with egg for that quiet gold crust.

Chef Takumi
Chigiri-pan is bread made small on purpose: soft enriched dough portioned into neat balls, crowded in a square tin, and baked until every tender roll tears away with its own golden edge.

Chef Takumi
Choco cornet looks clever, which is how bakery bread frightens sensible people. Wrap a soft rope around a cone, bake it golden, then pipe in chocolate cream only after the shell is cool.