
Chef Jeong-sun
Agwi-jjim (Braised Monkfish with Bean Sprouts)
Firm monkfish buried under crisp soybean sprouts, minari, and a red gochugaru sauce thickened at the end; Masan's market dish asks for heat, timing, and a steady hand.
A cooking platform built around craft, culture, and the stories behind what we eat.
Created by
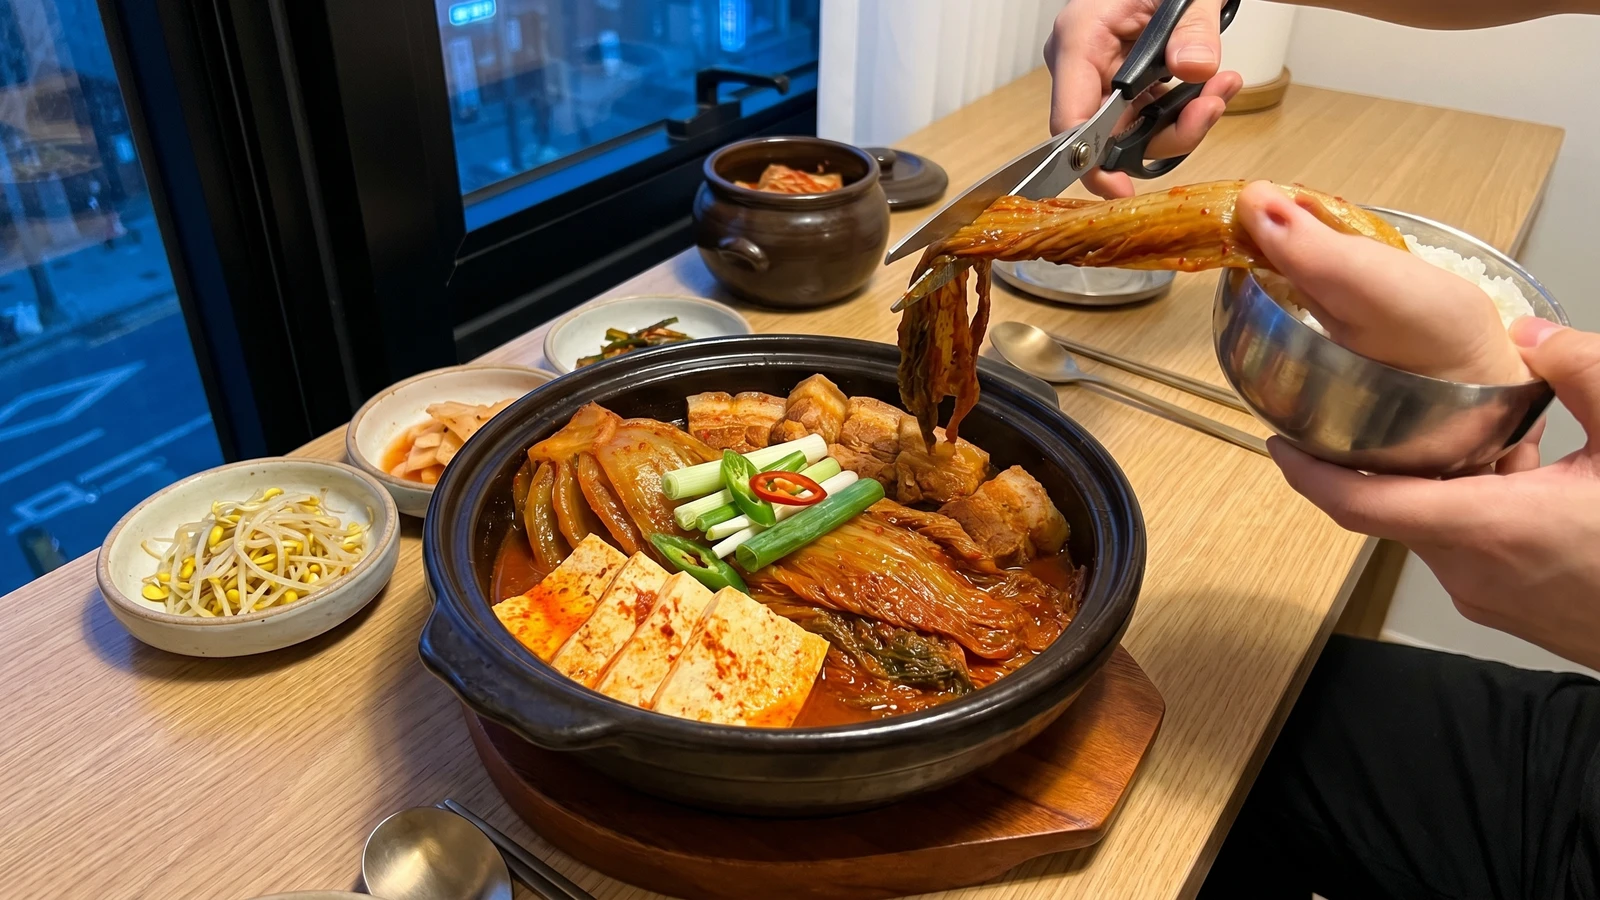
The reward for keeping kimchi past its polite stage: whole leaves of sour cabbage and fatty pork braised slowly until the meat gives way and the kimchi becomes the sauce.
Kimchi-jjim begins with the jar everyone thinks has gone too far. Fresh kimchi is for eating cold beside rice, bright and crisp. Old kimchi is for the pot. The oldest jar wins here, because sour cabbage has already done half the work before you light the stove.
My teacher, Master Seong-nyeo, would lift one cabbage leaf from the crock, smell it once, and decide the whole dinner from that. If it was sharp but clean, pork came out. If it was still young, she closed the lid and cooked something else. Kimchi-jjim asks for patience more than effort: fatty pork, aged kimchi, enough liquid to braise but not drown, and a low simmer until the cabbage softens into the sauce.
Do not bury this dish under sugar or gochujang. The kimchi has already been seasoned once, and the pork gives it body. Measure the small things: 1 teaspoon sugar to round the sour edge, 1 tablespoon doenjang to deepen the pork, 1/2 cup brine because that is where the kimchi's own memory is. 손맛 is real; I measure it anyway, so the next cook can find the same pot.
Kimchi-jjim belongs to Korea's everyday home cooking, especially the cold months after kimjang, when large batches of winter kimchi have ripened past the stage for eating fresh. The dish grew from a practical pantry habit: old kimchi, too sour for the side-dish bowl, was braised with pork, mackerel, or tofu until its acidity became the seasoning. It is closely related to kimchi-jjigae, but jjim is reduced and concentrated, with the kimchi leaves kept large and treated as the main ingredient rather than chopped into stew.
Quantity
700g
cut into 2-inch chunks
Quantity
900g
preferably 6 months or older, kept in large leaves if possible
Quantity
1/2 cup
Quantity
1 small
sliced thick
Quantity
6 cloves
lightly crushed
Quantity
2 teaspoons
grated
Quantity
2 tablespoons
Quantity
1 tablespoon
Quantity
1 tablespoon
Quantity
1 teaspoon
Quantity
2 teaspoons
Quantity
3 cups
Quantity
1 block (300g)
sliced thick
Quantity
2
cut into 2-inch lengths
Quantity
1
sliced on the diagonal
| Ingredient | Quantity |
|---|---|
| pork shoulder, pork belly, or pork neckcut into 2-inch chunks | 700g |
| well-fermented napa cabbage kimchipreferably 6 months or older, kept in large leaves if possible | 900g |
| kimchi brine | 1/2 cup |
| onionsliced thick | 1 small |
| garliclightly crushed | 6 cloves |
| gingergrated | 2 teaspoons |
| gochugaru (Korean chili flakes) | 2 tablespoons |
| doenjang (fermented soybean paste) | 1 tablespoon |
| soy sauce | 1 tablespoon |
| sugar | 1 teaspoon |
| toasted sesame oil | 2 teaspoons |
| anchovy-kelp broth or water | 3 cups |
| firm tofu (optional)sliced thick | 1 block (300g) |
| scallionscut into 2-inch lengths | 2 |
| green chili (optional)sliced on the diagonal | 1 |
Use kimchi that has gone fully sour, not a fresh jar with ambition. Six months old is good; a year old is better if it has been kept cold and clean. Taste one piece. It should be sharp, deep, and a little too strong to eat by itself, because the pork fat and broth will soften it. If the kimchi smells spoiled, moldy, or fizzy in a rotten way rather than cleanly fermented, do not cook with it.
Pat the pork dry and put it in a bowl with the doenjang, soy sauce, ginger, garlic, and 1 teaspoon of the sesame oil. Rub it in with your hands and let it stand 15 minutes while you prepare the pot. Doenjang gives the pork depth without making the whole braise taste like soybean paste, and the short rest seasons the surface before the meat meets the sour kimchi.
Lay the onion in the bottom of a heavy pot. Put the pork on top, then drape the kimchi leaves over and around it, keeping them large if you can. Pour in the kimchi brine and broth. The liquid should come about two-thirds of the way up the kimchi, not cover it completely. This is a braise, not soup.
Bring the pot to a boil over medium-high heat, then immediately lower it to a quiet simmer. Skim any gray foam from the edges during the first 10 minutes. Add the gochugaru and sugar. The sugar is not for sweetness; one measured teaspoon rounds the sourness of old kimchi without making the dish taste sweet.
Cover with the lid slightly ajar and simmer 55 to 70 minutes, turning the pork once and spooning the liquid over the top every 20 minutes. The kimchi should slump and turn silky, and the pork should yield when pressed with a spoon. If the pot dries before the meat softens, add hot water 1/4 cup at a time. Do not flood it.
If using tofu, slide the thick slices around the edge of the pot for the last 10 minutes. Spoon broth over them instead of stirring. Tofu belongs here because it drinks the braising liquid gently; stirred hard, it breaks and clouds the sauce.
Taste the braising liquid. Add salt only if your kimchi was mild, and add it in 1/4 teaspoon pinches. Stir in the remaining 1 teaspoon sesame oil, then scatter the scallions and green chili over the top. Rest the pot off the heat for 5 minutes before serving, so the pork settles and the kimchi carries the sauce back into its leaves.
Serve the kimchi in long leaves with the pork beside it, and cut both at the table with scissors if you like. Eat with hot rice and one or two quiet banchan, not a crowd of strong side dishes. This pot already speaks loudly enough.
1 serving (about 580g)
Culinary guides, cultural storytelling, and the editorial depth that makes cooking meaningful.
Discover Culinary ExplorerChef Jeong-sun
Firm monkfish buried under crisp soybean sprouts, minari, and a red gochugaru sauce thickened at the end; Masan's market dish asks for heat, timing, and a steady hand.

Chef Jeong-sun
A quick Korean rice bowl built on contrast: warm rice, cold popping flying-fish roe, chopped vegetables, gim, sesame oil, and the crisp rice bottom a hot stone bowl gives you.
Chef Jeong-sun
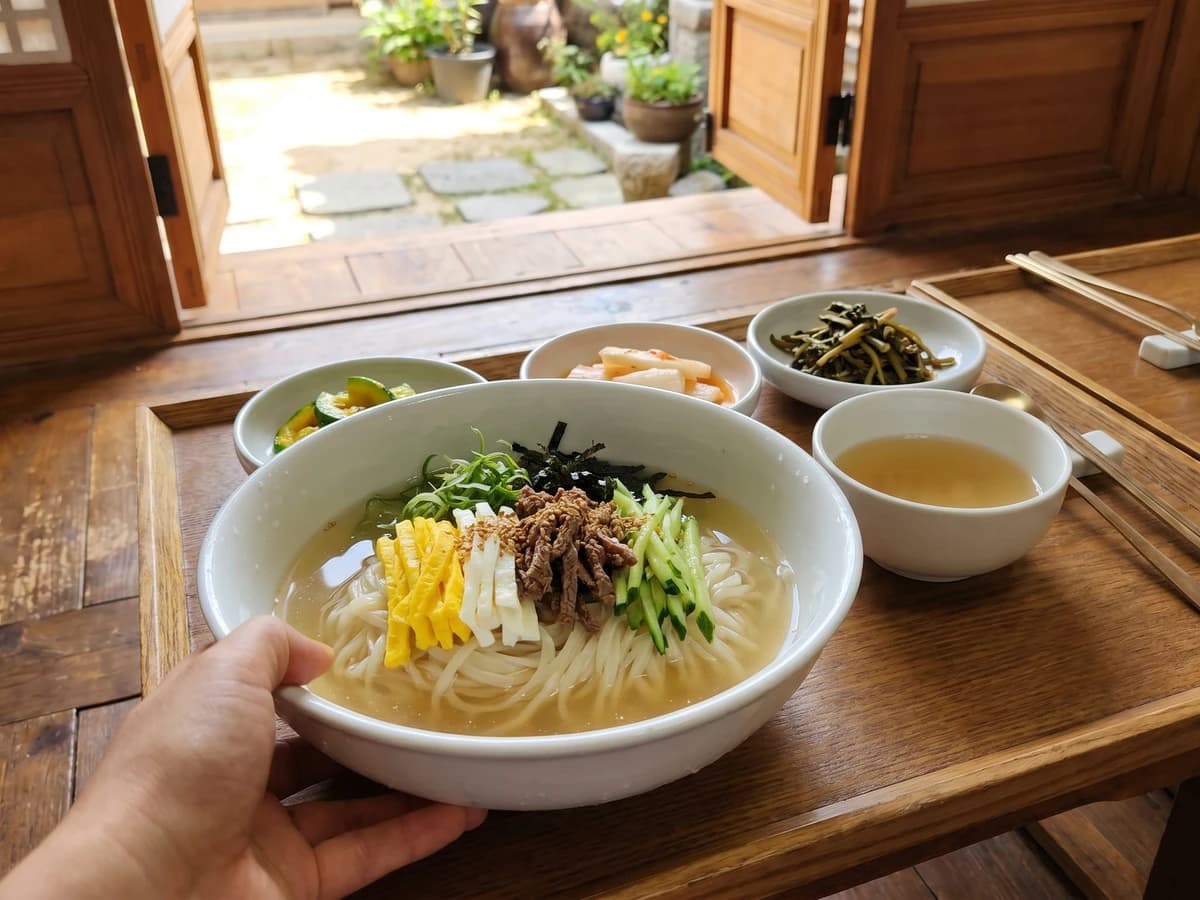
Andong's guest noodles, wheat and roasted soybean flour rolled thin, boiled and rinsed cold, then set in a clear chilled anchovy broth with careful strips of beef, egg, and cucumber.

Chef Jeong-sun
Andong's ritual-table rice served on an ordinary day: separate soy-sesame namul, warm rice, and clear radish soup, mixed without gochujang so every vegetable keeps its own voice.