
Chef Takumi
Aji Fry (アジフライ, panko-fried horse mackerel)
Aji fry is weeknight fish with no mystery: fresh horse mackerel opened cleanly, breaded lightly, and fried until the panko crackles while the flesh stays sweet.
A cooking platform built around craft, culture, and the stories behind what we eat.
Created by
A pale ribbon of dried gourd becomes sushi's quiet old standard: tender first, then simmered in dashi, soy, and sugar, rolled tight so rice, nori, and filling speak clearly.
Kanpyō is a humble-looking thing: a dry, pale ribbon of bottle gourd, light as paper and about as persuasive at first glance. Give it water, salt, and a quiet simmer, and it becomes the old Edo filling that taught the thin roll how to behave. No drama. Just rice, nori, and a sweet-soy strip running through the center.
People worry about the roll, but the roll is not the first secret. The gourd must be tender before it meets soy and sugar. If you season it while it's still tough, the outside darkens and the inside stays stringy, a small punishment for impatience. Boil it plain until a fingernail can press the flesh, then simmer it in dashi, shōyu, sugar, mirin, and sake until glossy. Let it cool in that broth. It drinks when it rests.
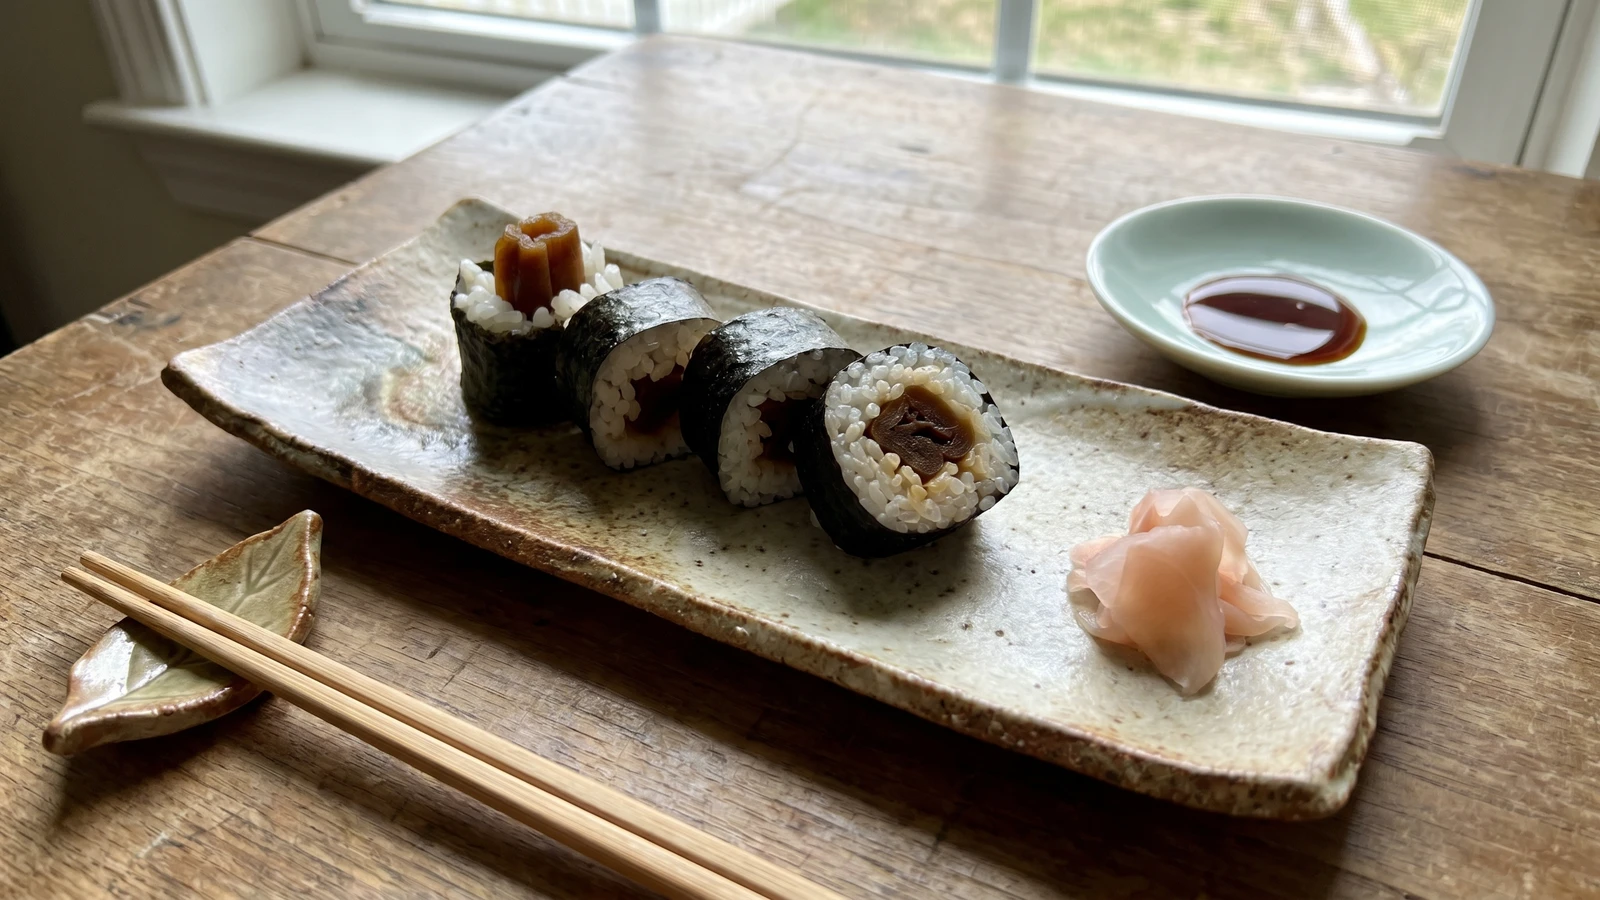
Then we make hosomaki, a thin roll, by restraint. Too much rice is the usual crime, committed with excellent intentions. Spread the rice thin, leave a clean edge of nori, set one line of kanpyō down the middle, and roll with steady pressure. The finished pieces should show a neat white ring, dark nori, and that brown center, nothing hidden, nothing crowded. Leave it room, even on a weeknight. That is honmono at its most practical.
Kanpyō is the dried flesh of yūgao, the bottle gourd, shaved into long ribbons and sun-dried; Tochigi Prefecture has been its principal production area since the Edo period and still supplies most of Japan's domestic crop. Kanpyō-maki belongs to Edo-mae sushi's older roll tradition, the nori-wrapped makizushi that was sold in nineteenth-century Edo alongside nigiri. Its place feels modest now, but preserved and simmered fillings like kanpyō were central before modern sushi became so closely identified with raw fish.
Quantity
2 rice-cooker cups (360ml or about 300g)
Quantity
360ml
or water to the 2-cup sushi rice mark
Quantity
1/4 cup
Quantity
2 tablespoons
for the sushi vinegar
Quantity
1 teaspoon
for the sushi vinegar
Quantity
30g
Quantity
2 teaspoons
for rubbing the kanpyō
Quantity
1 cup
made from konbu and katsuobushi, or konbu and dried shiitake for a meatless table
Quantity
3 tablespoons
Quantity
2 tablespoons
for the simmering broth
Quantity
2 tablespoons
Quantity
1 tablespoon
Quantity
3 full sheets
cut in half crosswise
Quantity
1/2 cup water mixed with 1 teaspoon rice vinegar
for wetting hands
Quantity
for serving
Quantity
for serving
| Ingredient | Quantity |
|---|---|
| Japanese short-grain rice | 2 rice-cooker cups (360ml or about 300g) |
| wateror water to the 2-cup sushi rice mark | 360ml |
| rice vinegar | 1/4 cup |
| sugarfor the sushi vinegar | 2 tablespoons |
| fine sea saltfor the sushi vinegar | 1 teaspoon |
| dried kanpyō (dried bottle gourd strips) | 30g |
| sea saltfor rubbing the kanpyō | 2 teaspoons |
| dashimade from konbu and katsuobushi, or konbu and dried shiitake for a meatless table | 1 cup |
| soy sauce, preferably koikuchi shōyu | 3 tablespoons |
| sugarfor the simmering broth | 2 tablespoons |
| mirin | 2 tablespoons |
| sake | 1 tablespoon |
| noricut in half crosswise | 3 full sheets |
| tezufor wetting hands | 1/2 cup water mixed with 1 teaspoon rice vinegar |
| pickled ginger (optional) | for serving |
| soy sauce (optional) | for serving |
Put the rice in a bowl, cover it with cool water, swirl with your hand, and pour the cloudy water away. Repeat until the water runs almost clear, then drain the rice in a sieve for 10 minutes. This washes off loose surface starch, so the cooked grains cling to one another without turning pasty.
Cook the drained rice with 360ml water in a rice cooker, or in a covered pot. For a pot, bring it to a boil, lower the heat, cook 12 minutes, then rest off the heat 10 minutes without lifting the lid. Sushi rice should be a little firm, because soft rice collapses when vinegar and rolling pressure arrive.
Warm the rice vinegar, 2 tablespoons sugar, and 1 teaspoon salt just until the sugar dissolves, then take it off the heat. Don't boil it. A little warmth helps the seasoning blend; boiling drives off the clean edge of the vinegar, and that edge is what keeps the rice lively.
Rinse the dried kanpyō, soak it in plenty of water for 10 minutes, then drain it. Sprinkle with 2 teaspoons salt and rub the strips between your palms until they feel pliable, then rinse well. This shio-momi, salt rubbing, removes the dusty dried scent and roughens the surface slightly so the simmering broth can enter.
Put the rinsed kanpyō in a small pot with fresh water to cover and simmer 10 to 15 minutes, until a strip bends easily and a fingernail leaves a mark. Drain it. Do not season yet. Soy and sugar belong after tenderness, because they darken and flavor the gourd, but they won't rescue a dry center.
Combine the dashi, soy sauce, 2 tablespoons sugar, mirin, and sake in a wide pot. Add the boiled kanpyō, bring to a gentle simmer, and set a wooden drop-lid, otoshibuta, directly on the strips, or use a circle of parchment with a small hole in the center. Simmer 15 to 20 minutes, until the kanpyō is chestnut-brown, glossy, and the liquid has reduced to a few spoonfuls. Let it cool in the broth, then drain and cut the strips to the width of the nori.
Turn the hot rice into a hangiri, the shallow wooden sushi tub, or a wide shallow bowl. Sprinkle over the sushi vinegar and cut through the rice with a paddle while folding from the edges, fanning as you work, until the grains are glossy and only warm to the touch. Cutting and folding coat the grains without crushing them. Cover with a damp cloth.
Set a half sheet of nori rough side up on a bamboo mat, makisu, with a long edge facing you. Wet your fingers lightly with tezu and spread about 80g of sushi rice in a thin, even layer, leaving a 2cm clean edge at the far side. Make a shallow groove across the center, lay in one or two strips of kanpyō, then lift the mat and roll once to enclose the filling. Tuck gently, roll forward, and press just enough to square the roll. Too much rice makes the spiral heavy; too much pressure turns good rice into paste.
Set the roll seam-side down for 2 minutes, then cut each roll into 6 pieces with a damp, sharp knife, wiping the blade between cuts. The clean face matters here: kanpyō-maki is simple, and simple food tattles. Serve the pieces the same day with pickled ginger and a small dish of soy sauce if you like.
1 serving (about 255g)
Culinary guides, cultural storytelling, and the editorial depth that makes cooking meaningful.
Discover Culinary ExplorerChef Takumi
Aji fry is weeknight fish with no mystery: fresh horse mackerel opened cleanly, breaded lightly, and fried until the panko crackles while the flesh stays sweet.
Chef Takumi
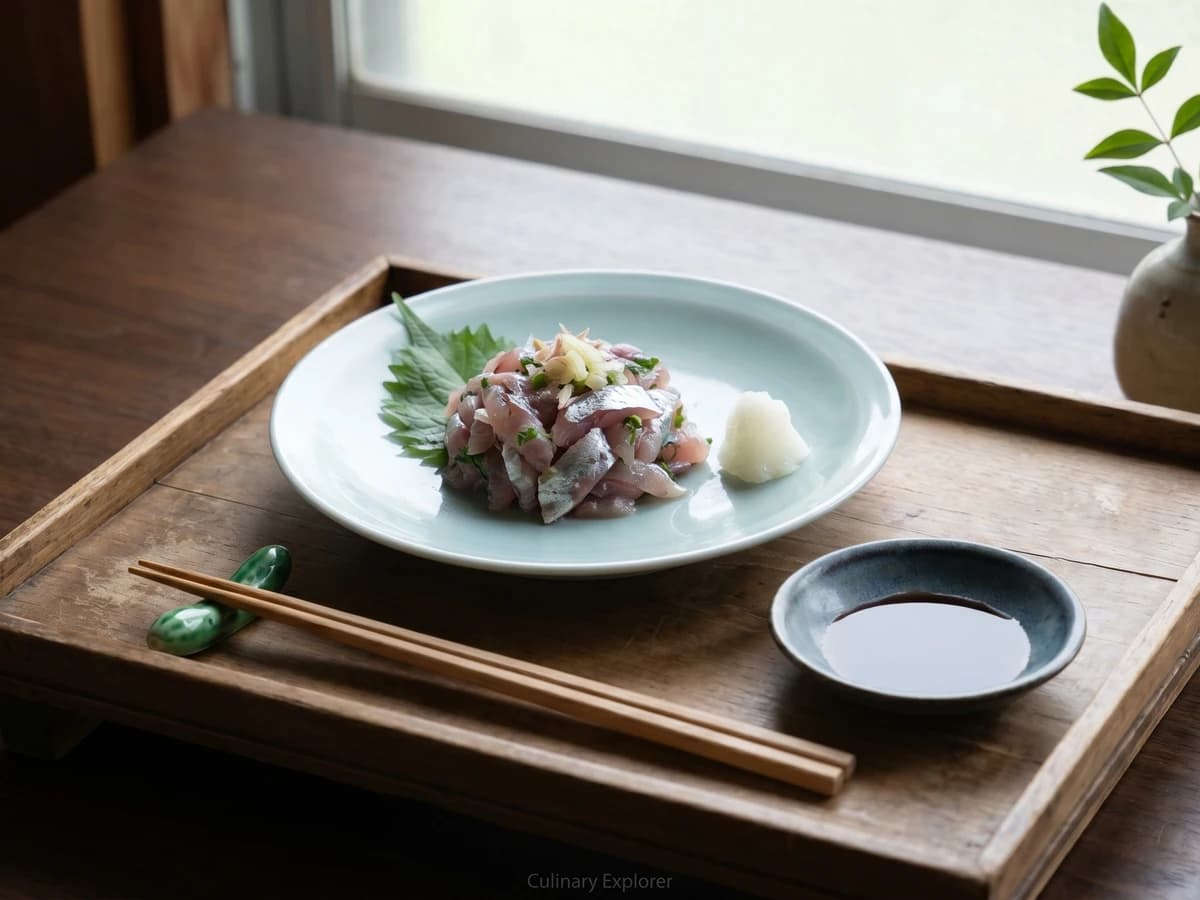
Summer horse mackerel, chopped just enough to catch ginger and scallion, becomes a cool, clean main dish with rice. The secret is fresh fish and a knife that does not bruise it.
Chef Takumi
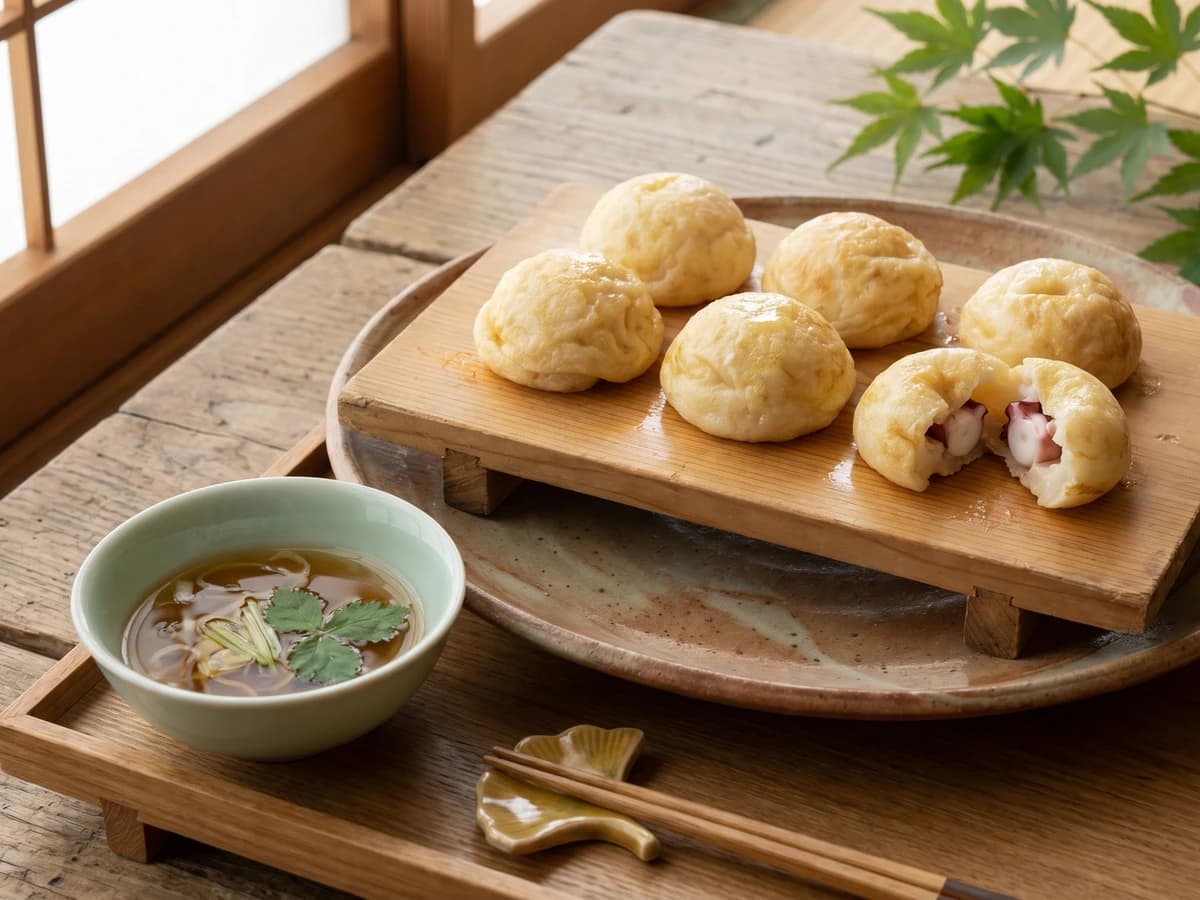
Akashi-yaki is not sauced takoyaki. It is egg-rich batter, tender octopus, and clear dashi, cooked pale and soft so each ball can be dipped like a small custard dumpling.

Chef Takumi
A whole anago looks like a test of nerve. It is mostly good sourcing, a dry skin, cold batter, and oil hot enough to leave the eel sweet under its lace.