
Chef Makoa
Manapua (Hawaiʻi Local Char Siu Pork Bun)
Hawaiʻi Local manapua, born from Chinese char siu bao and raised by lunch wagons, with soft sweet dough wrapped around glossy red pork, big enough for one hand and one small-kid memory.
A cooking platform built around craft, culture, and the stories behind what we eat.
Created by
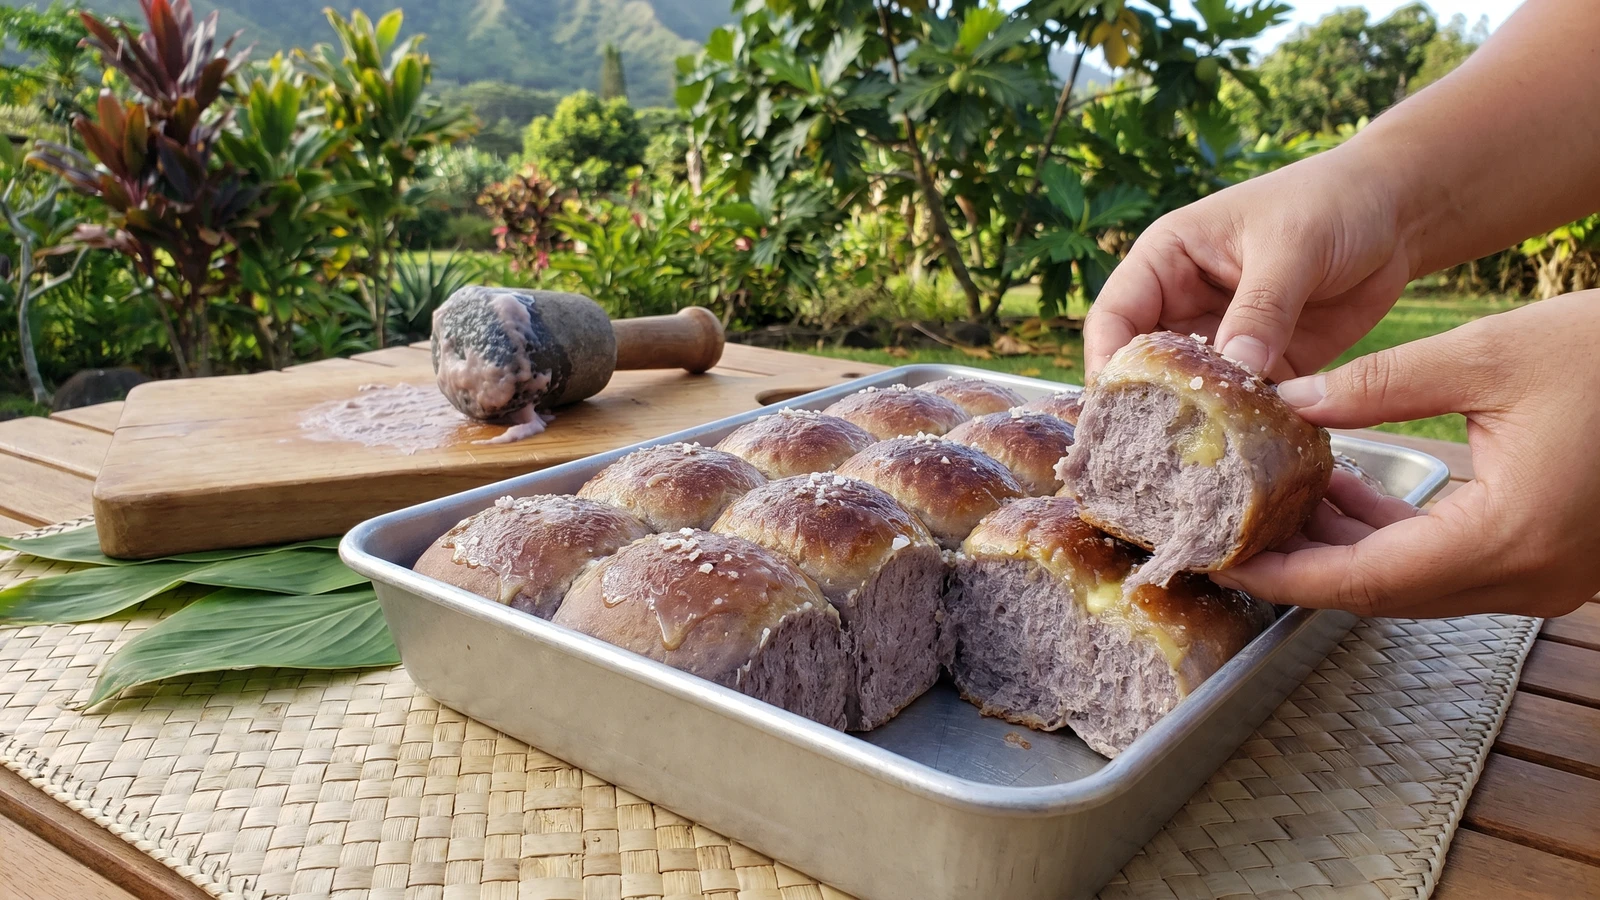
Soft Hawaiian kalo rolls, lavender from poi (pounded taro) and tender with butter, baked pull-apart for the lūʻau (feast) table, the potluck pan, or breakfast.
Hāloa, the elder sibling in our Hawaiian genealogy, doesn't only live in the poi bowl. Some days he comes to the table tucked into a soft roll, purple-gray from poi (pounded kalo, Hawaiian taro, loosened with water), sitting in a metal pan between the kālua puaʻa (pit-cooked pork), poke (seasoned raw fish), laulau (leaf-wrapped bundles), lomi salmon (salted salmon and tomato relish), and pipikaula (salt-dried beef). I learned that kind of bread from aunties on Oʻahu who knew when to be reverent and when to slide the foil pan onto the potluck table and tell everybody to eat while it's warm.
This is Hawaiʻi's hand. Across the Triangle, Sāmoan talo (taro) stands inside palusami (taro leaves baked with coconut cream), Tongan talo fills lū (taro-leaf parcels), Cook Islands cooks make rukau (taro leaves in coconut cream), Tahiti cooks fāfā (taro-leaf greens), and our Hawaiian table keeps poi and laulau close. One ocean, one canoe, one root, but never one nameless plate.
Tell the truth about the bread: wheat, butter, sugar, and yeast are newer than the loʻi (irrigated taro patch). No pretend the flour came in the canoe. The kalo did. The old people were never frozen in time, though; they fed the family with what was in front of them, from ʻulu (breadfruit) and ʻuala (sweet potato) to plate lunch, Spam and egg, and the rolls that show up beside every celebration tray.
Keep the dough soft and a little tacky, because kalo holds water like the ʻāina (land) after rain. If you bury it in flour, the rolls go tough. If the color comes out lavender-gray instead of bakery purple, good. No blame the taro. It's doing what its own variety knows how to do.
Kalo (Hawaiian taro) belongs to the older voyaging layer of Hawaiian food, carried across Moana (the Pacific Ocean) in canoes and tended in loʻi (irrigated taro patches) long before wheat flour or sugar reached the islands. Yeast breads, refined sugar, and flour became common after sustained Western contact, especially after the American Protestant missionaries arrived in 1820 and the plantation store made imported staples everyday. Kalo rolls are modern Hawaiian lūʻau (feast) food, a potluck bread that carries the deep canoe crop into a newer oven without pretending the wheat came on the canoe.
Quantity
1 cup
unsweetened and thick, or 9 ounces cooked peeled kalo mashed with 1/4 cup warm water
Quantity
3/4 cup
warmed to 100F to 110F
Quantity
2 1/4 teaspoons
Quantity
1/3 cup plus 1 teaspoon
divided
Quantity
1
room temperature
Quantity
5 tablespoons
melted and cooled, divided
Quantity
1 1/2 teaspoons
Quantity
4 cups, plus up to 1/2 cup more
as needed
Quantity
1 tablespoon
for the bowl and pan
Quantity
small pinch
for finishing
| Ingredient | Quantity |
|---|---|
| fresh poi (pounded kalo, Hawaiian taro)unsweetened and thick, or 9 ounces cooked peeled kalo mashed with 1/4 cup warm water | 1 cup |
| whole milk or canned coconut milkwarmed to 100F to 110F | 3/4 cup |
| active dry yeast or instant yeast | 2 1/4 teaspoons |
| granulated sugardivided | 1/3 cup plus 1 teaspoon |
| large eggroom temperature | 1 |
| unsalted buttermelted and cooled, divided | 5 tablespoons |
| paʻakai (Hawaiian sea salt) or fine sea salt | 1 1/2 teaspoons |
| bread flour or all-purpose flouras needed | 4 cups, plus up to 1/2 cup more |
| neutral oil or softened butterfor the bowl and pan | 1 tablespoon |
| flaky paʻakai (Hawaiian sea salt) (optional)for finishing | small pinch |
Stir the warm milk or coconut milk with 1 teaspoon of the sugar, then sprinkle in the yeast. Let it sit 5 to 10 minutes, until the surface looks creamy and smells sweet and bready. If the liquid felt hot on your finger and the yeast stays flat, start over with cooler liquid; no need waste the whole bowl.
Whisk the poi with the remaining 1/3 cup sugar, egg, 4 tablespoons of the melted butter, and paʻakai until smooth enough to pour in slow ribbons. If you are starting from cooked kalo, mash it very smooth with the warm water first, then measure 1 cup. Raw kalo is not for this dough; it bites the throat until it has been cooked properly.
Pour the yeast milk into the poi mixture and stir until the color is even. Add 3 1/2 cups flour and mix until shaggy, then let it rest 10 minutes so the kalo starch can drink in the moisture. Add more flour 1 tablespoon at a time only until the dough is soft, sticky, and gathered together.
Knead by hand for 8 to 10 minutes, or with a dough hook on medium-low for 5 to 7 minutes, until the dough turns smooth, stretchy, and lightly glossy. It should cling a little to your fingers and then let go. Oil your hands before you add more flour, because too much flour makes a tight, dry roll.
Rub a bowl with a little oil or softened butter, tuck the dough inside, and cover it. Let it rise in a warm place for 60 to 90 minutes, until doubled and puffy. Press it with one finger; if the dent fills back slowly, it's ready.
Grease a 9 by 13 inch pan. Turn the dough onto a lightly oiled counter and divide it into 16 equal pieces, about 2 ounces each if you are weighing. Cup each piece under your palm and roll until the top is smooth and tight, then set them in the pan in four rows of four.
Cover the pan and let the rolls rise 35 to 50 minutes, until they look pillowy and the sides are touching. Heat the oven to 350F while they rise. The dough should look alive now, soft and full, not dry on top.
Bake 20 to 24 minutes, until the tops are honey-gold, the sides show that lavender-gray kalo color, and the center of a roll reads about 190F. Brush the hot tops with the last tablespoon of melted butter and finish with a few grains of flaky paʻakai if you like.
Let the rolls rest 10 to 15 minutes so the crumb settles, then pull them apart at the table. Eat them warm with butter, tuck in kālua puaʻa, or save a few for the next morning with Spam and egg. Deep food and everyday food can sit together when you name them honestly.
1 serving (about 65g)
Culinary guides, cultural storytelling, and the editorial depth that makes cooking meaningful.
Discover Culinary ExplorerChef Makoa
Hawaiʻi Local manapua, born from Chinese char siu bao and raised by lunch wagons, with soft sweet dough wrapped around glossy red pork, big enough for one hand and one small-kid memory.
Chef Makoa
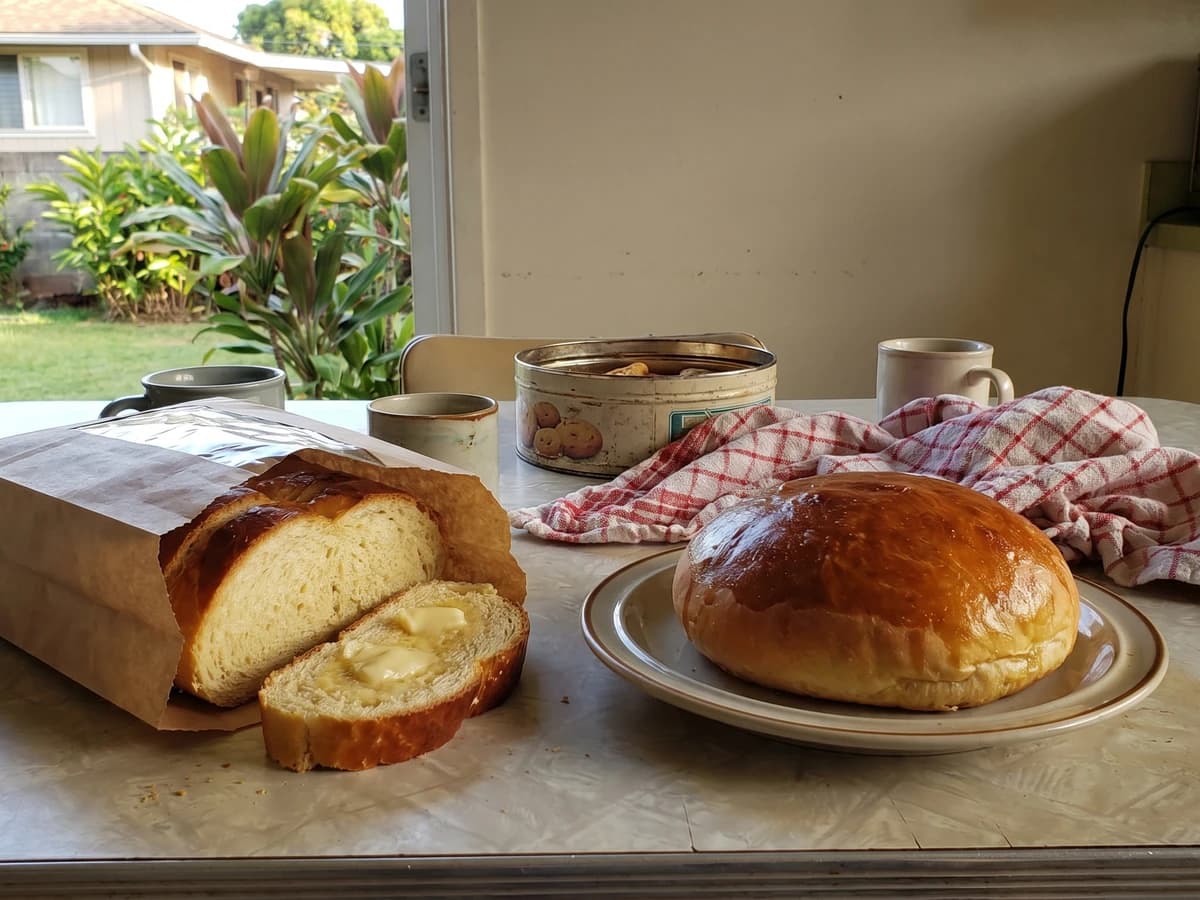
A soft, golden egg-and-butter loaf the Portuguese carried to Hawaiʻi from the Azores and Madeira, now a Local table bread for holidays, breakfast toast, and one more auntie walking in.

Chef Juliette
Pâte à brioche ordinaire teaches enriched dough properly: wake the leaven, build strength before the last egg, then work in pliable butter by stages and let one long fermentation do its quiet work.

Chef Juliette
Ordinary brioche takes one exact measure of butter and a patient rise in the mould, becoming so light and silken that it can cradle fruit without losing its tender crumb.