
Chef Takumi
Aji Fry (アジフライ, panko-fried horse mackerel)
Aji fry is weeknight fish with no mystery: fresh horse mackerel opened cleanly, breaded lightly, and fried until the panko crackles while the flesh stays sweet.
A cooking platform built around craft, culture, and the stories behind what we eat.

Created by
Nara's mountain sushi is quieter than it looks: seasoned rice, cured fish, and a persimmon leaf doing old preservative work. Press it gently, wait, and the pieces settle into themselves.
Apersimmon leaf is not decoration. In kakinoha-zushi it is wrapper, preserver, and little dish all at once. The leaf is not eaten; it gives a faint green scent and tannic cleanliness to the rice and cured fish, then steps aside. Quite a useful leaf, if it wants a compliment.
People see wrapped sushi and expect advanced hands. No. There is no rolling mat, no showy wrist, no secret pressure point. You make good sushi rice, lay on cured mackerel or salmon, fold each piece in a food-safe persimmon leaf, and let a modest weight and a few hours do the shaping. The first secret is patience under pressure, not force.
The reason is geography. Nara is mountain country, so the fish came salted, and the rice and leaf were asked to keep it honest. Curing firms the fish and seasons it through; the rest lets salt and vinegar settle into the rice without sauce. Nothing hidden. Use mackerel in the colder months when it is at its shun, or salmon when that is what your fishmonger can stand behind. If the fish is clean and glistening fresh, and the rice is seasoned hot but wrapped only after it cools, this becomes 本物, honmono, the real thing, and still very much a home cook's work.
Kakinoha-zushi developed in Nara's inland Yoshino and Gojō districts during the Edo period, when salted mackerel was carried over mountain roads from the Kumano Nada coast. Persimmon trees were abundant there, and their leaves, rich in tannins, made a clean wrapper that helped slow spoilage and kept the rice from drying on the way to festivals and field work. Salmon is a later common version, but mackerel remains the older standard.
Quantity
2 rice-cooker cups (about 300g)
rinsed, soaked, and drained
Quantity
360ml, or just under the rice cooker's 2-cup line
Quantity
4 tablespoons
Quantity
2 tablespoons
Quantity
1 1/4 teaspoons
Quantity
20
salted and rinsed, or fresh unsprayed leaves blanched and dried
Quantity
180g
kept cold and sliced thinly
Quantity
1 teaspoon
Quantity
2 tablespoons
Quantity
1 teaspoon
Quantity
1 small strip
| Ingredient | Quantity |
|---|---|
| Japanese short-grain ricerinsed, soaked, and drained | 2 rice-cooker cups (about 300g) |
| cold water | 360ml, or just under the rice cooker's 2-cup line |
| rice vinegar | 4 tablespoons |
| sugar | 2 tablespoons |
| fine sea salt | 1 1/4 teaspoons |
| food-safe persimmon leavessalted and rinsed, or fresh unsprayed leaves blanched and dried | 20 |
| prepared shime saba (vinegared mackerel), or sashimi-quality salmonkept cold and sliced thinly | 180g |
| fine sea salt for salmon cure (optional) | 1 teaspoon |
| rice vinegar for salmon cure (optional) | 2 tablespoons |
| sugar for salmon cure (optional) | 1 teaspoon |
| konbu for salmon cure (optional) | 1 small strip |
Put the rice in a bowl, cover it with cold water, stir with your fingertips, and pour off the cloudy water. Repeat until the water runs almost clear. Wash it twice, wash it thrice, then stop before you start breaking the grains. Soak the rice in fresh water for 30 minutes, then drain for 10 minutes. Washing removes loose starch so the finished rice is glossy, not pasty; soaking hydrates the center of each grain so it cooks evenly.
Cook the drained rice with 360ml cold water, or just under the 2-cup line of a rice cooker. If using a pot, bring it to a boil, cover tightly, lower the heat, cook 12 minutes, then rest off the heat for 10 minutes without lifting the lid. Use a little less water than plain rice because the vinegar seasoning will add moisture later. The covered rest finishes the grain gently, which keeps the surface tender and the center cooked through.
Warm the 4 tablespoons rice vinegar with the sugar and 1 1/4 teaspoons salt just until the sugar dissolves. Don't boil it. A hard boil drives off the clean vinegar fragrance, and that fragrance is part of what makes the rice taste alive.
Turn the hot rice into a hangiri, the wooden sushi rice tub, or a wide nonreactive bowl. Sprinkle the sushi-zu over the rice and fold with a rice paddle using cutting motions, fanning as you go until the grains look glossy and separate. Season while the rice is hot because hot grains drink the vinegar evenly. Let it cool to just warm before shaping; rice that is too hot softens the fish and wilts the leaf.
If using salted persimmon leaves, rinse them and soak 5 to 10 minutes if they taste very salty, then pat them completely dry. If using fresh leaves, use only clean unsprayed leaves, blanch them 20 seconds, cool them in cold water, drain, and dry them well. Trim any stiff stem. The leaf must be pliable enough to fold and dry enough to grip the rice; a wet leaf dilutes the seasoning and makes the parcel slip. The leaves are wrappers, not food to chew.
If using prepared shime saba, pat it dry and slice it on a low angle into 20 pieces, each large enough to cover the top of a rice pad. If using salmon, sprinkle the slab with 1 teaspoon salt and refrigerate 20 minutes. Wipe or briefly rinse it, pat dry, then lay it with 2 tablespoons rice vinegar, 1 teaspoon sugar, and the optional strip of konbu for 15 minutes. Pat dry again and slice thinly. Keep the fish cold throughout.
Dampen your hands with water and portion the rice into 20 small pads, about 24 to 26g each. Shape each one into a short oval, a little smaller than the fish slice. Don't pack it hard. The pressing step will finish the shape, and light rice eats better than rice squeezed into obedience.
Lay a persimmon leaf vein-side up with the stem end toward you. Set one slice of fish in the center with its good face against the leaf, then place a rice pad on top. Fold the stem end over the rice, fold in the sides, then fold the tip over last. Set the parcel seam-side down. The fish touches the leaf so it takes on the leaf's clean scent, and the seam goes down so the weight will close it neatly.
Pack the wrapped pieces seam-side down in a wooden sushi pressing box, or in a shallow food container lined with a clean cloth. Lay a flat board or small tray on top and add a 1 to 2kg weight. Refrigerate at least 4 hours, or overnight. Gentle pressure brings fish, rice, and leaf into one piece; time lets the salt and vinegar move into the rice. Too much weight crushes the grains, so ask for contact, not punishment.
Take the kakinoha-zushi from the refrigerator 20 to 30 minutes before serving if the room is cool, then unwrap each piece just before eating. Do not eat the leaf. The sushi should already taste seasoned from the rice and cured fish; if you use soy sauce, use only a small touch. Keep the rest chilled and eat within 24 hours.
1 serving (about 185g)
Culinary guides, cultural storytelling, and the editorial depth that makes cooking meaningful.
Discover Culinary ExplorerChef Takumi
Aji fry is weeknight fish with no mystery: fresh horse mackerel opened cleanly, breaded lightly, and fried until the panko crackles while the flesh stays sweet.
Chef Takumi
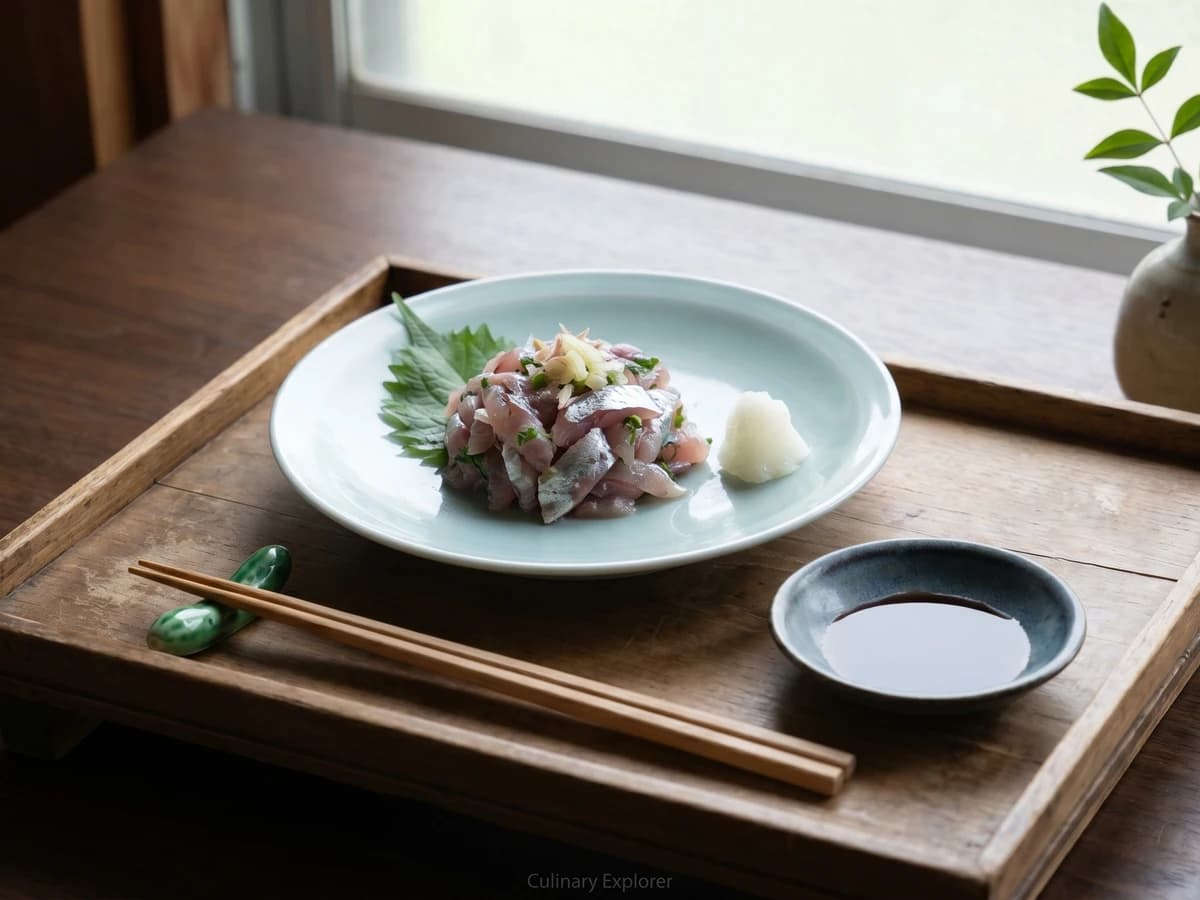
Summer horse mackerel, chopped just enough to catch ginger and scallion, becomes a cool, clean main dish with rice. The secret is fresh fish and a knife that does not bruise it.
Chef Takumi
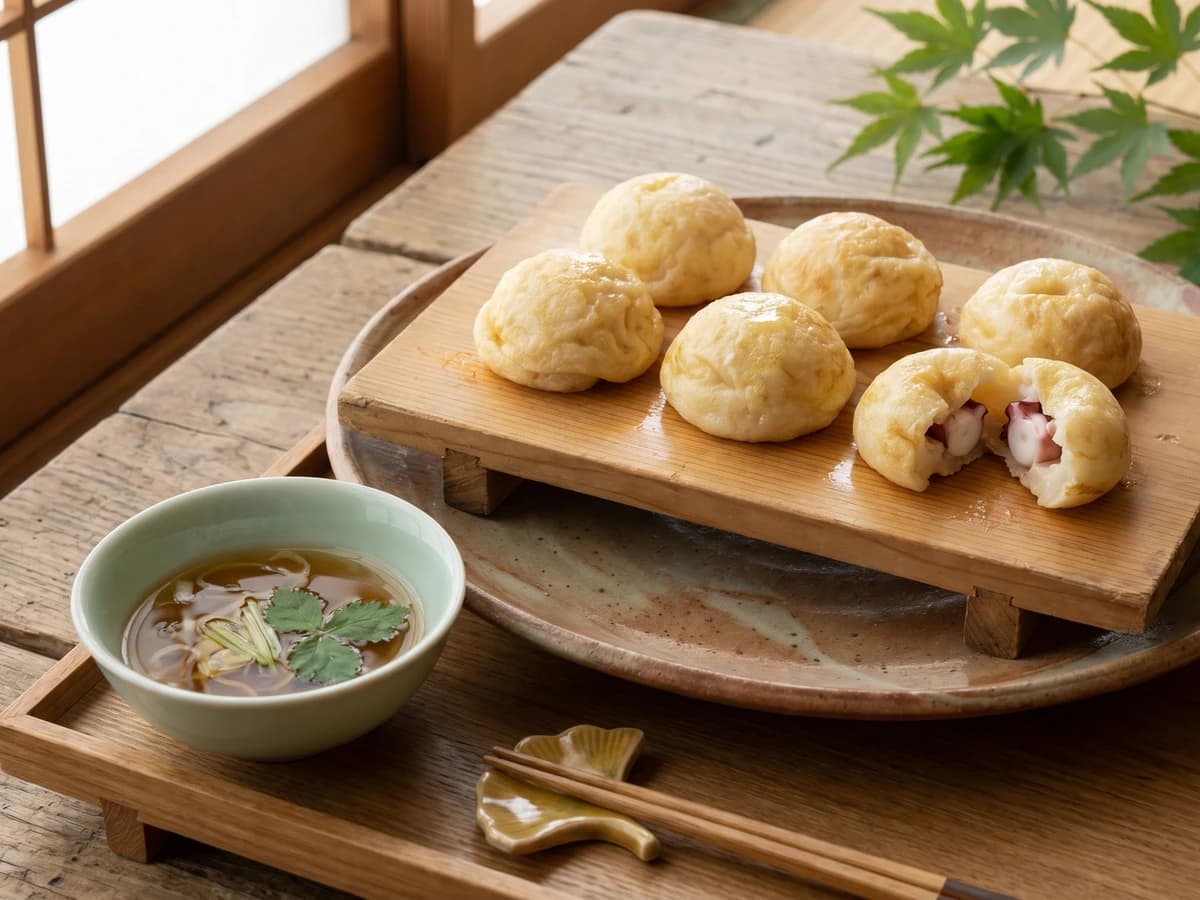
Akashi-yaki is not sauced takoyaki. It is egg-rich batter, tender octopus, and clear dashi, cooked pale and soft so each ball can be dipped like a small custard dumpling.

Chef Takumi
A whole anago looks like a test of nerve. It is mostly good sourcing, a dry skin, cold batter, and oil hot enough to leave the eel sweet under its lace.