
Chef Jeong-sun
Agwi-jjim (Braised Monkfish with Bean Sprouts)
Firm monkfish buried under crisp soybean sprouts, minari, and a red gochugaru sauce thickened at the end; Masan's market dish asks for heat, timing, and a steady hand.
A cooking platform built around craft, culture, and the stories behind what we eat.

Created by
The unsauced Korean chicken that came before the red gloss: brined pieces, a thin starch coat, and two trips through hot oil until every edge crackles clean.
People think Korean fried chicken begins with the sticky red sauce. It doesn't. Before yangnyeom-chikin (seasoned sauce chicken) took over late-night delivery, there was huraideu-chikin (plain fried chicken): salted meat, a thin starch coat, and oil managed carefully enough that the crust crackles before the meat dries out.
This is modern Korean food, not old palace food, and it still deserves a notebook. My students used to arrive with a delivery box under one arm and ask why their home batch tasted heavy. Notebook 94 says the answer is almost always the same: they seasoned too late, coated too thick, and tried to make one fry do the work of two.
Tonight this dish asks for patience, not mystery. Brine the chicken so the salt reaches the bone, dry it so the oil doesn't fight you, then fry once to cook and a second time to drive the crust crisp. 손맛 is real. I still measure it, so it can be handed on. Serve it plain with chikin-mu (pickled radish cubes) and pepper salt, and let the chicken taste like chicken.
Korean fried chicken is modern shop and home food: deep-fried huraideu-chikin spread in the 1970s as broiler chickens, commercial cooking oil, and Western-style chicken shops became part of urban life. Lim's Chicken, opened in Seoul in 1977, is often cited among the first Korean fried chicken franchises, while red-sauced yangnyeom-chikin followed in the 1980s. The plain huraideu style remains the reference point, judged by brining, a thin starch crust, and the second fry.
Quantity
1.4kg
wings and drumettes, or 1 small chicken cut into 10 to 12 even pieces
Quantity
2 cups
Quantity
2 tablespoons
Quantity
18g, about 1 tablespoon
Quantity
1 teaspoon
Quantity
2 cloves
finely grated
Quantity
1 teaspoon
finely grated
Quantity
1/2 teaspoon
Quantity
120g, about 3/4 cup
Quantity
65g, about 1/2 cup
Quantity
35g, about 1/4 cup
Quantity
1 teaspoon
Quantity
5g, about 1 teaspoon
Quantity
1/2 teaspoon
Quantity
1/2 teaspoon
Quantity
120ml, about 1/2 cup, plus 1 to 2 tablespoons if needed
Quantity
1 tablespoon
Quantity
2 quarts
canola, rice bran, or grapeseed
Quantity
to serve
Quantity
1 small bowl
1 teaspoon fine sea salt, 1/2 teaspoon black pepper, and 1/4 teaspoon gochugaru
| Ingredient | Quantity |
|---|---|
| skin-on chicken pieceswings and drumettes, or 1 small chicken cut into 10 to 12 even pieces | 1.4kg |
| whole milk | 2 cups |
| soju or cheongju (Korean rice wine) (optional) | 2 tablespoons |
| fine sea salt, for brine | 18g, about 1 tablespoon |
| sugar | 1 teaspoon |
| garlicfinely grated | 2 cloves |
| gingerfinely grated | 1 teaspoon |
| ground black pepper | 1/2 teaspoon |
| potato starch | 120g, about 3/4 cup |
| cornstarch | 65g, about 1/2 cup |
| all-purpose flour | 35g, about 1/4 cup |
| baking powder | 1 teaspoon |
| fine sea salt, for coating | 5g, about 1 teaspoon |
| ground white pepper or black pepper | 1/2 teaspoon |
| garlic powder (optional) | 1/2 teaspoon |
| ice-cold water | 120ml, about 1/2 cup, plus 1 to 2 tablespoons if needed |
| soju or vodka, for batter (optional) | 1 tablespoon |
| neutral frying oilcanola, rice bran, or grapeseed | 2 quarts |
| chikin-mu (Korean pickled radish cubes) (optional) | to serve |
| pepper salt (optional)1 teaspoon fine sea salt, 1/2 teaspoon black pepper, and 1/4 teaspoon gochugaru | 1 small bowl |
Separate wings and drumettes, or cut a whole chicken into 10 to 12 pieces. Halve large breasts crosswise and score thick thighs once to the bone. Pieces around 60 to 90g cook together; large pieces beside small ones leave you choosing between burnt crust and raw meat near the bone. Pat off loose moisture and check for bone fragments.
Whisk the milk, soju or cheongju, 18g salt, sugar, grated garlic, grated ginger, and black pepper in a large bowl. Add the chicken, turn every piece through the brine, cover, and refrigerate 1 hour for wings or 1 1/2 hours for whole cut pieces. This seasons before the coating ever touches the meat; salting only the outside gives you a loud crust and bland chicken. Discard the brine.
Drain the chicken, wipe away clinging garlic, and pat every piece very dry. Set the pieces on a wire rack for 20 minutes at room temperature, or refrigerate uncovered up to 6 hours. Surface dryness matters because wet chicken drops the oil temperature, loosens the batter, and makes the crust heavy.
Whisk together the potato starch, cornstarch, flour, baking powder, 5g salt, white pepper, and garlic powder. Move 1/2 cup of this dry mix to a shallow bowl for dusting. Whisk the remaining dry mix with the ice-cold water and the soju or vodka, if using, until it looks like thin yogurt. It should coat your fingertip lightly and drip away; if it sits like paste, add water 1 tablespoon at a time.
Pour the oil into a heavy pot so it is about 3 inches deep and does not come more than halfway up the sides. Clip on a thermometer and heat to 325F (160C). Set a wire rack over a sheet pan beside the stove. A thermometer is not fussing here. Korean chicken lives and dies in a narrow band of heat.
Working with a few pieces at a time, dip the chicken into the thin batter, let the extra run off, then roll it lightly in the reserved dry mix. Press only enough for a thin, uneven coat to cling. Do this just before frying, not half an hour ahead, or the starch turns damp and gummy.
Fry the chicken in 2 or 3 batches, keeping the oil between 315F and 330F (157C to 166C). Wings and drumettes take 8 to 10 minutes; larger bone-in pieces take 10 to 12 minutes. The crust will be pale gold and set, not deeply colored. Move the chicken to the rack and let it rest at least 10 minutes while the next batch cooks. The first fry cooks the meat and builds the shell.
Raise the oil to 375F (190C). Fry the rested chicken again in batches for 2 to 4 minutes, until the crust is deeper gold, dry-looking, and hard under the tongs. The meat should register 165F (74C) for breast pieces and at least 175F (79C) for dark meat. Move it back to the rack and rest 3 minutes so the crust stays crisp instead of trapping oil.
Mix the pepper salt in a small dish. Pile the chicken on a platter and serve at once with chikin-mu. Keep sauce off this batch. Huraideu-chikin is judged plain, with the meat seasoned through and the crust thin enough to crackle between your teeth.
1 serving (about 350g)
Culinary guides, cultural storytelling, and the editorial depth that makes cooking meaningful.
Discover Culinary ExplorerChef Jeong-sun
Firm monkfish buried under crisp soybean sprouts, minari, and a red gochugaru sauce thickened at the end; Masan's market dish asks for heat, timing, and a steady hand.

Chef Jeong-sun
A quick Korean rice bowl built on contrast: warm rice, cold popping flying-fish roe, chopped vegetables, gim, sesame oil, and the crisp rice bottom a hot stone bowl gives you.
Chef Jeong-sun
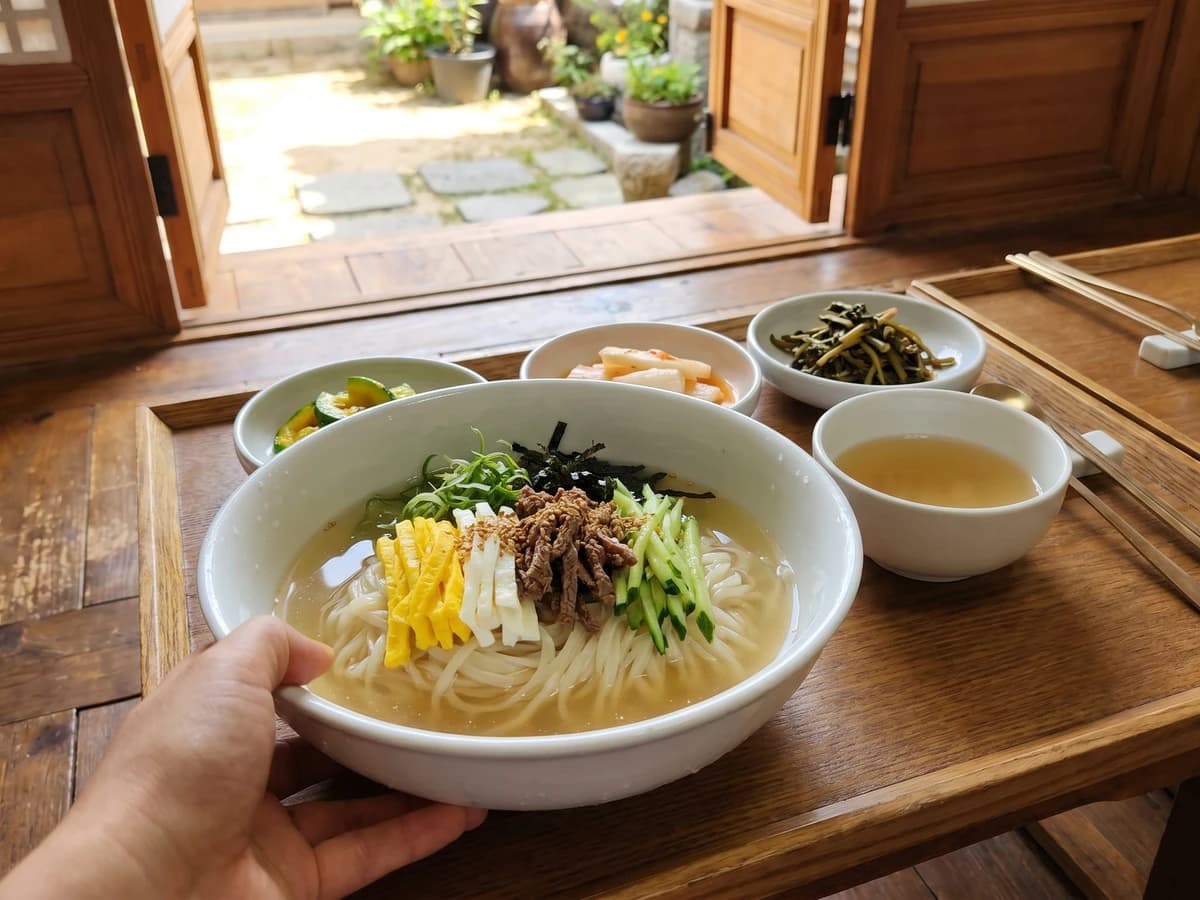
Andong's guest noodles, wheat and roasted soybean flour rolled thin, boiled and rinsed cold, then set in a clear chilled anchovy broth with careful strips of beef, egg, and cucumber.

Chef Jeong-sun
Andong's ritual-table rice served on an ordinary day: separate soy-sesame namul, warm rice, and clear radish soup, mixed without gochujang so every vegetable keeps its own voice.