Chef Juliette
Ordinary or White Consommé
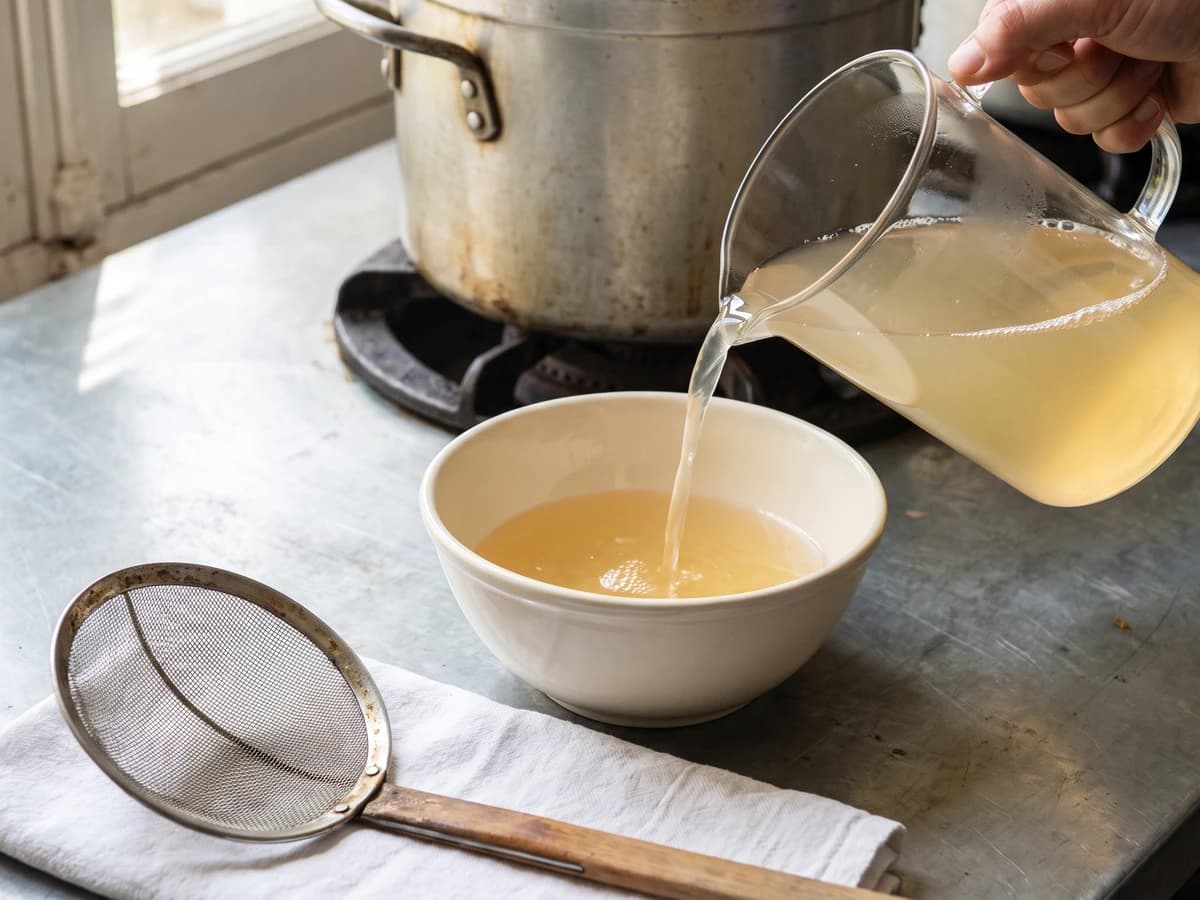
Beef shin, lean beef, and fowl begin in cold water and rise slowly toward a tremble. Skim before the boil, and you learn the quiet discipline that gives every clear French broth its backbone.
A cooking platform built around craft, culture, and the stories behind what we eat.
Created by
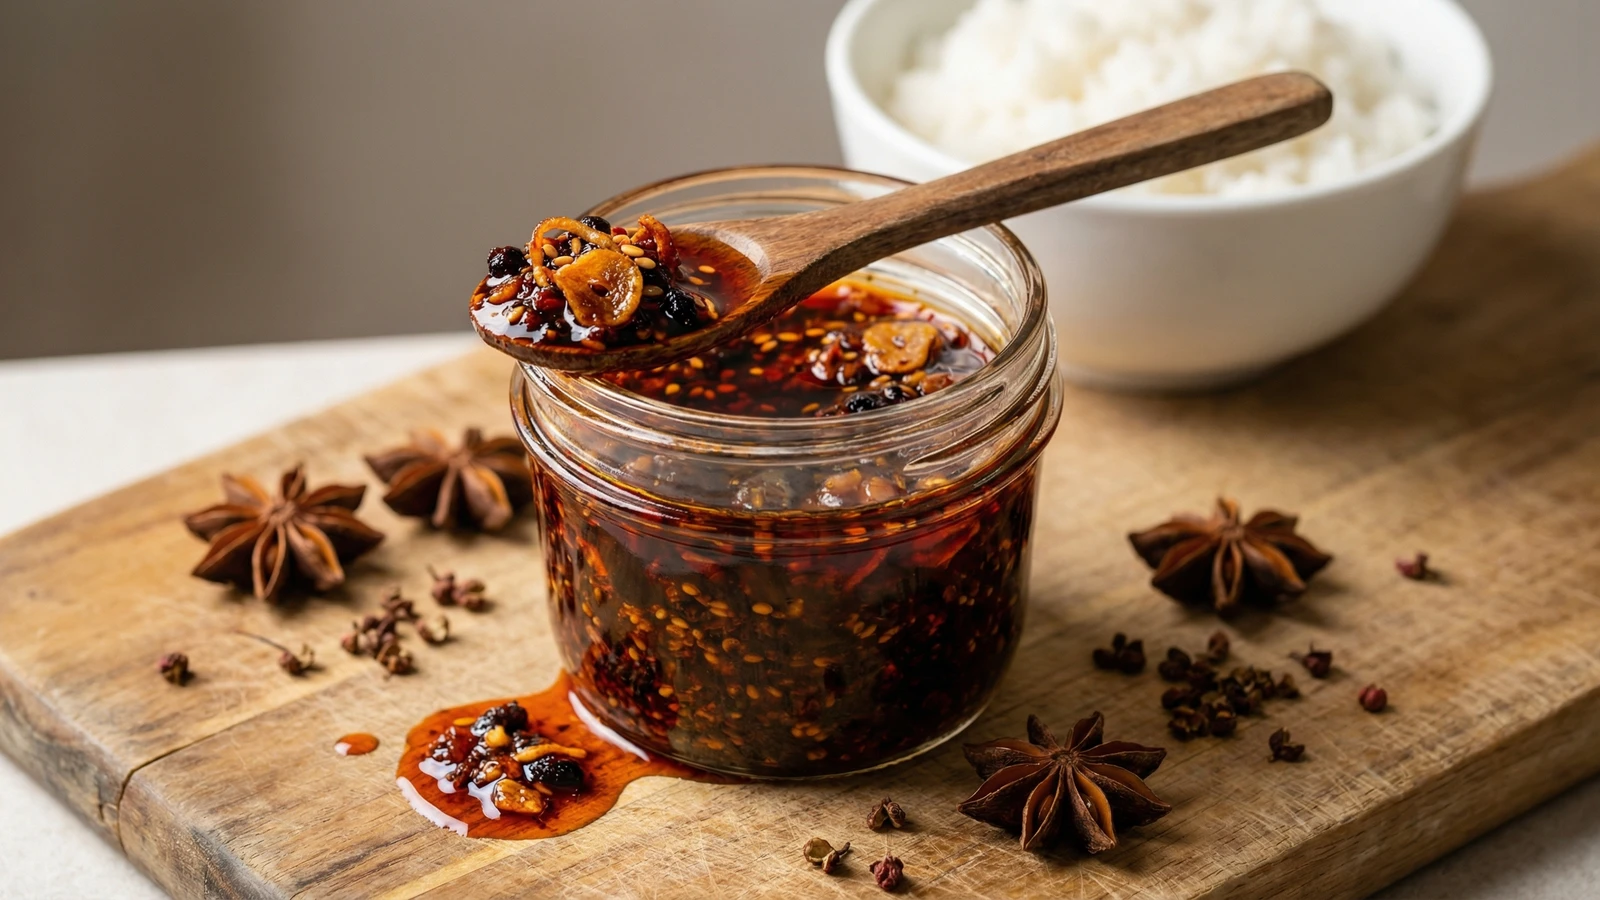
The condiment that transforms every bowl, every bite, every leftover into something worth waking up for. Sichuan heat, fried crunch, and deep umami in a jar you'll guard jealously.
American cooks have always borrowed brilliantly. We took French mother sauces and built cream gravy. We adapted Italian tomato sauce into Sunday red sauce. Now we've embraced the condiments of Sichuan, and none more passionately than chili crisp.
This is not merely a hot sauce. It is a symphony of textures and temperatures: crispy fried shallots and garlic, the numbing tingle of Sichuan peppercorns, the slow burn of dried chilies, the savory depth of fermented black beans. Every element earns its place in the jar.
I came to chili crisp late in my career, introduced by a student from Chengdu who watched me struggle with store-bought versions. 'Chef,' she said, 'you make your own stock, your own mayonnaise, your own everything. Why not this?' She was right. Once you've made your own, the commercial jars taste flat by comparison.
The technique requires attention but no special skill. Fry your aromatics carefully. Infuse your oil properly. Bloom your chilies with oil at the correct temperature. Then wait. The flavors marry overnight into something greater than their parts.
Quantity
1 1/2 cups
grapeseed or vegetable
Quantity
6 medium
thinly sliced into rings
Quantity
10 cloves
thinly sliced
Quantity
1/2 cup
gochugaru or Chinese chili flakes
Quantity
2 tablespoons
Quantity
2 whole
Quantity
1 (about 3 inches)
Quantity
2
Quantity
1 tablespoon
rinsed and chopped
Quantity
1 tablespoon
Quantity
2 teaspoons
Quantity
1 1/2 teaspoons
Quantity
1 teaspoon
Quantity
2 tablespoons
| Ingredient | Quantity |
|---|---|
| neutral oilgrapeseed or vegetable | 1 1/2 cups |
| shallotsthinly sliced into rings | 6 medium |
| garlicthinly sliced | 10 cloves |
| crushed red pepper flakesgochugaru or Chinese chili flakes | 1/2 cup |
| Sichuan peppercorns | 2 tablespoons |
| star anise pods | 2 whole |
| cinnamon stick | 1 (about 3 inches) |
| bay leaves | 2 |
| fermented black beansrinsed and chopped | 1 tablespoon |
| sesame seeds | 1 tablespoon |
| sugar | 2 teaspoons |
| kosher salt | 1 1/2 teaspoons |
| MSG (optional) | 1 teaspoon |
| toasted sesame oil | 2 tablespoons |
Line a baking sheet with paper towels and set a spider strainer nearby. You'll be working fast once the frying begins, and hot oil doesn't wait for preparation. Slice your shallots and garlic uniformly thin, about the thickness of a nickel. Uneven slices mean some burn while others stay pale.
Pour the neutral oil into a heavy-bottomed saucepan or wok and heat over medium. Add the sliced shallots and stir to separate the rings. Cook, stirring frequently, until they turn deep golden brown, twelve to fifteen minutes. The color you want is the shade of a well-worn penny. Remove with a spider strainer the moment they reach this color. They'll continue darkening on the paper towels. Burned shallots taste bitter; pale ones taste raw.
Using the same oil, add the sliced garlic. Garlic burns faster than shallots, so watch it closely. Stir constantly as it transforms from pale to light gold over four to six minutes. The chips should be crisp but not dark brown. Transfer to the paper towels beside your shallots. Your kitchen will smell extraordinary.
Reduce heat to low. Add the Sichuan peppercorns, star anise, cinnamon stick, and bay leaves to the oil. Let them bloom gently for eight to ten minutes, releasing their essential oils into the fat. The peppercorns will become fragrant, almost floral. The oil should never smoke. Patience here builds complexity that shortcuts cannot replicate.
While the oil infuses, combine the crushed red pepper flakes, fermented black beans, sesame seeds, sugar, salt, and MSG in a large heatproof bowl. This vessel must be able to handle screaming hot oil without cracking. Metal works. Tempered glass works. Your grandmother's mixing bowl does not.
Remove and discard the whole spices from the oil using a slotted spoon. Increase heat to medium-high until the oil reaches 375°F. Working quickly and carefully, pour about one-third of the hot oil over the chili mixture. It will sizzle violently and release an intensely aromatic cloud. Stir, then add another third. Stir again. Add the remaining oil. The chilies should darken to a deep brick red, never black.
Let the mixture cool for fifteen minutes until it stops actively bubbling. Stir in the toasted sesame oil. Gently fold in the reserved fried shallots and garlic, keeping them as intact as possible. Transfer to clean glass jars. The chili crisp needs at least four hours to marry its flavors, though overnight is better. Patience rewards you.
Store at room temperature for up to one month, or refrigerate for up to three months. The oil may solidify when cold, which is normal. Simply let it sit at room temperature for twenty minutes before using, or briefly warm the jar in hot water. Always use a clean, dry spoon to prevent contamination.
1 serving (about 50g)
Culinary guides, cultural storytelling, and the editorial depth that makes cooking meaningful.
Discover Culinary ExplorerChef Juliette
Beef shin, lean beef, and fowl begin in cold water and rise slowly toward a tremble. Skim before the boil, and you learn the quiet discipline that gives every clear French broth its backbone.
Chef Juliette
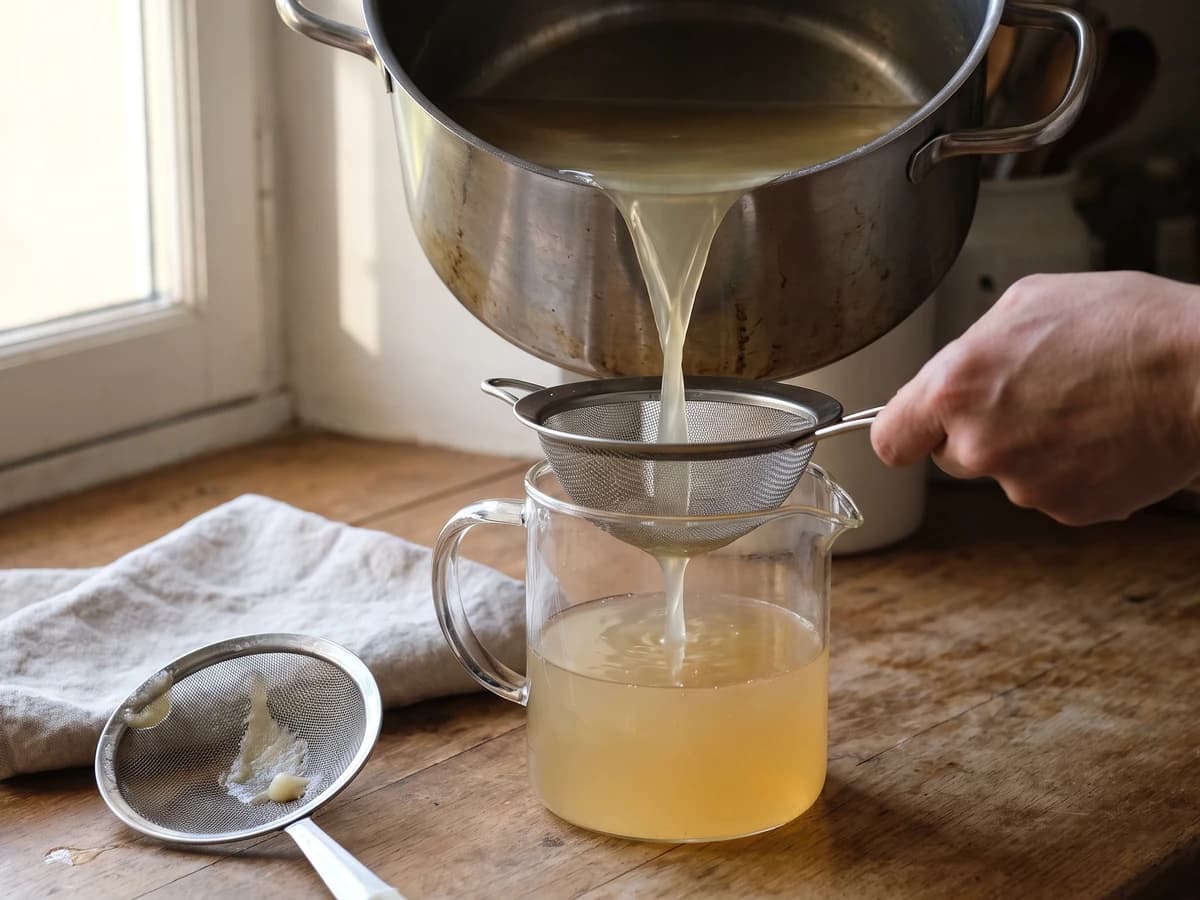
Break the veal bones small, then give them eight hours at a bare tremble. This pale, gelatinous fond becomes the quiet foundation beneath velouté, blanquette, and every sauce that must stay light.
Chef Juliette
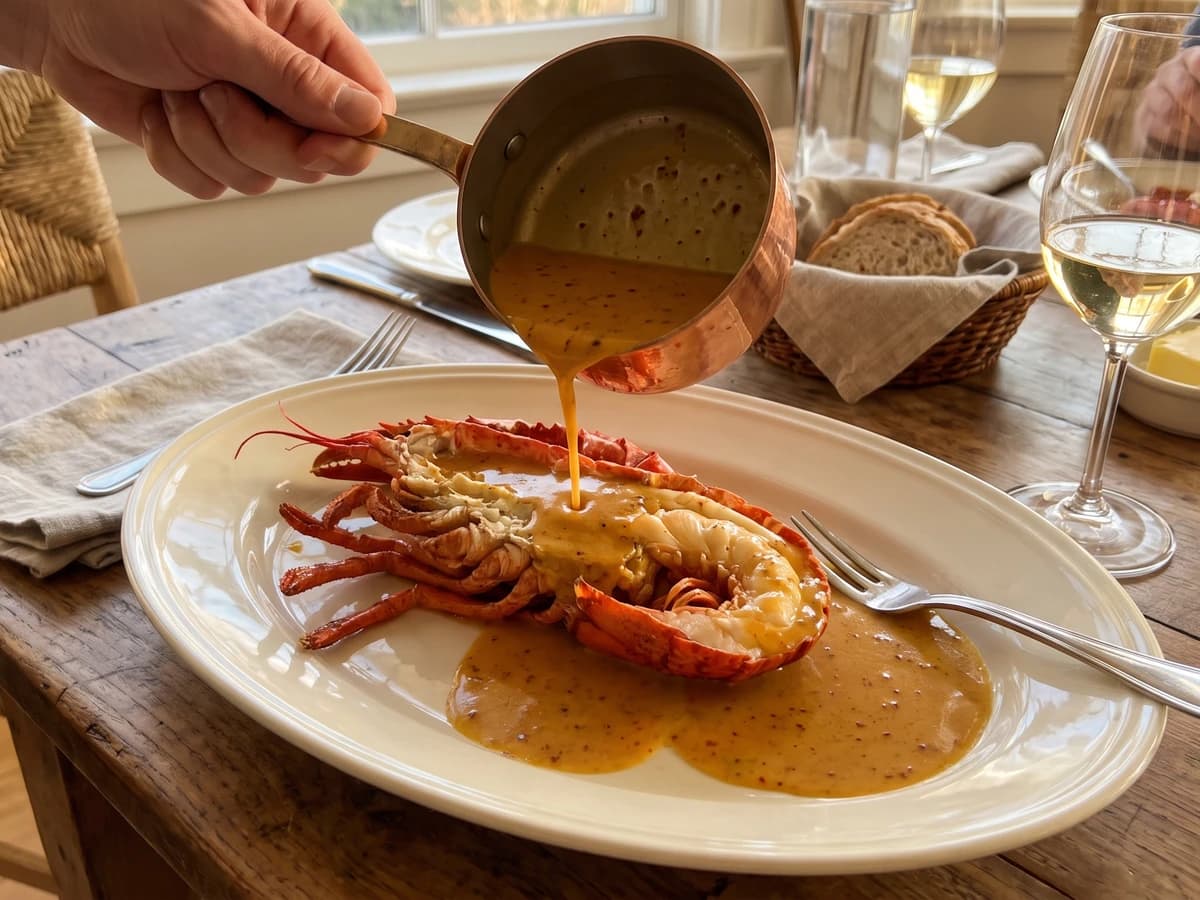
Sauce Orientale concentrates lobster-rich American Sauce with curry, then folds in cream away from the fire: a glossy, gently spiced derivative made for lobster, crayfish, and firm fish.
Chef Juliette
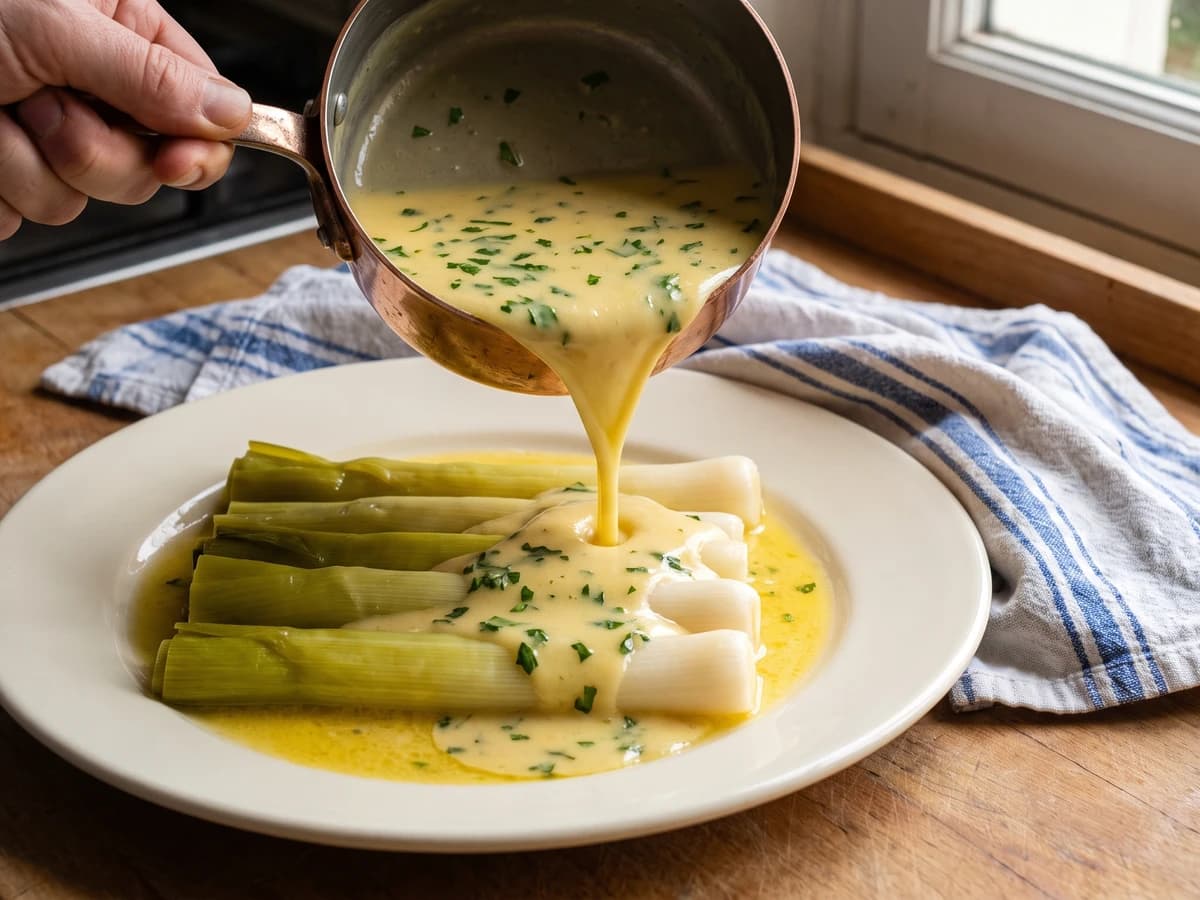
An old lesson in sauce families: Sauce Allemande takes mushroom liquor, then butter, lemon, and parsley, becoming a glossy Poulette for sheep's trotters, leeks, cauliflower, and anything needing gentle richness with a bright edge.