
Chef Takumi
Anpan (あんぱん)
Anpan is not a pastry trick. It is soft bread, sweet azuki, and a careful seal, so the bean paste stays centered while the bun rises round and tender.
A cooking platform built around craft, culture, and the stories behind what we eat.
Created by
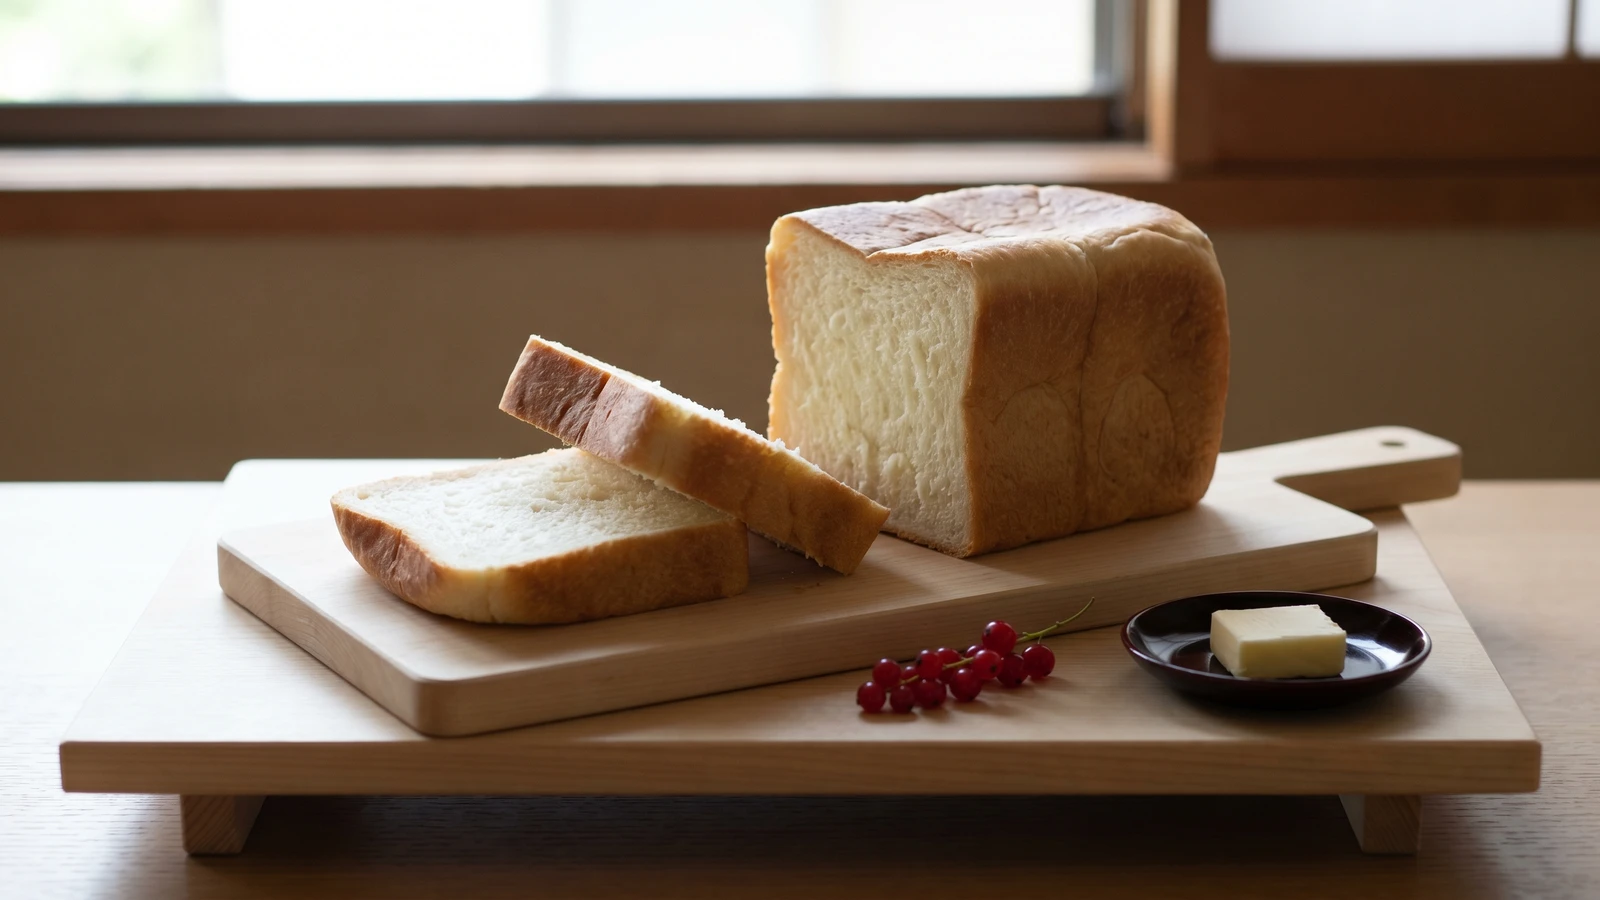
The panya counter loaf looks like a small miracle, but the secret is plain: scald part of the flour, knead until satin, and let rich Hokkaido dairy make the crumb tender.
Hokkaido milk bread earns its name before the dough ever rises. Use the best whole milk, cream, and butter you can find, Hokkaido dairy if you can get it, because this loaf has nothing to hide behind. It is shokupan, the everyday Japanese sandwich loaf, made richer and softer, the one you buy at the panya counter in thick slices and carry home as if bread were a small household promise.
The bread looks difficult because the crumb is so soft. It isn't. The work is plain: make 湯種 (yudane, a scalded-flour starter). Boiling liquid swells the flour's starch before the dough is mixed, so it holds water after baking and keeps the crumb moist for days. ストレート (straight) mixing makes a good same-day shokupan, but for this dairy-rich loaf, yudane is the first secret.
Then decide its shape. Kaku, the lidded Pullman loaf, bakes square and fine-crumbed, made for toast and sandwiches. Yamagata, the unlidded mountain loaf, rises in three rounded peaks and eats a little more open and tender. Same dough, different finish. Watch the final proof: too low and the loaf is tight, too high and it slumps against the lid or over the rim. Bread is not surgery. It is timing, warmth, and the patience to let a rich dough move at its own pace.
The word pan entered Japanese from Portuguese in the sixteenth century, but shokupan took its modern place through Meiji-era breadmaking and the postwar spread of school lunches and neighborhood panya. Hokkaido milk bread is a dairy-rich branch of that loaf, named for the island whose government-backed dairy farming expanded from the late nineteenth century and made its milk and butter nationally recognized. The yudane method was studied by Japan's National Agriculture and Food Research Organization (NARO), whose work explains why pre-gelatinized starch helps bread retain moisture and slow firming over time.
Quantity
70g
for the yudane
Quantity
80g
heated and weighed to 70g after boiling, for the yudane
Quantity
280g
for the dough
Quantity
40g
Quantity
6g
Quantity
6g
Quantity
115g
room temperature
Quantity
40g
room temperature
Quantity
1, about 50g without shell
room temperature
Quantity
45g
softened
Quantity
a little
for greasing the pan
Quantity
1 tablespoon
for brushing a yamagata loaf
Quantity
10g
melted, for finishing
| Ingredient | Quantity |
|---|---|
| bread flourfor the yudane | 70g |
| Hokkaido whole milk, or the best full-fat whole milk availableheated and weighed to 70g after boiling, for the yudane | 80g |
| bread flourfor the dough | 280g |
| granulated sugar | 40g |
| fine sea salt | 6g |
| instant yeast | 6g |
| Hokkaido whole milk, or the best full-fat whole milk availableroom temperature | 115g |
| heavy creamroom temperature | 40g |
| large eggroom temperature | 1, about 50g without shell |
| unsalted buttersoftened | 45g |
| neutral oil or softened butterfor greasing the pan | a little |
| whole milk (optional)for brushing a yamagata loaf | 1 tablespoon |
| unsalted butter (optional)melted, for finishing | 10g |
Put 70g bread flour in a heatproof bowl. Heat 80g milk until it just reaches a boil, then weigh 70g of it over the flour. Milk loses a little weight as it heats, and weighing after the boil keeps the dough honest. Stir with a stiff spatula until no dry flour remains and the paste looks thick and slightly glossy. Press wrap against the surface and cool to room temperature, at least 1 hour, or refrigerate overnight.
Tear the cooled yudane into pieces and put it in a stand mixer bowl with the room-temperature milk, cream, and egg. Add the 280g bread flour, sugar, yeast, and salt, keeping the salt and yeast apart until mixing begins. Mix on low until a shaggy dough forms, then rest it for 10 minutes. That short rest lets the flour hydrate and makes the kneading easier.
Knead on medium-low until the dough begins to smooth out, 4 to 5 minutes. Add the softened butter in three pieces, waiting until each piece disappears before adding the next. Continue kneading until the dough is smooth, elastic, and satin-soft, 8 to 12 minutes more. A small piece should stretch thin enough to let light through before it tears.
Shape the dough into a ball and set it in a lightly oiled bowl. Cover and let it rise in a warm place until doubled, usually 75 to 90 minutes. Rich dough moves more slowly than lean dough, so trust the dough more than the clock. When pressed gently, it should hold a soft dent for a moment before easing back.
Turn the dough onto a lightly floured bench and press out the large bubbles with your palms. Divide it into three equal pieces, about 240g each. Shape each piece into a loose ball, cover, and rest for 15 minutes. This relaxes the gluten, so the final shaping can be neat instead of torn and stubborn.
Grease a 9 x 4 x 4-inch Pullman pan for kaku, or a 9 x 5-inch loaf pan for yamagata. Roll one dough ball into an oval, fold the long sides toward the center, then roll from the short end into a snug cylinder. Repeat with the remaining pieces and set all three seam-side down in the pan. The shaping is not decoration; it lines up the crumb so the loaf rises tall and tears in soft strands.
Cover the pan and proof again in a warm place. For kaku, stop when the highest point of the dough sits about 1cm below the rim, then slide on the lid. For yamagata, let the three crowns rise 2 to 3cm above the rim, then brush lightly with milk. This is the step that decides the loaf's shape: underproof and the crumb is tight, overproof and the dough slumps or presses hard against the lid.
Heat the oven to 180C, or 350F, at least 30 minutes before baking. Bake kaku with the lid on for 35 to 38 minutes; if the crust is pale when you uncover it, give it 3 to 5 minutes more without the lid. Bake yamagata uncovered for 30 to 35 minutes, tenting loosely if the top browns too quickly. The center should reach 93 to 95C, or 200 to 203F. Rich bread must bake through, or the sides wrinkle as it cools.
Take the pan from the oven and rap it once on the counter, firmly but not violently. This releases trapped heat and helps prevent the sides from shrinking inward. Unmold at once onto a rack. Brush with melted butter if you want a softer, glossier crust, then cool at least 75 minutes before slicing. Cut too soon and the crumb compresses under the knife, which is a poor end for patient work.
1 serving (about 65g)
Culinary guides, cultural storytelling, and the editorial depth that makes cooking meaningful.
Discover Culinary ExplorerChef Takumi
Anpan is not a pastry trick. It is soft bread, sweet azuki, and a careful seal, so the bean paste stays centered while the bun rises round and tender.
Chef Takumi
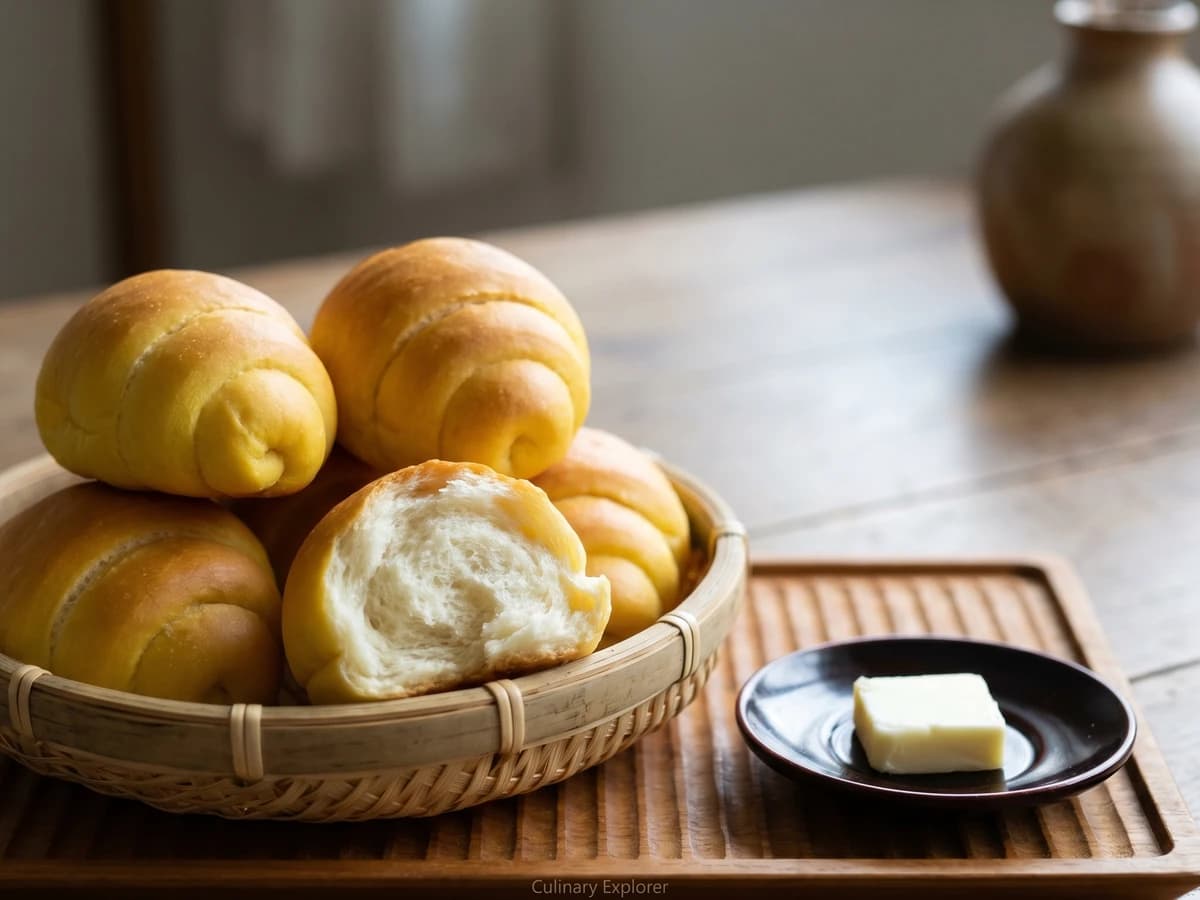
A panya staple made reachable: soft milk dough rolled wide-to-narrow into its little horn shape, proofed until light, then brushed with egg for that quiet gold crust.

Chef Takumi
Chigiri-pan is bread made small on purpose: soft enriched dough portioned into neat balls, crowded in a square tin, and baked until every tender roll tears away with its own golden edge.

Chef Takumi
Choco cornet looks clever, which is how bakery bread frightens sensible people. Wrap a soft rope around a cone, bake it golden, then pipe in chocolate cream only after the shell is cool.