Chef Thomas
Anchovy Sauce
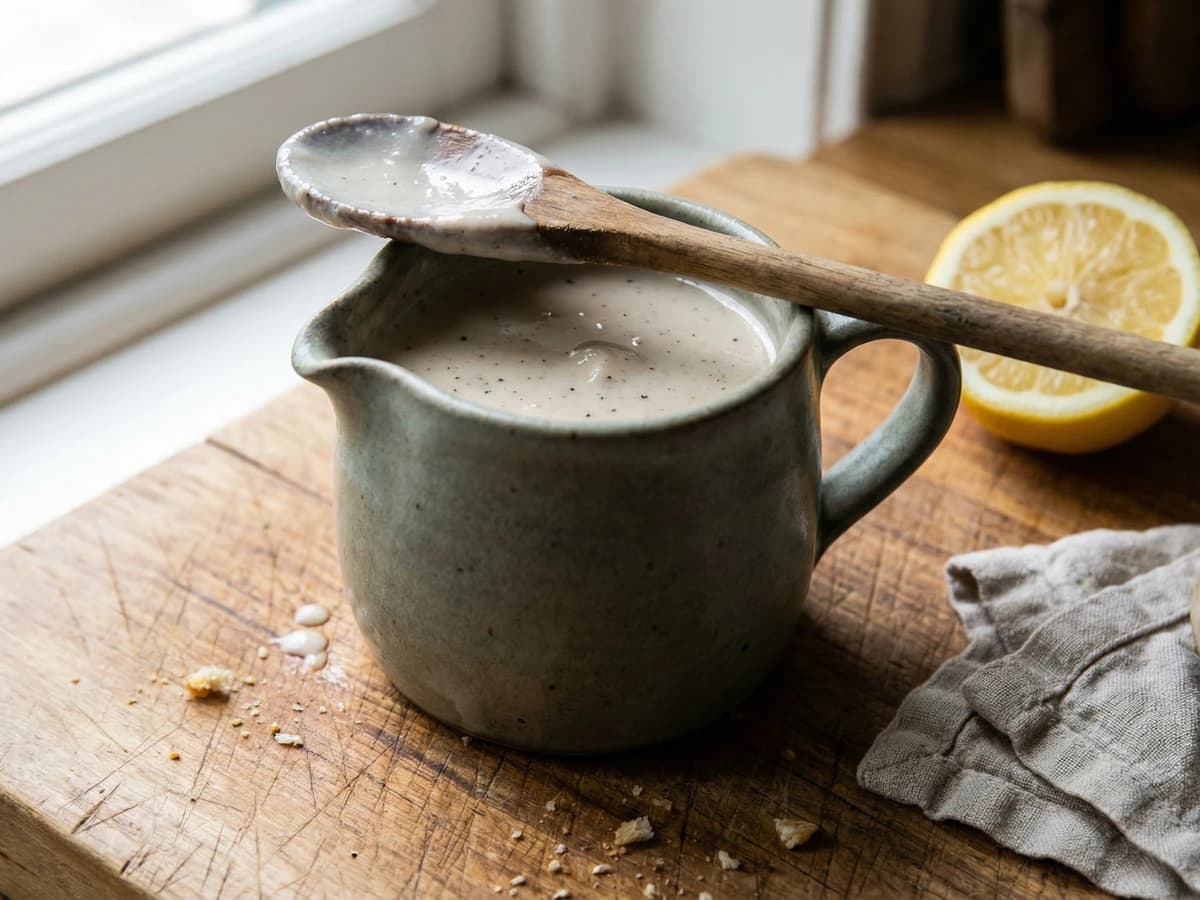
A proper white sauce sharpened with pounded anchovy, the old Georgian trick for waking up a piece of poached fish or a slice of roast lamb on a Sunday in spring.
A cooking platform built around craft, culture, and the stories behind what we eat.
Created by Chef Thomas
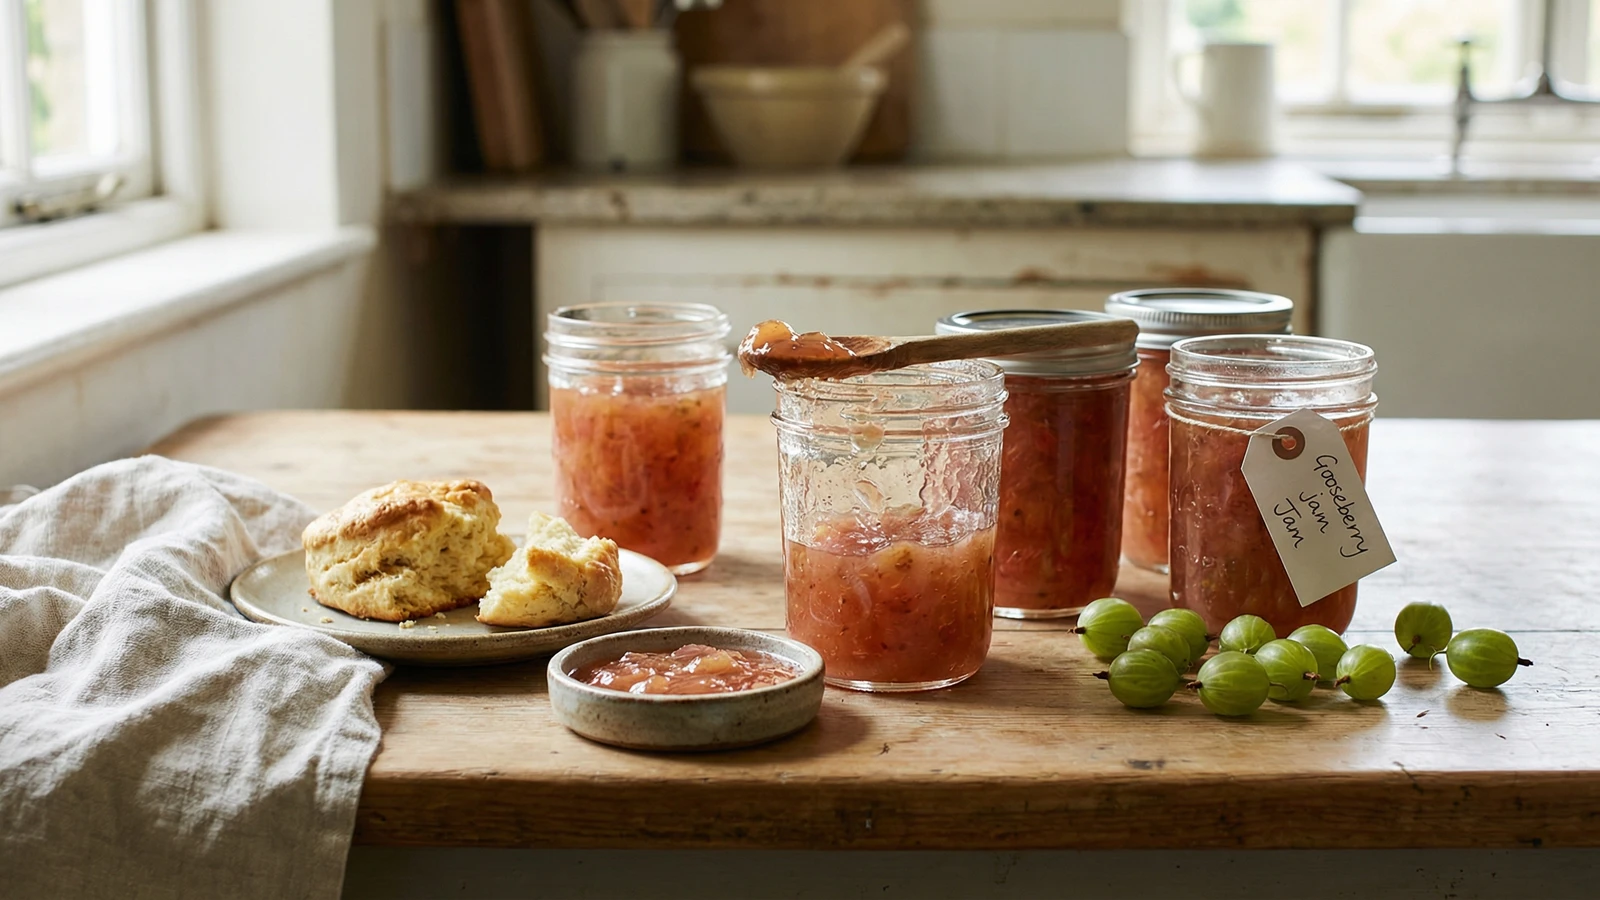
The first jam of the year, made from sharp green gooseberries in early June, setting itself almost without help and tasting of the garden waking up after a long quiet winter.
Gooseberries are the first fruit of the year worth turning into jam. They come into the market in early June, hard and green and sharp enough to make your teeth ache, and they sit there looking like nothing much. Most people walk past them. That's a mistake.
There's a particular pleasure in making the first jam of the year. The shelf in the pantry has been thinning out all winter, the marmalade is down to one jar, and suddenly there's something new to put up. The kitchen smells of hot sugar and tart fruit and the windows fog over. It's a Saturday morning kind of job, slow and satisfying, the radio on and the back door open to whatever the garden is doing.
Gooseberries set easily because they're full of pectin, which means you don't need any clever tricks. Sugar, water, a squeeze of lemon, and time. The colour shifts as it cooks, from cloudy green to a strange, pale pink-gold that always surprises me, even though I've watched it happen every June for years. I wrote it down in the notebook once: "Gooseberries. June. Pink, somehow." That was the whole entry.
Make more than you think you need. A jar in the cupboard in November, when the garden is asleep and the mornings are dark, will taste like the day you made it. That's worth the hour of topping and tailing. Trust me on this.
Quantity
1kg
topped and tailed
Quantity
1kg
Quantity
200ml
Quantity
half
juiced
Quantity
small knob
| Ingredient | Quantity |
|---|---|
| green gooseberriestopped and tailed | 1kg |
| granulated sugar | 1kg |
| water | 200ml |
| lemonjuiced | half |
| unsalted butter (optional) | small knob |
Wash four jars and their lids in hot soapy water, rinse well, and put them in a low oven, around 120C, to dry and sterilize while you make the jam. They need to be properly hot when the jam goes in. Cold jars and hot jam don't get on.
This is the slow bit. Take each gooseberry and pinch off the little stalk at one end and the dried flower at the other. It's tedious work, the kind that needs a radio on or someone to talk to. An hour with a bowl on your lap. Don't think of it as a chore. Think of it as the entry fee.
Tip the gooseberries into a wide, heavy-bottomed pan with the water. Bring to a gentle simmer and cook for about fifteen minutes, until the berries have burst and turned from sharp green to a soft, cloudy khaki. Stir now and then so nothing catches on the bottom. The kitchen will start to smell tart and grassy and faintly of gooseberry skin, which is its own particular thing.
Pour in the sugar and the lemon juice. Stir over a low heat until every grain of sugar has dissolved. This matters. If you turn the heat up before the sugar is gone, you'll get crystals in the finished jam and a slightly grainy set. Patience here saves you later. Run a wooden spoon along the bottom of the pan and listen for the scrape of undissolved sugar. When it's silent, you're ready.
Now turn the heat right up and bring the jam to a rolling boil. Not a gentle simmer, a proper, rumbling, can't-stir-it-down boil. It will foam up the sides of the pan and look alarming. That's what you want. Let it boil hard for eight to ten minutes, stirring occasionally so the bottom doesn't scorch. The colour will shift from cloudy green to a clearer, more golden-pink, and the bubbles will get smaller and glossier as the water cooks off.
Take the cold plate out of the freezer. Drop a teaspoon of jam onto it and let it sit for half a minute. Push the edge with your finger. If it wrinkles and holds its shape, it's ready. If it slides about like syrup, give it another two or three minutes and try again. Trust the wrinkle. It knows before you do.
If there's a lot of foam on top, drop in the small knob of butter and stir. The foam will subside almost at once, which feels like a small magic trick every time. Let the jam sit for five minutes, just enough for the fruit to settle so it doesn't all float to the top of the jars. Then ladle it carefully into the hot jars, right up to the brim, and seal the lids tight. Label them when they're cool. You'll forget which jam is which by August otherwise.
1 serving (about 20g)
Culinary guides, cultural storytelling, and the editorial depth that makes cooking meaningful.
Discover Culinary ExplorerChef Thomas
A proper white sauce sharpened with pounded anchovy, the old Georgian trick for waking up a piece of poached fish or a slice of roast lamb on a Sunday in spring.

Chef Thomas
A spiced autumn chutney made from a glut of apples and a quiet afternoon, simmered down until the kitchen smells of October and the jars line up on the counter like a small, useful insurance policy.
Chef Thomas
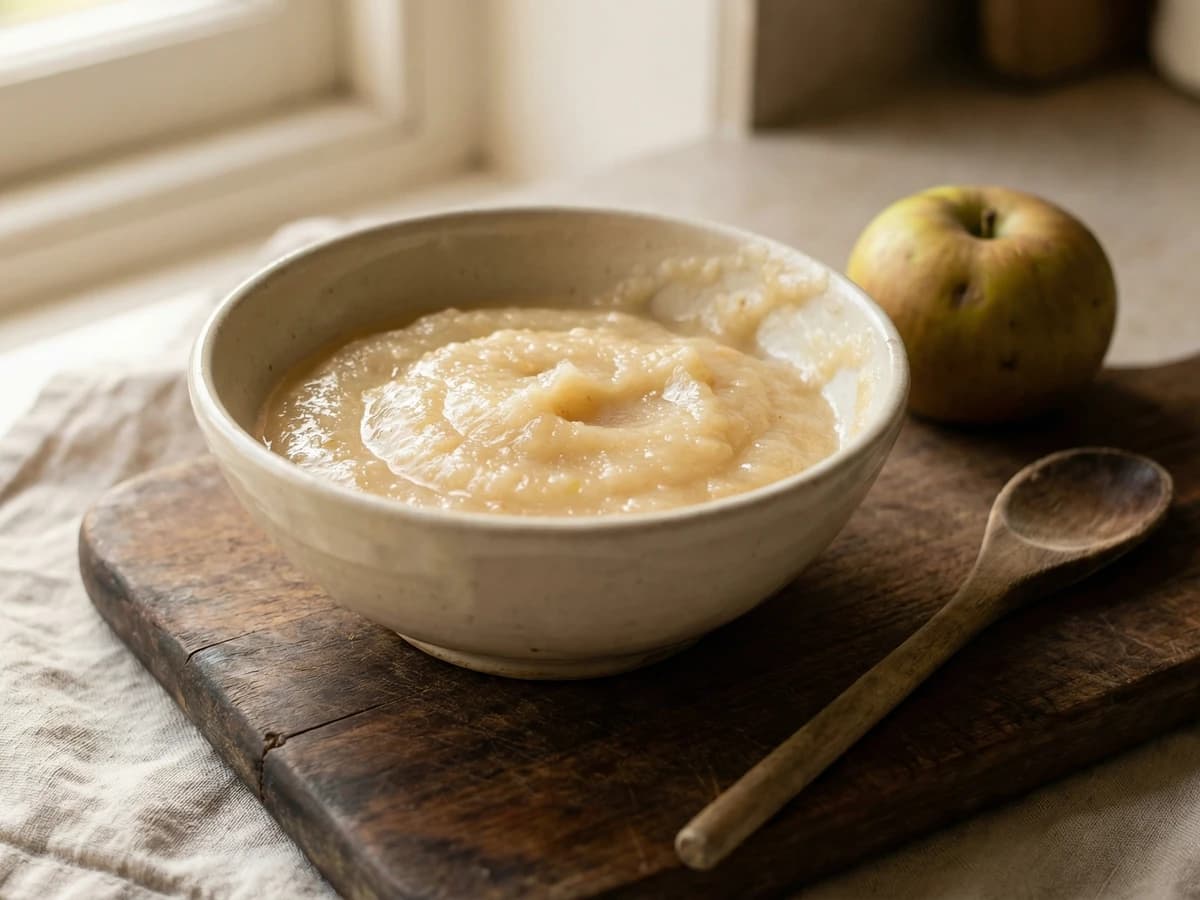
A bowl of sharp, fluffy Bramley apple sauce, made in the time it takes to carve the pork, the kind of small condiment that quietly makes the whole meal make sense.
Chef Thomas
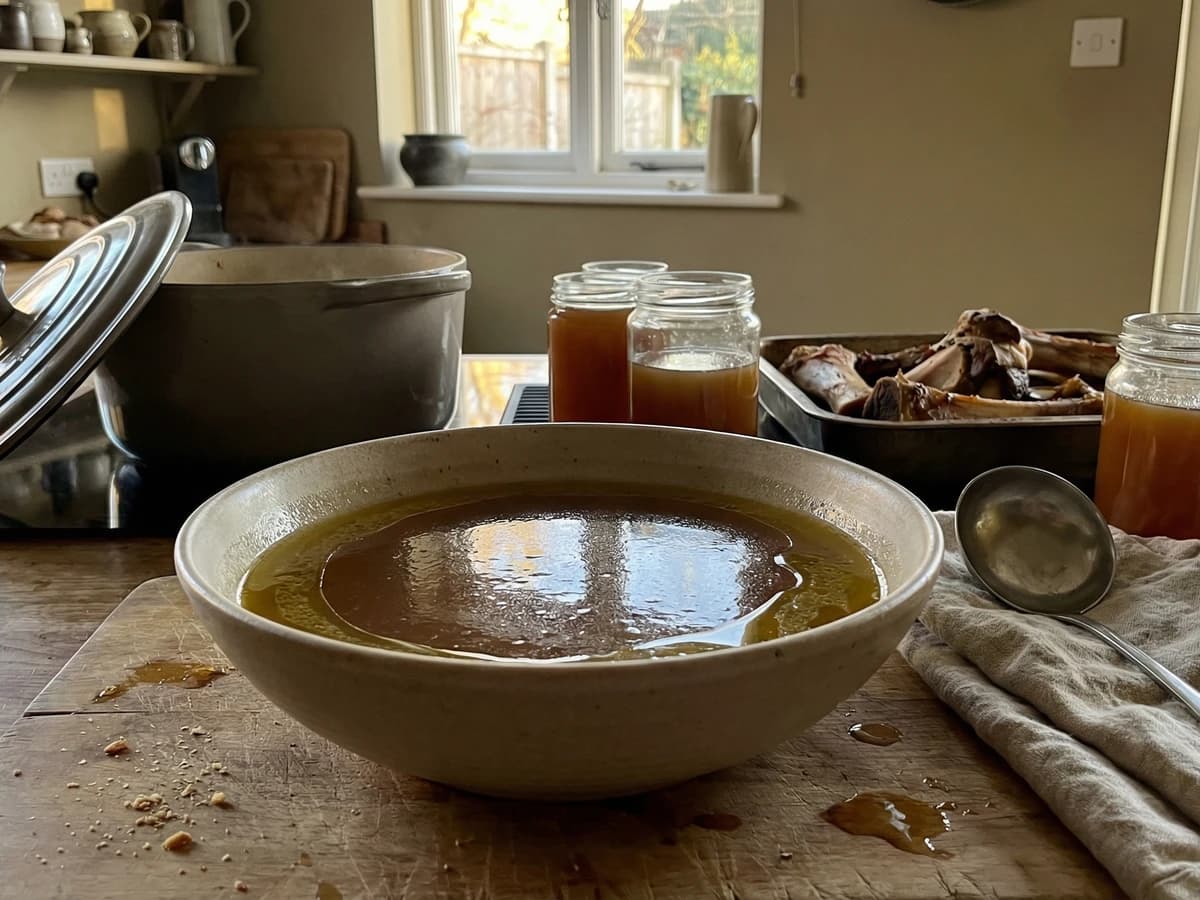
Beef bones roasted until dark, then coaxed for a long afternoon into a deep amber stock, the foundation of every good gravy, every braise, every bowl of winter soup worth the trouble.