Chef Dean
Dark Sourdough Rye
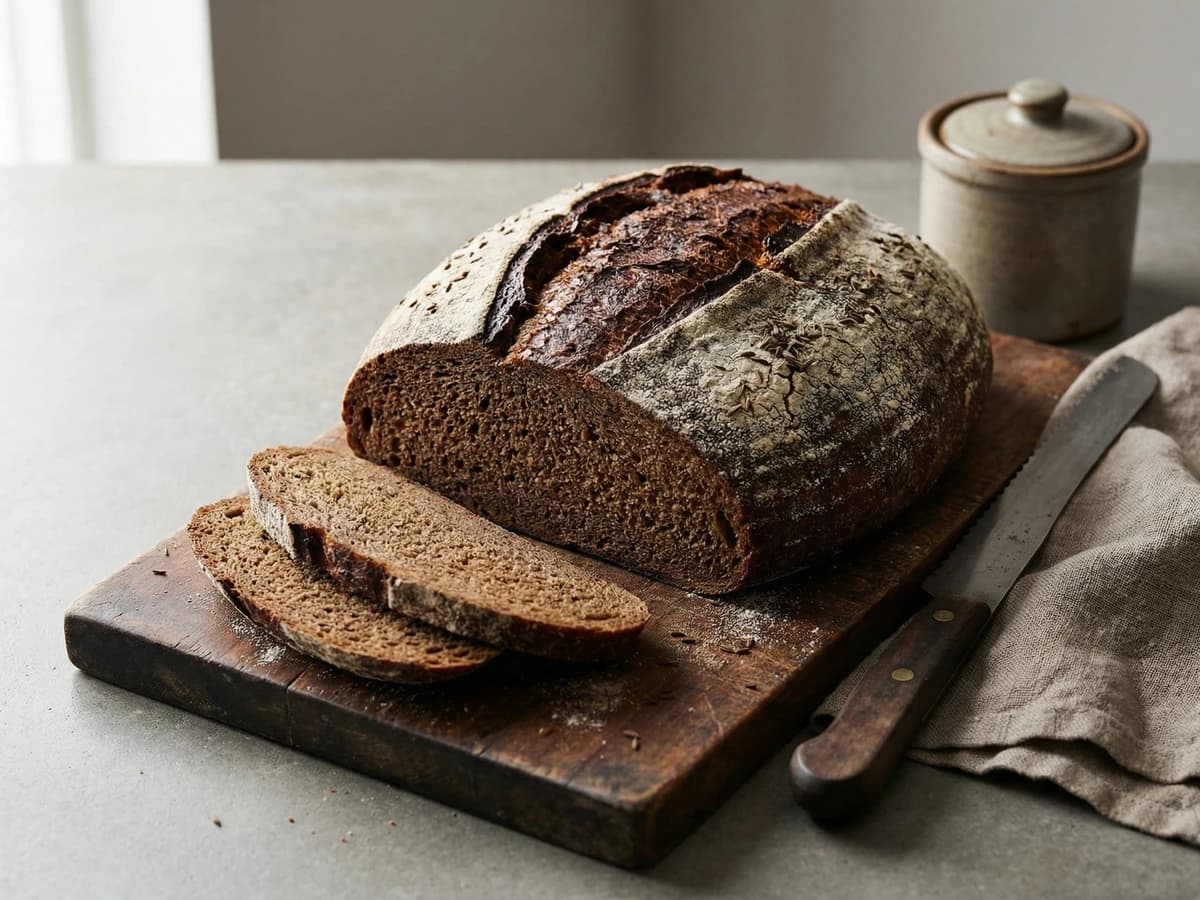
A dense, tangy loaf with an almost black crumb and crackling crust, built on centuries of Eastern European tradition and the patient alchemy of wild fermentation.
A cooking platform built around craft, culture, and the stories behind what we eat.
Created by
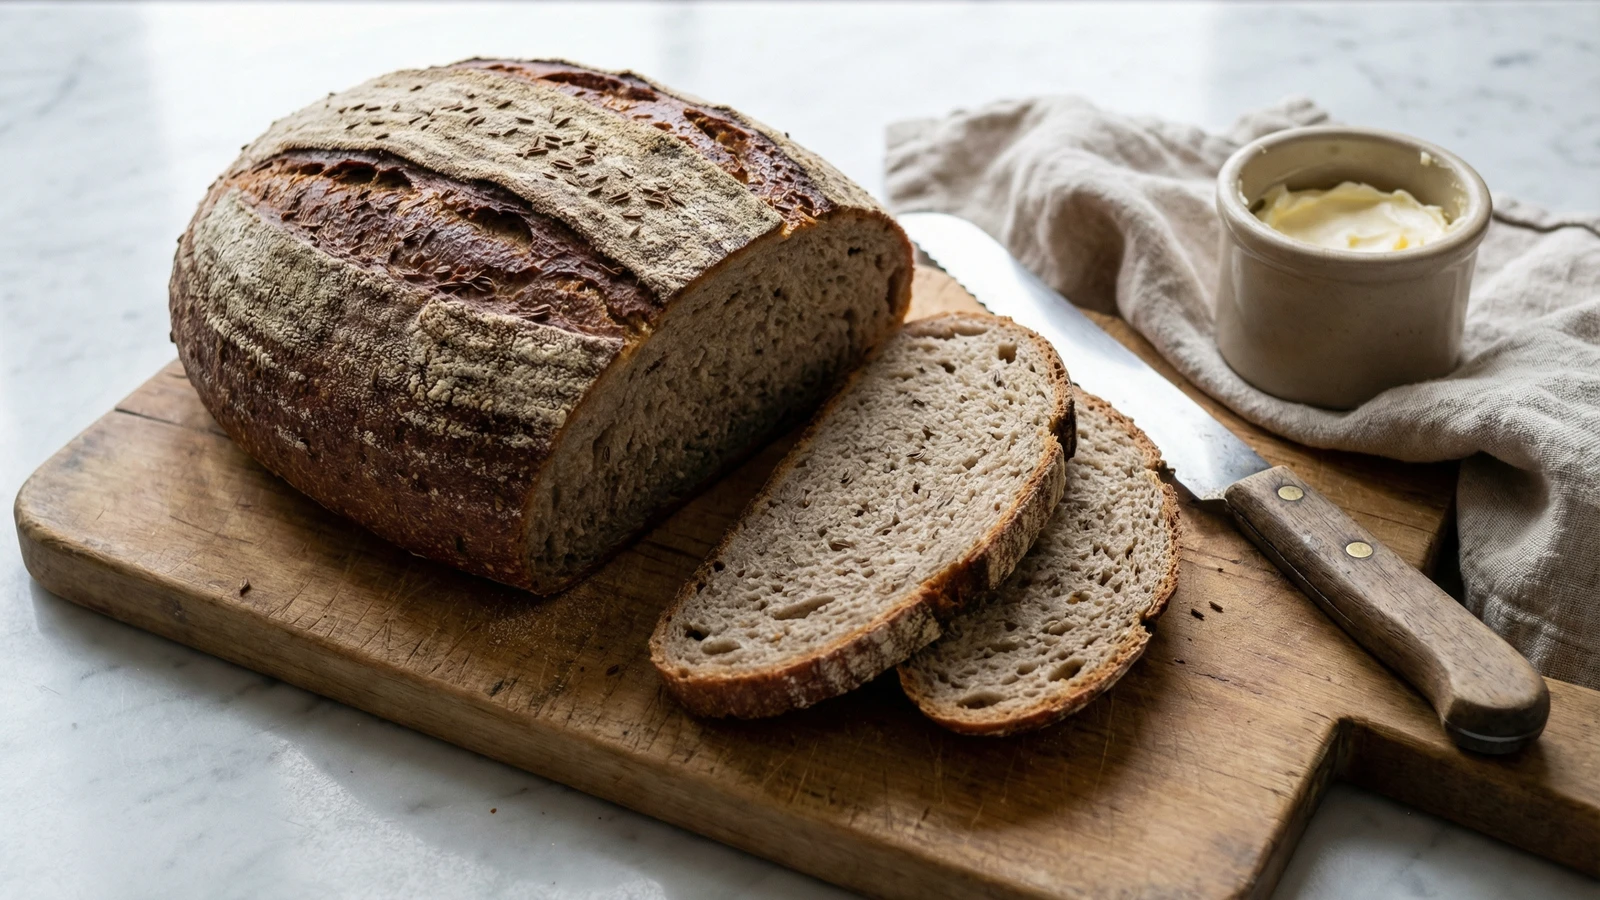
A thick-crusted, caraway-scented farmhouse loaf that marries rye's earthy depth with wheat's reliable structure. This is the bread that sustained German farming families for centuries, and it belongs on your table too.
Bauernbrot means farmer's bread, and that name tells you everything you need to know. This is not delicate bakery work. This is bread built for sustenance, designed to keep well, slice cleanly, and pair with everything from butter and jam to cured meats and sharp cheese. German farm kitchens relied on it. So can you.
The combination of rye and wheat flour creates something neither could achieve alone. Rye brings that distinctive earthy, slightly sour character and dense, moist crumb. Wheat provides the gluten structure that keeps the loaf from becoming a brick. The ratio here leans toward accessibility: enough rye for authentic flavor, enough wheat to forgive the small mistakes every home baker makes.
Caraway seeds are traditional, and I won't hear arguments against them. They transform the loaf, releasing their warm anise-like fragrance as the bread bakes and again each time you slice. If you've only encountered caraway in rye bread from a deli counter, you're in for a revelation. Fresh-toasted caraway blooms differently.
This recipe uses an overnight preferment to develop flavor without the commitment of maintaining a sourdough starter. You'll mix a simple sponge the night before, let time and wild yeast do their work, then finish the dough the next morning. The result tastes like bread that took days to make. It didn't. But your guests don't need to know that.
Quantity
150g (1 cup plus 2 tablespoons)
Quantity
150g (2/3 cup)
Quantity
1/4 teaspoon
Quantity
250g (2 cups)
Quantity
100g (3/4 cup)
Quantity
180g (3/4 cup)
Quantity
10g (2 teaspoons)
Quantity
1 tablespoon
Quantity
1 tablespoon
lightly toasted
Quantity
1 teaspoon
Quantity
1 tablespoon
Quantity
to taste
| Ingredient | Quantity |
|---|---|
| medium rye flour (preferment) | 150g (1 cup plus 2 tablespoons) |
| lukewarm water (preferment) | 150g (2/3 cup) |
| instant yeast (preferment) | 1/4 teaspoon |
| bread flour | 250g (2 cups) |
| medium rye flour (dough) | 100g (3/4 cup) |
| lukewarm water (dough) | 180g (3/4 cup) |
| fine sea salt | 10g (2 teaspoons) |
| molasses or dark malt syrup | 1 tablespoon |
| caraway seedslightly toasted | 1 tablespoon |
| instant yeast (dough) | 1 teaspoon |
| rye flour for dusting | 1 tablespoon |
| caraway seeds for topping (optional) | to taste |
The night before baking, combine 150g rye flour, 150g lukewarm water, and 1/4 teaspoon instant yeast in a medium bowl. Stir until no dry flour remains. The mixture will be thick and sticky, somewhere between pancake batter and modeling clay. Cover tightly with plastic wrap and leave at room temperature for 8 to 12 hours. By morning, it should have risen slightly, smell pleasantly tangy, and show small bubbles across the surface.
Place caraway seeds in a dry skillet over medium heat. Shake the pan frequently and watch closely. Within two to three minutes, the seeds will darken slightly and release their fragrance. The moment you smell them clearly, pull the pan from the heat. Burned caraway turns bitter and ruins everything it touches. Transfer to a plate to cool while you prepare the dough.
Add the bread flour, remaining 100g rye flour, 180g lukewarm water, salt, molasses, toasted caraway, and 1 teaspoon instant yeast to the bowl with your preferment. Stir with a wooden spoon or dough whisk until a shaggy mass forms. The dough will feel sticky and heavy compared to white bread dough. This is correct. Rye absorbs water differently than wheat, and the resulting tackiness is a feature, not a problem.
Turn the dough onto a lightly floured surface. Knead for 5 to 6 minutes by hand, adding small dustings of bread flour only when the dough becomes unworkable. You're not developing windowpane gluten here. Rye doesn't cooperate that way. Your goal is a cohesive, slightly tacky ball that holds its shape when you stop touching it. The dough should feel dense and alive, not slack or sticky enough to coat your hands.
Shape the dough into a rough ball and place it in a lightly oiled bowl, turning once to coat. Cover with plastic wrap or a damp kitchen towel. Let rise in a warm spot until increased by about 50 percent, roughly 1 to 1 1/2 hours. Don't expect the dramatic doubling you see with white bread. Rye doughs rise more modestly. Look for visible puffiness and a slightly domed top.
Turn the risen dough onto a floured surface. Press it gently into a rough rectangle, about 8 by 10 inches. Starting from one long side, roll it tightly into a log, pinching the seam as you go. Tuck the ends underneath. The shape should be an oval, about 9 inches long and 5 inches wide, with a tight surface tension. Transfer seam-side down to a parchment-lined baking sheet or a well-floured proofing basket if you own one.
Cover the shaped loaf loosely with oiled plastic wrap. Let rise until the dough springs back slowly when you press it with a floured finger, leaving a slight indentation. This takes 45 minutes to 1 hour. If the indentation fills back immediately, it needs more time. If it doesn't spring back at all, you've overproofed. Work quickly to reshape and try again.
Position a rack in the center of your oven and place a Dutch oven or covered roasting pan inside. Heat to 450 degrees Fahrenheit for at least 30 minutes. The vessel must be screaming hot. Meanwhile, dust the top of your loaf generously with rye flour and scatter additional caraway seeds if you like. Using a sharp blade or lame, score the top with three diagonal slashes, each about 1/4 inch deep. Cut decisively. Hesitation drags the dough.
Carefully transfer the loaf to the preheated Dutch oven, using the parchment as a sling. Cover immediately. The trapped steam creates the thick, crackling crust that defines proper Bauernbrot. Bake covered for 30 minutes. Resist the urge to check. Every peek releases steam you need.
Remove the lid and continue baking for 18 to 22 minutes. The crust should turn deep mahogany brown, darker than you might expect. Don't be timid. That dark crust is where the flavor lives. When done, the loaf sounds hollow when tapped on the bottom, and an instant-read thermometer inserted in the center reads 200 to 205 degrees Fahrenheit.
Transfer the loaf to a wire rack. Now comes the hardest part: waiting. This bread must cool for at least 2 hours before slicing. The interior continues to set as it cools. Cut too early and you'll find a gummy, underbaked center no matter how perfect your oven work was. The crust will crackle and sing as it cools. Listen to it. That's the sound of success.
1 serving (about 63g)
Culinary guides, cultural storytelling, and the editorial depth that makes cooking meaningful.
Discover Culinary ExplorerChef Dean
A dense, tangy loaf with an almost black crumb and crackling crust, built on centuries of Eastern European tradition and the patient alchemy of wild fermentation.

Chef Dean
A magnificent yeasted loaf studded with rum-soaked fruits and hiding a ribbon of marzipan at its heart, bathed in melted butter and blanketed in powdered sugar until it resembles a snow-covered mountain.

Chef Dean
Burnished, chewy knots with that unmistakable alkaline tang and deep mahogany color. The same technique Munich bakers have used for centuries, translated for your home oven.

Chef Juliette
Pâte à brioche ordinaire teaches enriched dough properly: wake the leaven, build strength before the last egg, then work in pliable butter by stages and let one long fermentation do its quiet work.