
Chef Jeong-sun
Agwi-jjim (Braised Monkfish with Bean Sprouts)
Firm monkfish buried under crisp soybean sprouts, minari, and a red gochugaru sauce thickened at the end; Masan's market dish asks for heat, timing, and a steady hand.
A cooking platform built around craft, culture, and the stories behind what we eat.

Created by
The quieter half of the chimaek table: double-fried chicken with a thin, hard crust, brushed in a soy-garlic glaze reduced just enough to shine and cling.
Ganjang-chikin lives or dies by the crust. Not the garlic, not the soy sauce, not how loudly the glaze shines. If the first fry cooks the chicken and the second fry hardens the shell, the sauce can touch it without making it tired. Skip that and you have good flavor on soft skin. That is not the dish.
This is modern Korean food, the kind eaten from a paper box with cold beer, radish pickles, and too many napkins on the table. I give it the same notebook treatment as a holiday soup because people gather around it just as seriously. The soy-garlic version is quieter than yangnyeom-chikin (sweet-spicy sauced fried chicken). It asks you to reduce soy sauce, garlic, and a little syrup until the glaze coats the spoon, then toss lightly so the chicken still tastes like chicken.
Do not drown it. Ganjang (soy sauce) brings salt, garlic brings heat, and syrup brings gloss; too much of any one of them makes the bowl flat. 손맛 is real. I still measure it, so it can be handed on. Tonight this dish asks for patience with oil temperature, restraint with sauce, and the discipline to fry in batches even when everyone is waiting.
Modern Korean fried chicken grew after the Korean War, then spread quickly in the 1970s as broiler chickens, cooking oil, and specialty chicken shops became more common; Lim's Chicken opened in Seoul in 1977, and Pelicana later helped define sauced yangnyeom-chikin. Soy-garlic ganjang-chikin became strongly associated with the 1990s chicken-chain boom, especially Kyochon, founded in Gumi in 1991, which popularized a thin soy-garlic glaze brushed over very crisp fried pieces. The chimaek habit, chicken with beer, became a national shorthand in the 2000s, but the table still depends on the same thing: crisp chicken, pickled radish, and sauce used with restraint.
Quantity
1.2kg
separated into drumettes and flats, tips removed
Quantity
1 teaspoon
Quantity
1/2 teaspoon
freshly ground
Quantity
2 tablespoons
Quantity
1 tablespoon
grated
Quantity
1 teaspoon
grated
Quantity
1 cup
Quantity
1/4 cup
Quantity
1 teaspoon
Quantity
1 large
Quantity
2 tablespoons, plus more if needed
Quantity
1.5 to 2 liters
rice bran, canola, or grapeseed
Quantity
1/3 cup
Quantity
3 tablespoons
Quantity
2 tablespoons
Quantity
2 tablespoons
Quantity
2 tablespoons
Quantity
6 large cloves
finely minced
Quantity
1 teaspoon
finely grated
Quantity
1 tablespoon
Quantity
1 teaspoon
Quantity
1/2 teaspoon
Quantity
1 tablespoon
Quantity
2
thinly sliced on the diagonal
Quantity
to serve
Quantity
to serve
| Ingredient | Quantity |
|---|---|
| chicken wingsseparated into drumettes and flats, tips removed | 1.2kg |
| fine sea salt | 1 teaspoon |
| black pepperfreshly ground | 1/2 teaspoon |
| soju, mirin, or rice wine | 2 tablespoons |
| garlicgrated | 1 tablespoon |
| gingergrated | 1 teaspoon |
| potato starch | 1 cup |
| all-purpose flour | 1/4 cup |
| baking powder | 1 teaspoon |
| egg white | 1 large |
| cold water | 2 tablespoons, plus more if needed |
| neutral frying oilrice bran, canola, or grapeseed | 1.5 to 2 liters |
| soy sauce | 1/3 cup |
| corn syrup or rice syrup | 3 tablespoons |
| brown sugar | 2 tablespoons |
| mirin | 2 tablespoons |
| water | 2 tablespoons |
| garlicfinely minced | 6 large cloves |
| gingerfinely grated | 1 teaspoon |
| rice vinegar | 1 tablespoon |
| toasted sesame oil | 1 teaspoon |
| gochugaru (optional) | 1/2 teaspoon |
| toasted sesame seeds | 1 tablespoon |
| scallionsthinly sliced on the diagonal | 2 |
| chicken-mu (Korean pickled radish) (optional) | to serve |
| cold beer (optional) | to serve |
Pat the chicken very dry, then toss it with the salt, pepper, soju, grated garlic, and grated ginger. Let it stand 20 minutes at room temperature. The short seasoning time is enough for wings; longer makes the skin wet again, and wet skin fights the crust.
Stir the potato starch, flour, and baking powder together in a wide bowl. Add the egg white and 2 tablespoons cold water, then rub and toss until the mixture forms small dry clumps. It should look uneven, not like smooth batter. Those little clumps fry into the rough, crisp surface that holds a thin glaze.
Add the chicken to the starch mixture and press the coating firmly onto every piece, especially around the joints. Shake off loose powder, then rest the coated chicken on a rack for 10 minutes. This rest hydrates the starch just enough so it grips the skin instead of falling into the oil.
In a small saucepan, combine the soy sauce, syrup, brown sugar, mirin, water, minced garlic, grated ginger, rice vinegar, sesame oil, and gochugaru if using. Bring to a simmer over medium heat and cook 4 to 6 minutes, until the bubbles look glossy and the sauce lightly coats a spoon. Stop there. If you reduce it until it is thick in the pan, it will turn salty and sticky on the chicken.
Heat the oil in a heavy pot to 160°C. Fry the chicken in batches, 6 to 7 minutes for flats and 7 to 8 minutes for drumettes, until pale golden and cooked through. Keep the oil between 150°C and 165°C. This first fry cooks the meat; chasing dark color now only dries it out.
Lift the chicken to a rack and rest it 10 minutes while the oil climbs to 190°C. The rest is not idleness. Moisture moves outward from the meat, and the second fry drives it off so the crust hardens.
Fry the chicken a second time in batches at 185°C to 190°C for 2 to 3 minutes, until the crust is deep golden, dry-looking, and hard when tapped with tongs. Drain on a rack, not paper towels, because trapped moisture softens the underside.
Warm the glaze if it has thickened, then put the fried chicken in a large bowl and drizzle over about two-thirds of the glaze. Toss quickly with a wide spoon or brush it on piece by piece. Add more only if the chicken still looks bare. The goal is shine and cling, not a puddle at the bottom.
Scatter toasted sesame seeds and sliced scallions over the chicken. Serve at once with chicken-mu and cold beer if that is your table tonight. Eat while the glaze is glossy and the crust still talks under your teeth.
1 serving (about 350g)
Culinary guides, cultural storytelling, and the editorial depth that makes cooking meaningful.
Discover Culinary ExplorerChef Jeong-sun
Firm monkfish buried under crisp soybean sprouts, minari, and a red gochugaru sauce thickened at the end; Masan's market dish asks for heat, timing, and a steady hand.

Chef Jeong-sun
A quick Korean rice bowl built on contrast: warm rice, cold popping flying-fish roe, chopped vegetables, gim, sesame oil, and the crisp rice bottom a hot stone bowl gives you.
Chef Jeong-sun
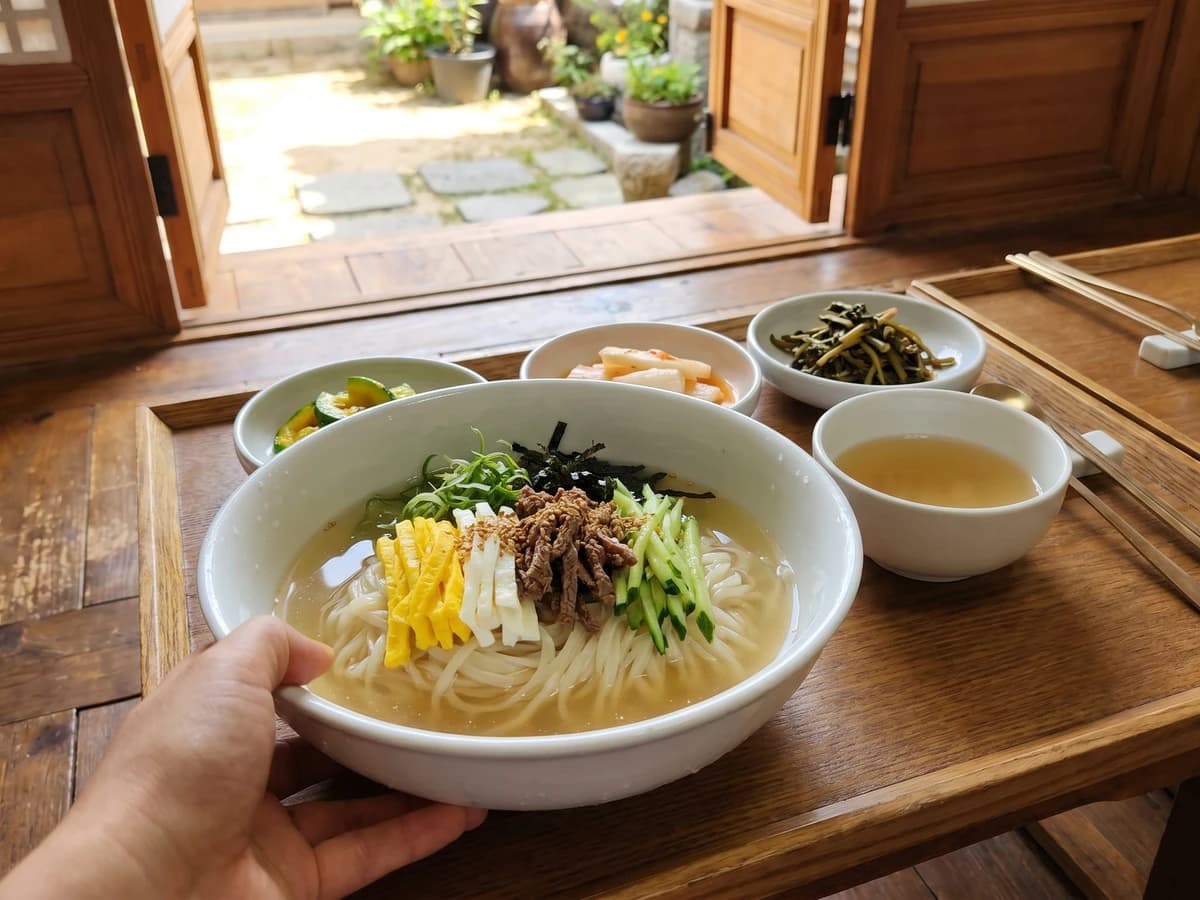
Andong's guest noodles, wheat and roasted soybean flour rolled thin, boiled and rinsed cold, then set in a clear chilled anchovy broth with careful strips of beef, egg, and cucumber.

Chef Jeong-sun
Andong's ritual-table rice served on an ordinary day: separate soy-sesame namul, warm rice, and clear radish soup, mixed without gochujang so every vegetable keeps its own voice.