
Chef Freja
Andelår med Rødkål
Slow-roasted duck legs with crisp, deeply golden skin, served with braised red cabbage and caramelized potatoes. The weeknight Danish duck that proves the best part of the bird is the one that takes its time.
A cooking platform built around craft, culture, and the stories behind what we eat.
Created by Chef Freja
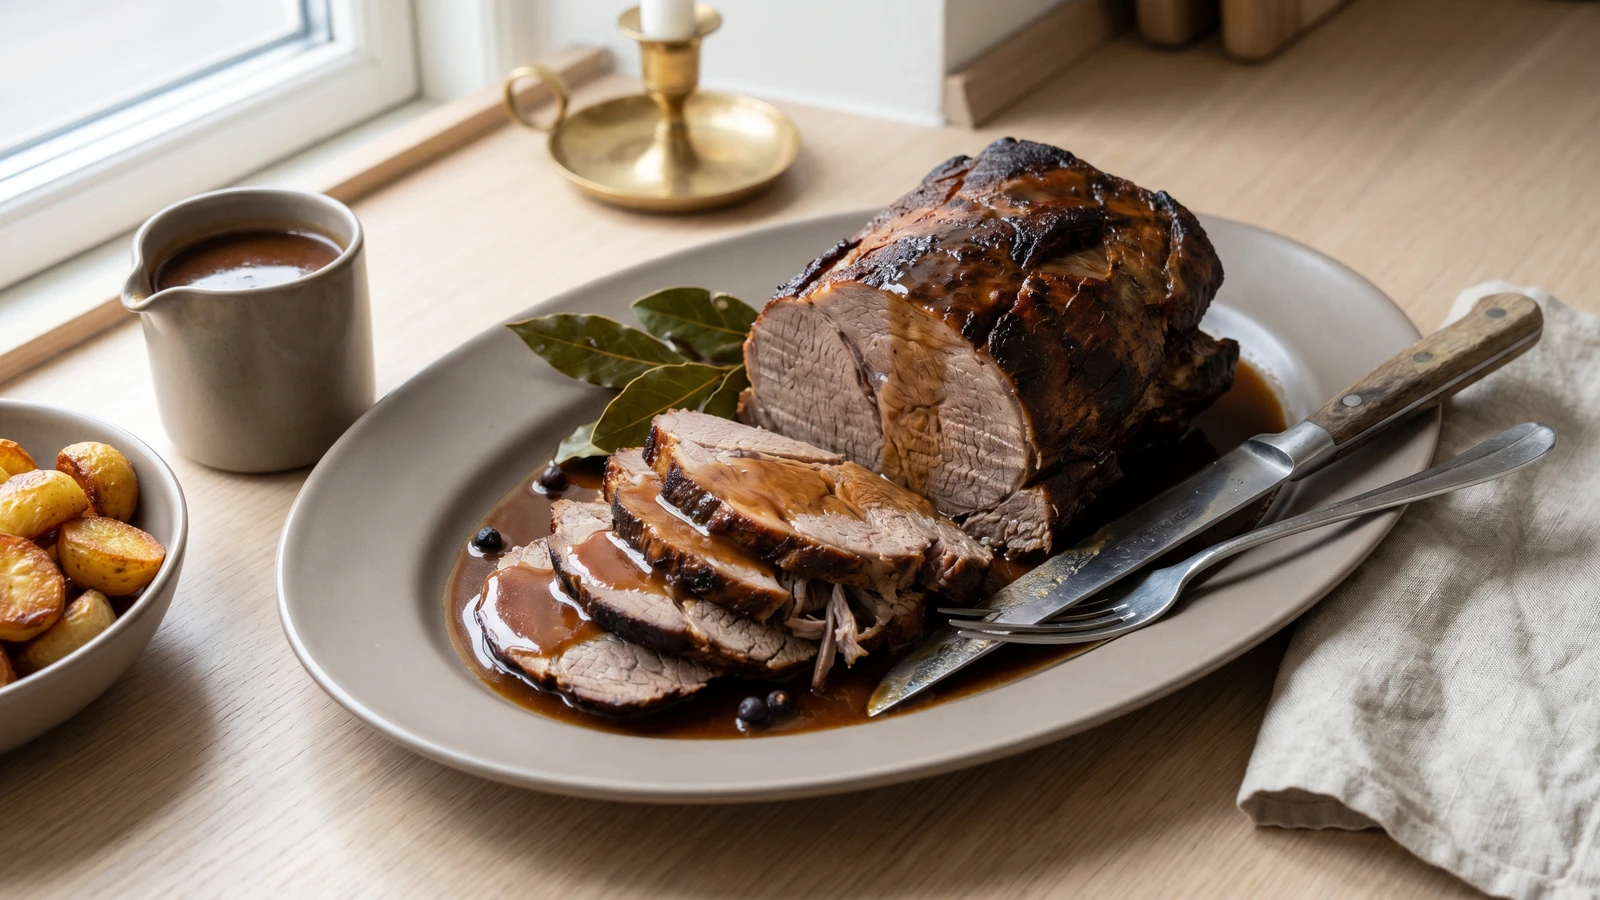
The old-fashioned Danish pot roast, browned deep in butter and braised for hours with juniper berries and bay. The sauce darkens with cream and madkulør. The house fills with the smell of Sunday.
Sunday in Denmark has a smell. It begins in the morning when the beef goes into the pot, and by the time the table is set the whole house carries it: browned butter, bay leaves, the deep warmth of something that has been cooking slowly for hours. Gammeldags oksesteg is that smell made solid.
The name means old-fashioned beef roast, and that's exactly what it is. A heavy piece of chuck, browned until the surface is nearly black with caramelization, then braised low and slow in good stock with juniper berries, bay leaves, and whole peppercorns until the connective tissue surrenders and the meat gives way to a spoon. The braising does what no amount of quick cooking ever can. It turns a tough, working cut into something tender and deeply flavored, and the liquid it cooks in becomes the foundation of the brun sovs you'll serve alongside.
Pay attention to two things. First, the browning. Don't rush it. The color you build on the surface of the beef before it goes into the oven is where most of the flavor in the finished sauce will come from. Every dark patch on that meat is flavor waiting to dissolve into the stock. Second, the madkulør. It's a distinctly Danish ingredient, caramelized sugar used as a kitchen browning, and it gives the sauce that deep mahogany color that tells everyone at the table this was cooked with love. A teaspoon or two is enough. You'll know when it's right.
This is a patient dish, not a difficult one. The oven does the work. Your job is to brown the beef well, build the aromatics honestly, and then leave it alone until it's ready. Serve it with brunede kartofler and rødkål and you have a Sunday dinner that carries the weight of the whole Danish tradition of gathering at the table. Tak for mad.
Gammeldags oksesteg belongs to the tradition of Danish farmhouse braising, where tougher cuts of beef were cooked slowly in heavy iron pots to make them tender enough for the Sunday middag, the main meal of the day. The dish became a household standard during the 19th century as improved cattle farming across Jutland and the islands made beef more widely available to ordinary families. Madkulør, the caramelized sugar browning that darkens the sauce, has been a staple of Danish kitchens since at least the 1800s, and its quiet presence in brun sovs is one of the small details that sets Danish gravy apart from its French or English cousins.
Quantity
1.5 kg, in one piece
tied with kitchen string if uneven
Quantity
to taste
Quantity
freshly ground, to taste
Quantity
30g
Quantity
1 tablespoon
Quantity
2 medium
quartered
Quantity
2 medium
peeled, cut into large chunks
Quantity
150g
peeled, cut into rough chunks
Quantity
3
Quantity
8
cold-cracked with the flat of a knife
Quantity
8
Quantity
2 sprigs
Quantity
500ml
preferably homemade
Quantity
2 tablespoons
Quantity
200ml
Quantity
1-2 teaspoons
Quantity
1 teaspoon
| Ingredient | Quantity |
|---|---|
| beef chuck roasttied with kitchen string if uneven | 1.5 kg, in one piece |
| fine sea salt | to taste |
| black pepper | freshly ground, to taste |
| unsalted butter | 30g |
| neutral oil | 1 tablespoon |
| onionsquartered | 2 medium |
| carrotspeeled, cut into large chunks | 2 medium |
| celeriacpeeled, cut into rough chunks | 150g |
| bay leaves | 3 |
| juniper berriescold-cracked with the flat of a knife | 8 |
| whole black peppercorns | 8 |
| fresh thyme | 2 sprigs |
| beef stockpreferably homemade | 500ml |
| plain flour | 2 tablespoons |
| heavy cream | 200ml |
| madkulør (Danish browning) | 1-2 teaspoons |
| redcurrant jelly (optional) | 1 teaspoon |
Take the beef out of the fridge a full hour before you start. Cold meat resists browning because the pan's energy goes into warming the surface instead of caramelizing it. While it comes to room temperature, pat it completely dry with kitchen paper and season it generously on all sides with fine sea salt and freshly ground black pepper. Be generous. This is a large piece of meat and a timid hand with salt will leave the center bland. Press the seasoning into the surface so it holds.
Heat the butter and oil together in a heavy Dutch oven or braising pot over high heat. Butter alone burns before the beef is ready. Oil alone gives you heat but no flavor. Together they give you the temperature you need and the nutty richness you want. When the butter foams and the foam begins to subside, lay the beef in the pot. Now leave it alone. Don't move it, don't peek, don't lift and check. Give it a full three to four minutes per side until you have a deep, dark, nearly black crust on every surface. This is not optional. This is where the sauce's flavor is being built, one side at a time.
Lift the browned beef onto a plate. Lower the heat to medium. Add the quartered onions, carrots, and celeriac to the pot and stir them through the rendered fat. Let them cook for five to six minutes, turning occasionally, until the onion edges have taken on color and the vegetables have begun to soften. The celeriac adds an earthy sweetness that deepens the sauce without announcing itself. Now add the bay leaves, the cold-cracked juniper berries, the peppercorns, and the thyme sprigs. Stir everything once so the aromatics meet the heat.
Heat your oven to 150°C. Return the beef to the pot, nestling it on top of the vegetables. Pour in the stock. It should come about halfway up the side of the meat, not covering it. If the beef is submerged you're boiling it, not braising it, and the texture will go wrong. Bring the liquid to a gentle simmer on the stovetop, then put the lid on tightly and transfer the pot to the oven.
Let the beef braise undisturbed for two and a half to three hours. After ninety minutes, open the oven and turn the meat over so the side that was above the liquid now sits below it. This ensures even cooking. Close the lid and leave it for the remaining time. The beef is ready when a fork slides into the thickest part and pulls out with no resistance at all. The meat should feel like it's thinking about falling apart but hasn't quite done it. If there is any tug or firmness, give it another twenty minutes and check again.
Lift the beef out of the pot and set it on a warm platter or board. Cover it loosely with foil and let it rest for at least twenty minutes. Resting is not a suggestion. The fibers, which have been under pressure from the heat for hours, need time to relax and reabsorb their juices. If you carve immediately, all that liquid runs out onto the board instead of staying in the meat where it belongs. While the beef rests, you build the sauce.
Pour the braising liquid through a fine-mesh sieve into a clean saucepan, pressing the softened vegetables gently with a spoon to extract their flavor. Discard the solids. They have given everything they have. Set the saucepan over medium heat and bring the liquid to a simmer. In a small bowl, mix the flour with a few tablespoons of the hot liquid until smooth, then whisk this paste back into the saucepan. Cook for three minutes, stirring constantly, until the sauce thickens. Now pour in the cream and stir. Add the madkulør a teaspoon at a time, watching the color shift from pale brown to deep mahogany. Taste. Season with salt and pepper. If the sauce needs a touch of sweetness to balance the juniper, stir in the redcurrant jelly. The sauce should be glossy, rich, and the color of old wood.
Remove the kitchen string from the beef. Carve it into thick slices against the grain. If you cut with the grain the meat shreds into strings. Against the grain, each slice holds together and melts on the tongue. Arrange the slices on a warm serving platter, slightly overlapping, and pour a generous ribbon of the brun sovs over and around them. Bring the rest to the table in a warm jug. This is a dish that belongs at the center of the table with brunede kartofler and rødkål alongside, the kind of Sunday dinner where everyone reaches in and the conversation goes quiet for a moment while the first bite lands. That silence is how you know.
1 serving (about 350g)
Culinary guides, cultural storytelling, and the editorial depth that makes cooking meaningful.
Discover Culinary ExplorerChef Freja
Slow-roasted duck legs with crisp, deeply golden skin, served with braised red cabbage and caramelized potatoes. The weeknight Danish duck that proves the best part of the bird is the one that takes its time.

Chef Freja
The whole roasted duck of juleaften, stuffed with tart apples and dark prunes, slow-roasted for four patient hours until the skin crackles like something earned and the meat underneath gives way without resistance.
Chef Freja
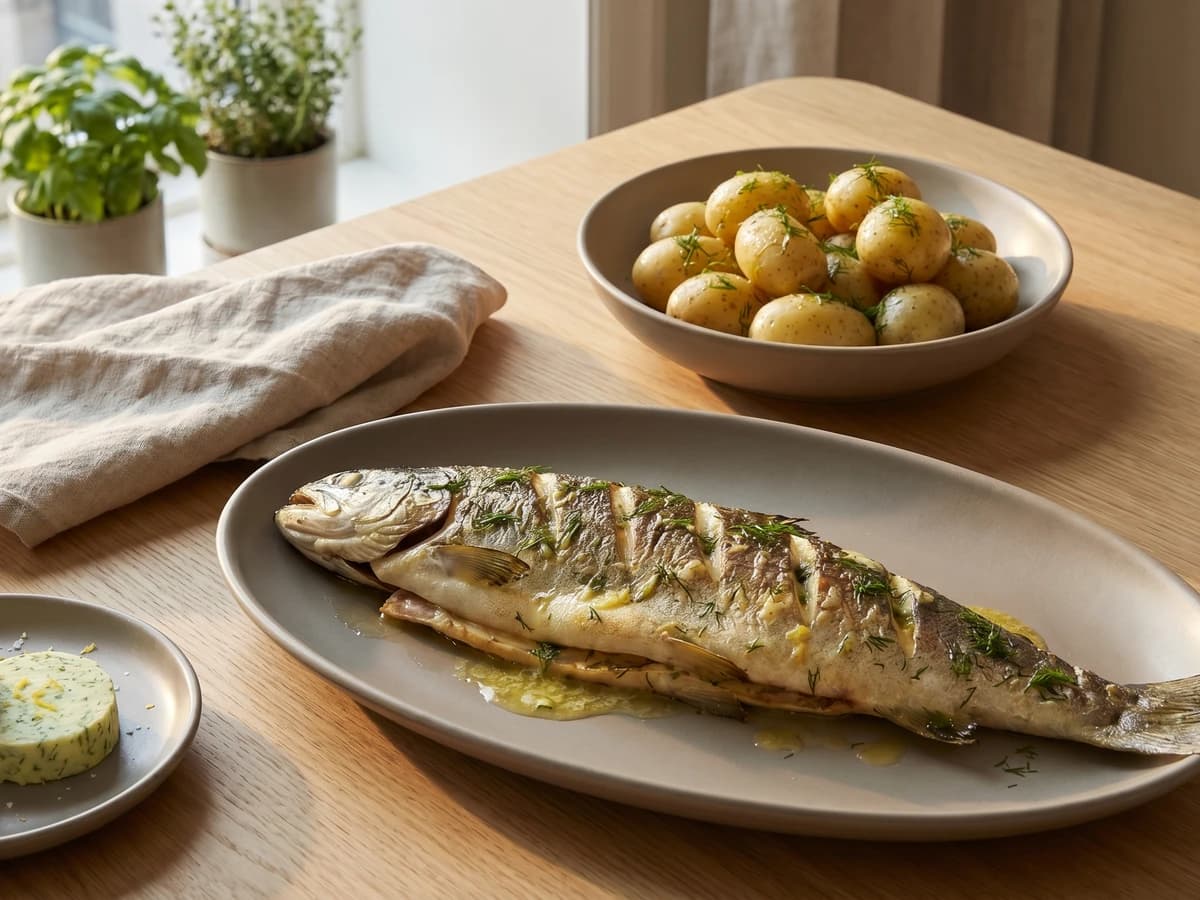
Whole sea trout baked with butter, lemon, and armfuls of dill, served beside the first nye kartofler of the season and a melting slab of dildsmor. The Danish summer table at its most generous.
Chef Freja
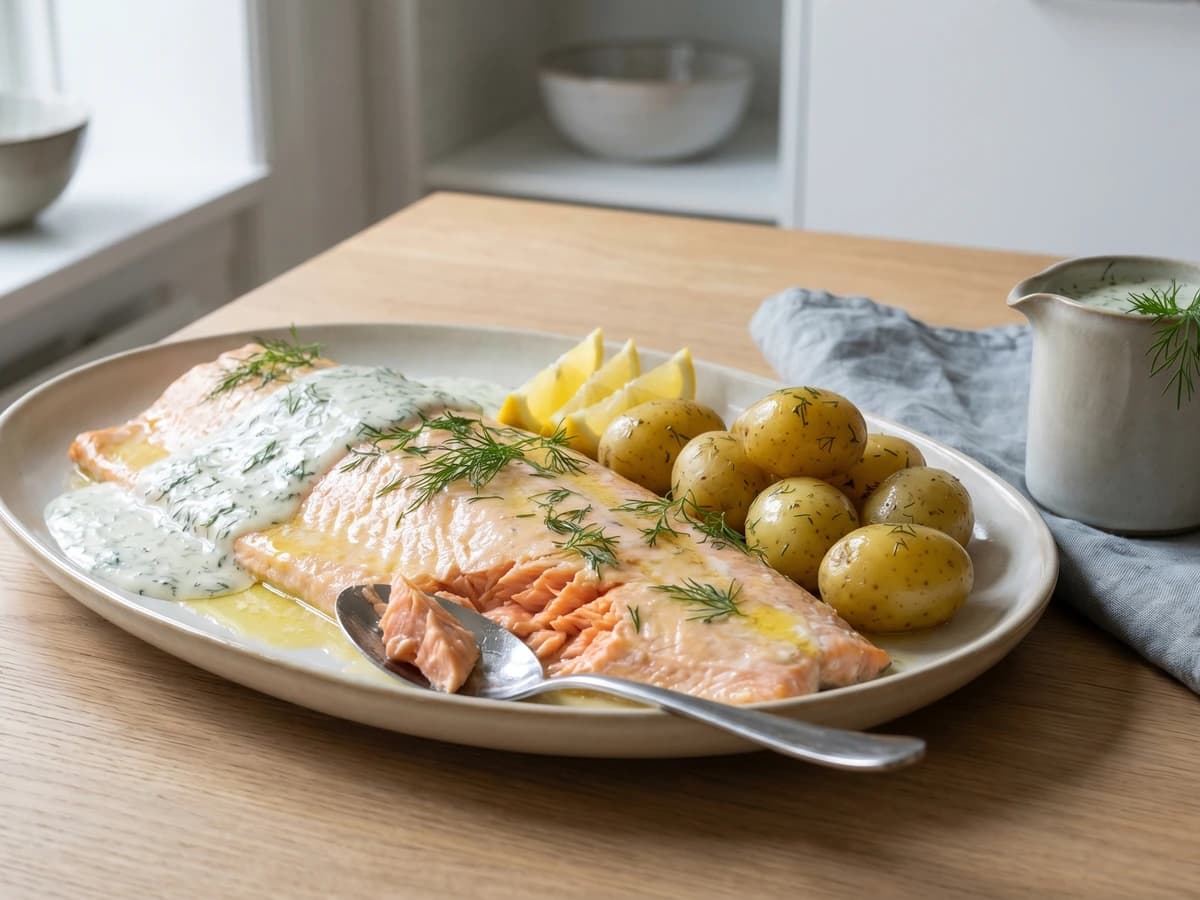
A side of salmon baked gently in butter and white wine, served warm with a bright dill cream sauce and the season's first nye kartofler. Late spring on a Danish table, cooked with love.