Chef Graziella
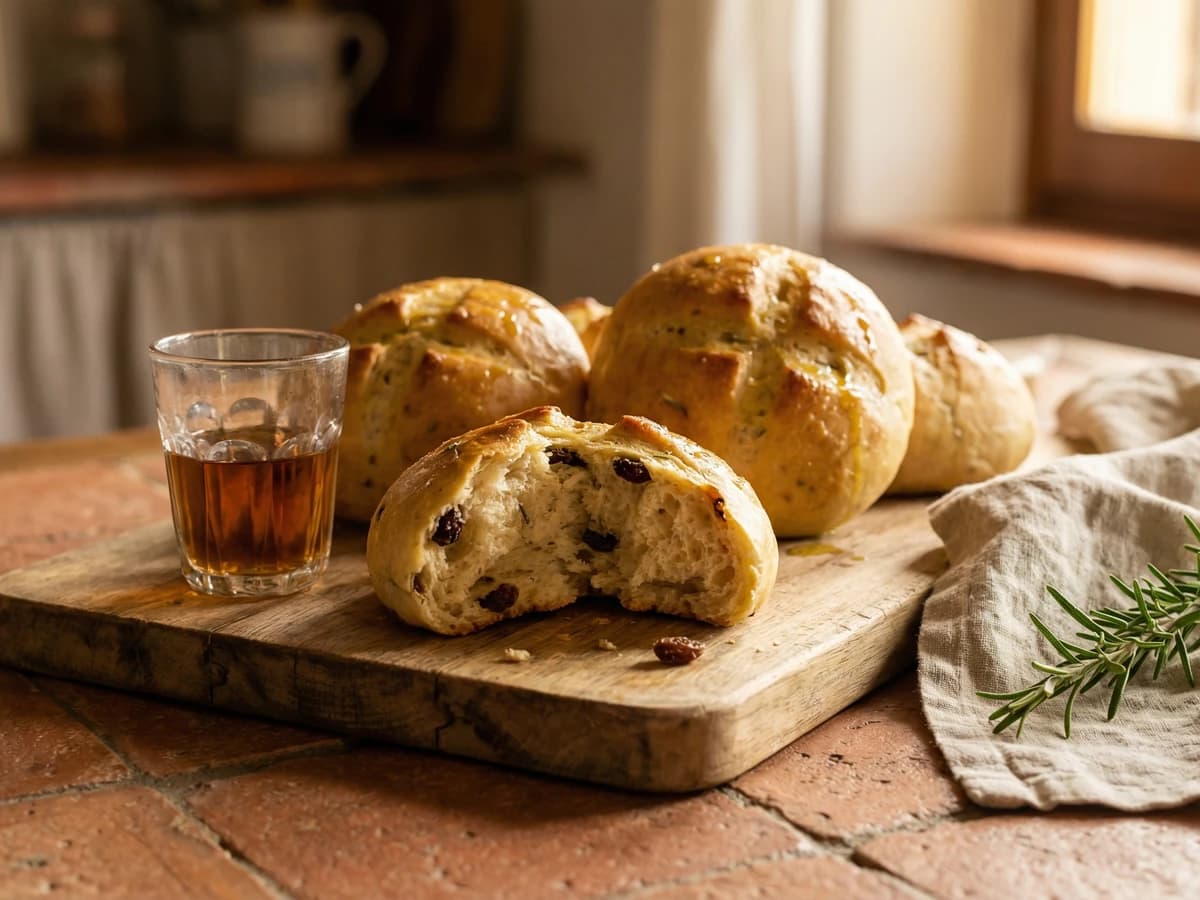
Pan di Ramerino
The rosemary bread of Florence, studded with raisins plumped in vin santo, baked in homes across Tuscany on Holy Thursday as they have been for centuries.
A cooking platform built around craft, culture, and the stories behind what we eat.
Created by
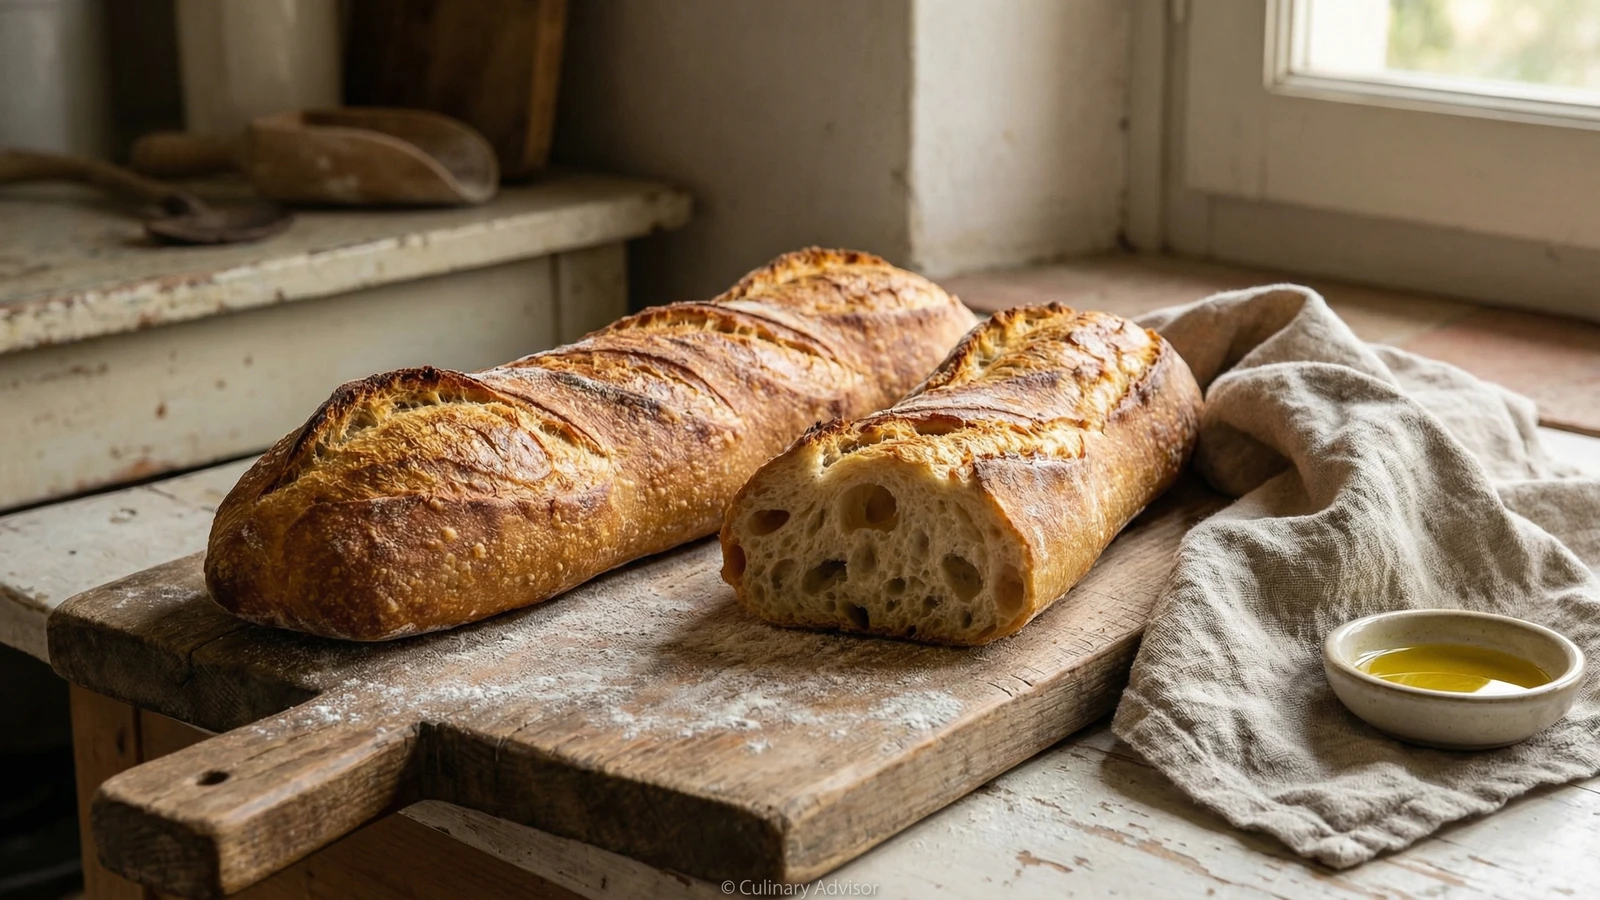
The saltless long loaf of Tuscany, shaped to maximize crust and designed to accompany the salty prosciutto, finocchiona, and pecorino that define the region's table.
Tuscan bread contains no salt. This shocks Americans, who assume it must be a mistake or an oversight. It is neither. What you keep out is as significant as what you put in, and Tuscans understood this centuries before anyone thought to write it down.
The absence of salt serves a purpose. Tuscan cured meats are intensely flavored: prosciutto toscano saltier than its Parma cousin, finocchiona rich with fennel and pork fat, lardo cured to translucent perfection. The bread is meant to receive these flavors, not compete with them. It is the canvas, not the painting.
The filone shape, long and tapered at both ends, creates maximum surface area for crust. Tuscans prize the crust above the crumb. They want something to tear with their hands, something that shatters when you bite through it, something that can be grilled over embers and rubbed with raw garlic for fettunta, the original bruschetta.
Pane toscano has been saltless since at least the 12th century, when Pisa blockaded salt shipments to rival Florence and bakers adapted out of necessity. The tradition persisted long after the conflict ended, proving that what begins as hardship can become identity. Dante himself referenced the bitterness of eating another city's salted bread in the Paradiso.
Quantity
500g
12-13% protein content
Quantity
350g
at room temperature
Quantity
10g
Quantity
10g
| Ingredient | Quantity |
|---|---|
| bread flour12-13% protein content | 500g |
| waterat room temperature | 350g |
| fresh yeast | 10g |
| extra virgin olive oil | 10g |
Dissolve the yeast in the room temperature water. Let it sit for five minutes until slightly cloudy. Add the flour and mix until no dry flour remains. The dough will be shaggy and rough. This is correct. Cover the bowl and let it rest for 30 minutes. This rest period, the autolyse, allows the flour to hydrate fully and begins gluten development without kneading.
Add the olive oil to the rested dough. Knead in the bowl or on an unfloured surface for 8 to 10 minutes. The dough should become smooth, elastic, and slightly tacky but not sticky. When you stretch a small piece between your fingers, it should form a thin, translucent membrane without tearing. If it tears immediately, continue kneading.
Place the dough in a lightly oiled bowl, turning once to coat. Cover tightly with plastic wrap. Let rise at room temperature until doubled in volume, 2 to 3 hours depending on the warmth of your kitchen. Alternatively, refrigerate overnight for 8 to 12 hours. Cold fermentation develops superior flavor.
Turn the risen dough onto a lightly floured surface. Divide it in half. Working with one piece at a time, pat it gently into a rough rectangle. Fold the top third down and the bottom third up, like a letter. Turn it 90 degrees and repeat. Now roll the dough into a cylinder approximately 35 centimeters long, tapering the ends by applying more pressure at the edges. The shape should resemble a torpedo, thicker in the center, pointed at the tips.
Place the shaped loaves on a parchment-lined baking sheet, seam side down, leaving space between them. Cover loosely with a clean kitchen towel. Let rise until puffy and nearly doubled, 45 minutes to 1 hour. The dough should spring back slowly when pressed with a floured finger. If it springs back immediately, it needs more time. If the indentation remains, you have waited too long.
Place a baking stone or inverted baking sheet on the middle rack. Place an empty metal pan on the bottom rack. Heat the oven to 230°C (450°F) for at least 30 minutes before baking. The stone must be thoroughly heated, or the bottom crust will not develop properly.
Using a sharp blade or razor, make three diagonal slashes across the top of each loaf, cutting about 1 centimeter deep. Work quickly and confidently. Hesitation creates ragged cuts. Transfer the loaves to the hot stone. Immediately pour one cup of hot water into the metal pan below and close the oven door. The steam creates the characteristic crisp, blistered crust.
Bake for 15 minutes with steam. Remove the water pan, reduce temperature to 200°C (400°F), and continue baking until the crust is deeply golden brown and the loaves sound hollow when tapped on the bottom, 20 to 25 minutes more. The internal temperature should reach 95°C (205°F). Cool completely on a wire rack before slicing. The crust will soften if you cut into it too soon.
1 serving (about 105g)
Culinary guides, cultural storytelling, and the editorial depth that makes cooking meaningful.
Discover Culinary ExplorerChef Graziella
The rosemary bread of Florence, studded with raisins plumped in vin santo, baked in homes across Tuscany on Holy Thursday as they have been for centuries.
Chef Graziella
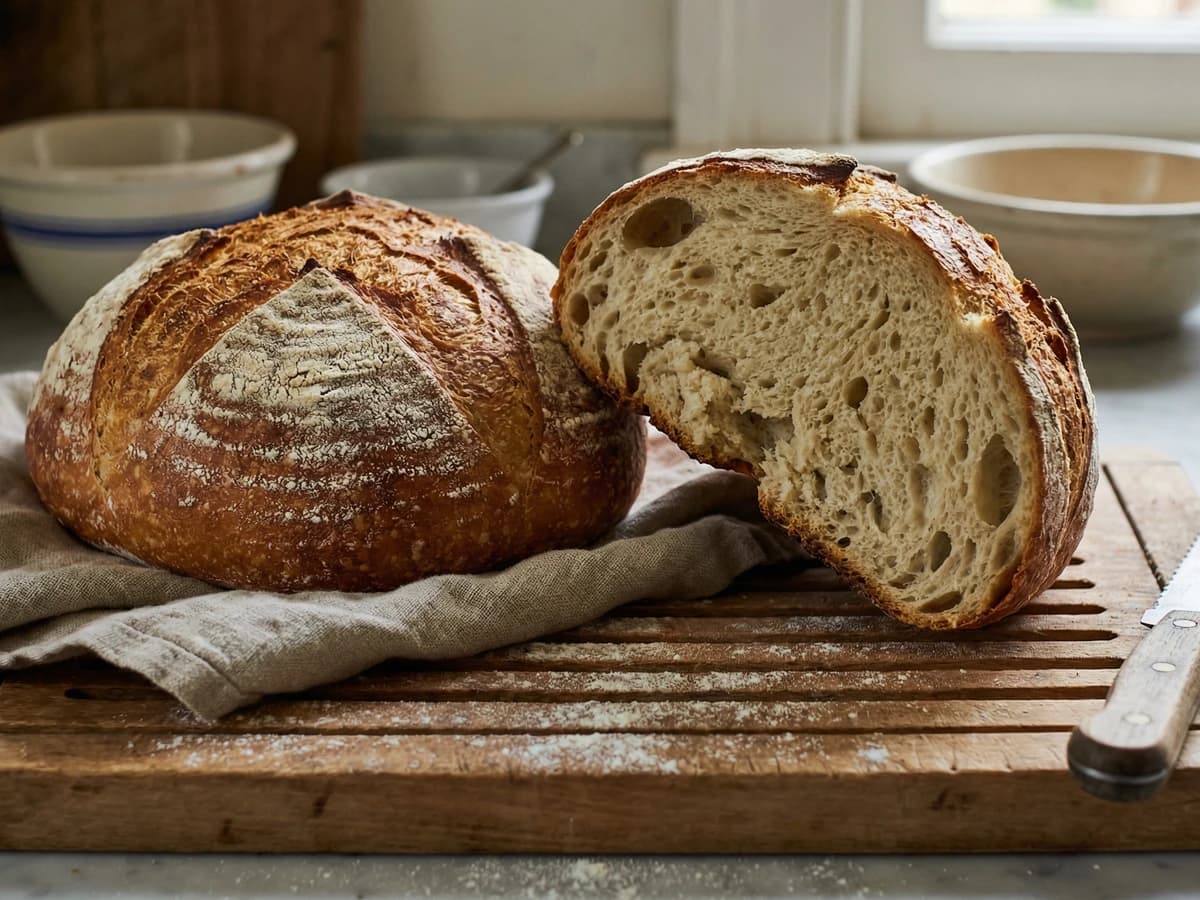
The saltless bread of Tuscany, made as it has been for centuries. What seems like an absence is actually the point: this bread exists to balance the salty abundance of the Tuscan table.

Chef Juliette
Pâte à brioche ordinaire teaches enriched dough properly: wake the leaven, build strength before the last egg, then work in pliable butter by stages and let one long fermentation do its quiet work.

Chef Juliette
Ordinary brioche takes one exact measure of butter and a patient rise in the mould, becoming so light and silken that it can cradle fruit without losing its tender crumb.