
Chef Dean
Amish White Bread
Pillowy soft sandwich bread from Pennsylvania Dutch kitchens, where generations of home bakers perfected the art of tender, slightly sweet loaves that slice clean and toast golden.
A cooking platform built around craft, culture, and the stories behind what we eat.
Created by
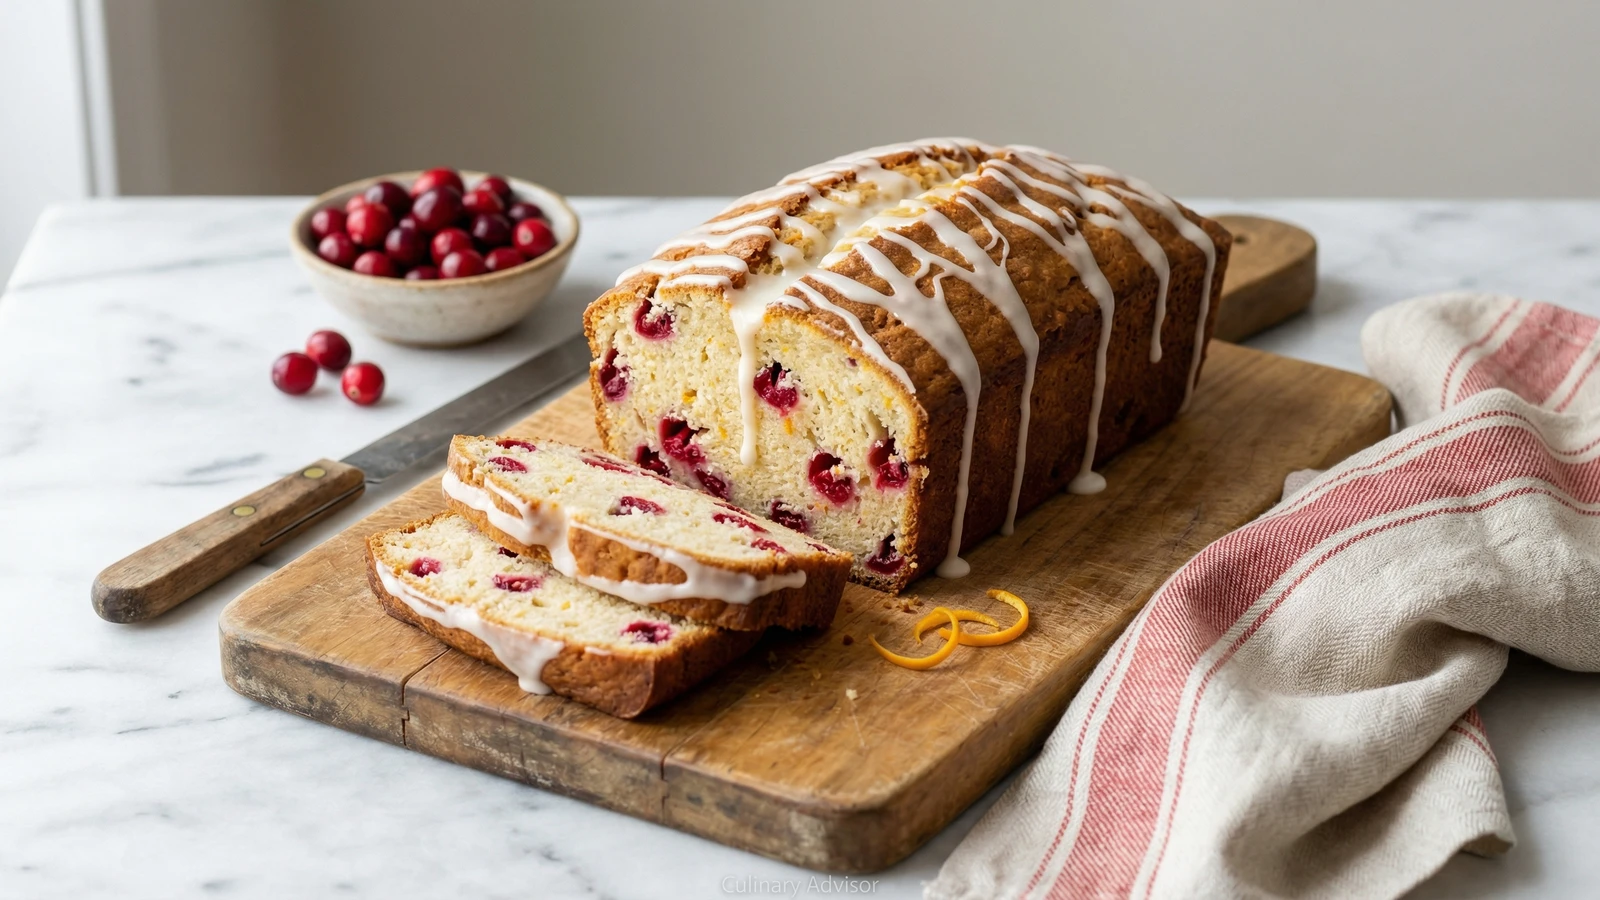
A tender, fragrant loaf studded with ruby cranberries and bright with fresh orange zest, finished with a simple glaze that cracks when you slice through it. The kind of bread that makes your kitchen smell like the holidays arrived early.
Quick breads are America's gift to bakers who have more enthusiasm than time. No kneading, no proofing, no watching dough rise. You stir together wet and dry, fold in your fruit, and slide the pan into the oven. An hour later, your house smells like the best version of the holidays.
This cranberry orange bread belongs to the tradition of New England fruit breads that traveled from farmhouse kitchens to church bake sales to holiday gift-giving. The cranberry bog meets the citrus grove in a loaf that manages to be festive without being fussy. Tart berries pop against the tender crumb. Orange zest perfumes every bite.
The technique is forgiving if you follow one rule: stop mixing the moment the flour disappears. Quick breads turn tough when you overwork them. Those lumps in your batter? Leave them alone. They'll vanish in the oven. The berries will burst and bleed their ruby juice into the surrounding crumb, creating pockets of concentrated flavor that make people close their eyes while chewing.
I've baked this bread for holiday gifts more times than I can count. Wrapped in parchment and tied with twine, it travels well and keeps beautifully. Make it the day before you need it. The flavors marry overnight, the crumb settles, and that glaze develops a proper crackle.
Quantity
2 cups (250g)
Quantity
3/4 cup (150g)
Quantity
1 1/2 teaspoons
Quantity
1/2 teaspoon
Quantity
1 teaspoon
Quantity
2 tablespoons
from 2 medium oranges
Quantity
1/3 cup (75g)
melted and cooled slightly
Quantity
3/4 cup (180ml)
from about 2 oranges
Quantity
1
at room temperature
Quantity
1 teaspoon
Quantity
2 cups (200g)
roughly chopped
Quantity
1/2 cup (60g)
coarsely chopped
Quantity
1 cup (120g)
Quantity
2-3 tablespoons
| Ingredient | Quantity |
|---|---|
| all-purpose flour | 2 cups (250g) |
| granulated sugar | 3/4 cup (150g) |
| baking powder | 1 1/2 teaspoons |
| baking soda | 1/2 teaspoon |
| fine sea salt | 1 teaspoon |
| fresh orange zestfrom 2 medium oranges | 2 tablespoons |
| unsalted buttermelted and cooled slightly | 1/3 cup (75g) |
| fresh orange juicefrom about 2 oranges | 3/4 cup (180ml) |
| large eggat room temperature | 1 |
| pure vanilla extract | 1 teaspoon |
| fresh or frozen cranberriesroughly chopped | 2 cups (200g) |
| walnuts (optional)coarsely chopped | 1/2 cup (60g) |
| powdered sugar | 1 cup (120g) |
| fresh orange juice for glaze | 2-3 tablespoons |
Position a rack in the center of your oven and heat to 350°F. Butter a 9x5-inch loaf pan generously, then dust with flour, tapping out the excess. Alternatively, line the bottom and long sides with a parchment sling, leaving overhang for easy removal. The extra minute spent here saves you from the heartbreak of a stuck loaf.
Whisk together the flour, sugar, baking powder, baking soda, and salt in a large bowl. Add the orange zest and rub it into the dry ingredients with your fingertips for about thirty seconds. This releases the oils trapped in the zest, perfuming the entire mixture. When you lift your fingers to your nose, you should smell nothing but bright citrus. The sugar will turn slightly damp and fragrant.
In a separate bowl, whisk together the melted butter, orange juice, egg, and vanilla until completely smooth. The butter may form small clumps when it hits the cold juice. Whisk vigorously until they dissolve. The mixture should look uniform and slightly frothy.
Pour the wet ingredients into the dry mixture. Using a large rubber spatula, fold gently but deliberately, scraping the bottom of the bowl and turning the mixture over itself. Stop the moment you no longer see dry flour. The batter will look lumpy and slightly rough. This is correct. Overmixing develops gluten and turns your tender quick bread into something resembling a brick.
Scatter the chopped cranberries and walnuts (if using) over the batter. Fold them in gently with three or four strokes, distributing them evenly throughout. Some berries will inevitably sink during baking. This is the nature of fruit in batter. The ones that stay suspended will burst and stain the surrounding crumb a beautiful rose pink.
Scrape the batter into your prepared pan and spread it evenly, pushing it slightly into the corners. The surface should be level. If you want that characteristic split down the center that marks a proper quick bread, dip a butter knife in melted butter and draw a shallow line lengthwise down the center. This creates a weak point where the bread will split as it rises.
Bake for 55 to 65 minutes, rotating the pan halfway through for even color. The loaf is done when the top is deeply golden, the crack has opened to reveal the interior, and a wooden skewer inserted into the center comes out with just a few moist crumbs clinging to it. A completely clean skewer means you've gone too far. If the top browns too quickly, tent loosely with foil for the final fifteen minutes.
Let the bread cool in the pan on a wire rack for fifteen minutes. The structure needs time to set. Run a thin knife around the edges to release any spots that clung, then turn the loaf out onto the rack. If you used a parchment sling, simply lift. Set the loaf upright and cool completely, at least one hour, before glazing. Patience. The crumb is still setting. Slicing too early compresses the texture.
Whisk together the powdered sugar with two tablespoons of orange juice until smooth. The consistency should be thick but pourable, like heavy cream. Add the remaining tablespoon of juice only if needed to reach this consistency. Too thin and the glaze runs off. Too thick and it sits in an ungainly lump.
Set the cooling rack over a sheet pan to catch drips. Drizzle the glaze slowly over the loaf in long, lazy ribbons, letting it cascade down the sides. Allow the glaze to set for at least fifteen minutes before slicing. The first slice is always the baker's privilege, but this bread improves if you can wait until the next day.
1 serving (about 65g)
Culinary guides, cultural storytelling, and the editorial depth that makes cooking meaningful.
Discover Culinary ExplorerChef Dean
Pillowy soft sandwich bread from Pennsylvania Dutch kitchens, where generations of home bakers perfected the art of tender, slightly sweet loaves that slice clean and toast golden.

Chef Dean
Sky-high muffins bursting with juicy blueberries beneath a shatteringly crisp butter streusel, baked golden brown with that coveted bakery dome your family will wake up early for.

Chef Dean
Pillowy enriched dough wrapped around jammy wild blueberries and fragrant lemon zest, then crowned with a tangy cream cheese glaze that pools into every golden crevice. Summer morning baking at its finest.

Chef Dean
Golden, buttery buns with a tender crumb that cradles your burger without surrendering to the juices. This is the bun that makes a backyard cookout feel like an occasion worth remembering.