Chef Juliana
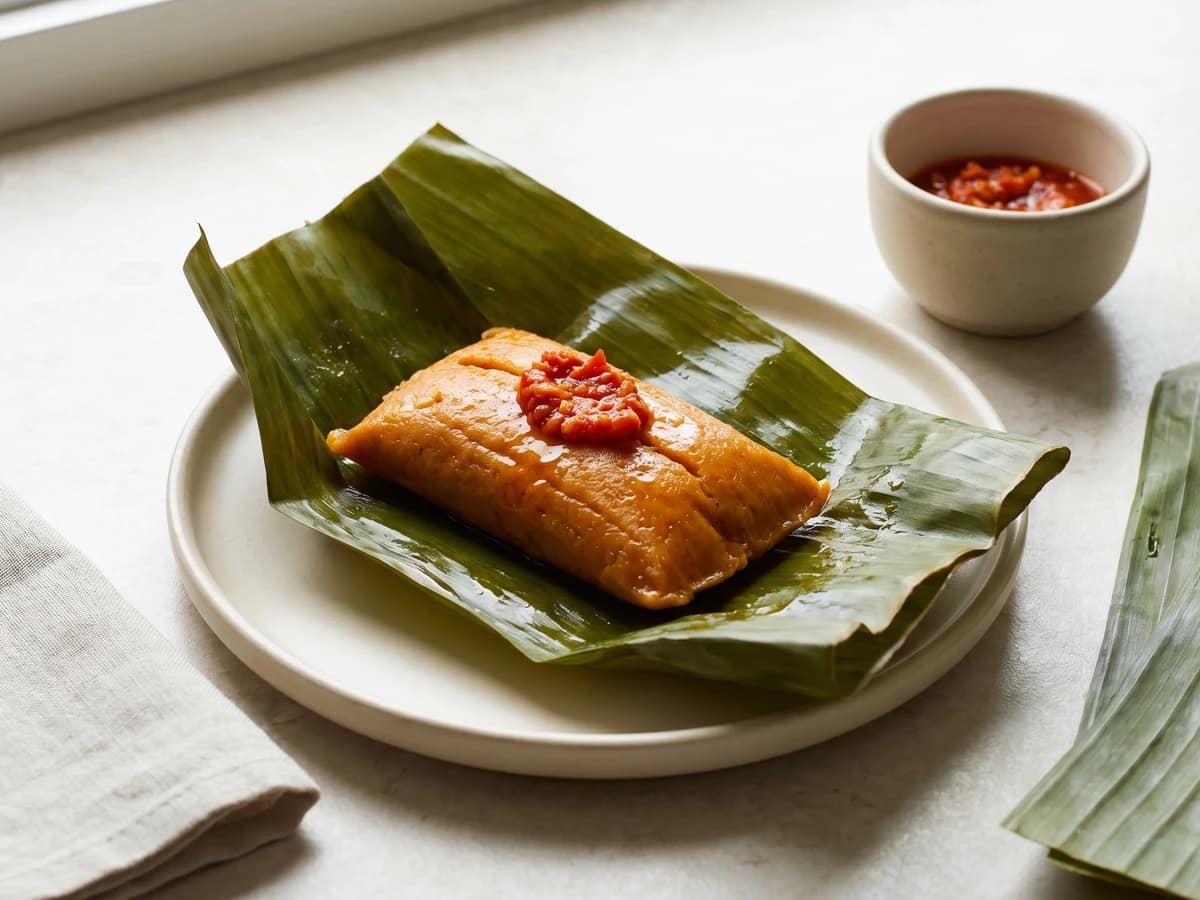
Abará
You think banana leaves and hand-whipped bean massa mean “isso não é pra mim.” Wrong. Soak, peel, beat, wrap, steam. Abará is learned by touch, not inherited by magic.
A cooking platform built around craft, culture, and the stories behind what we eat.
Created by
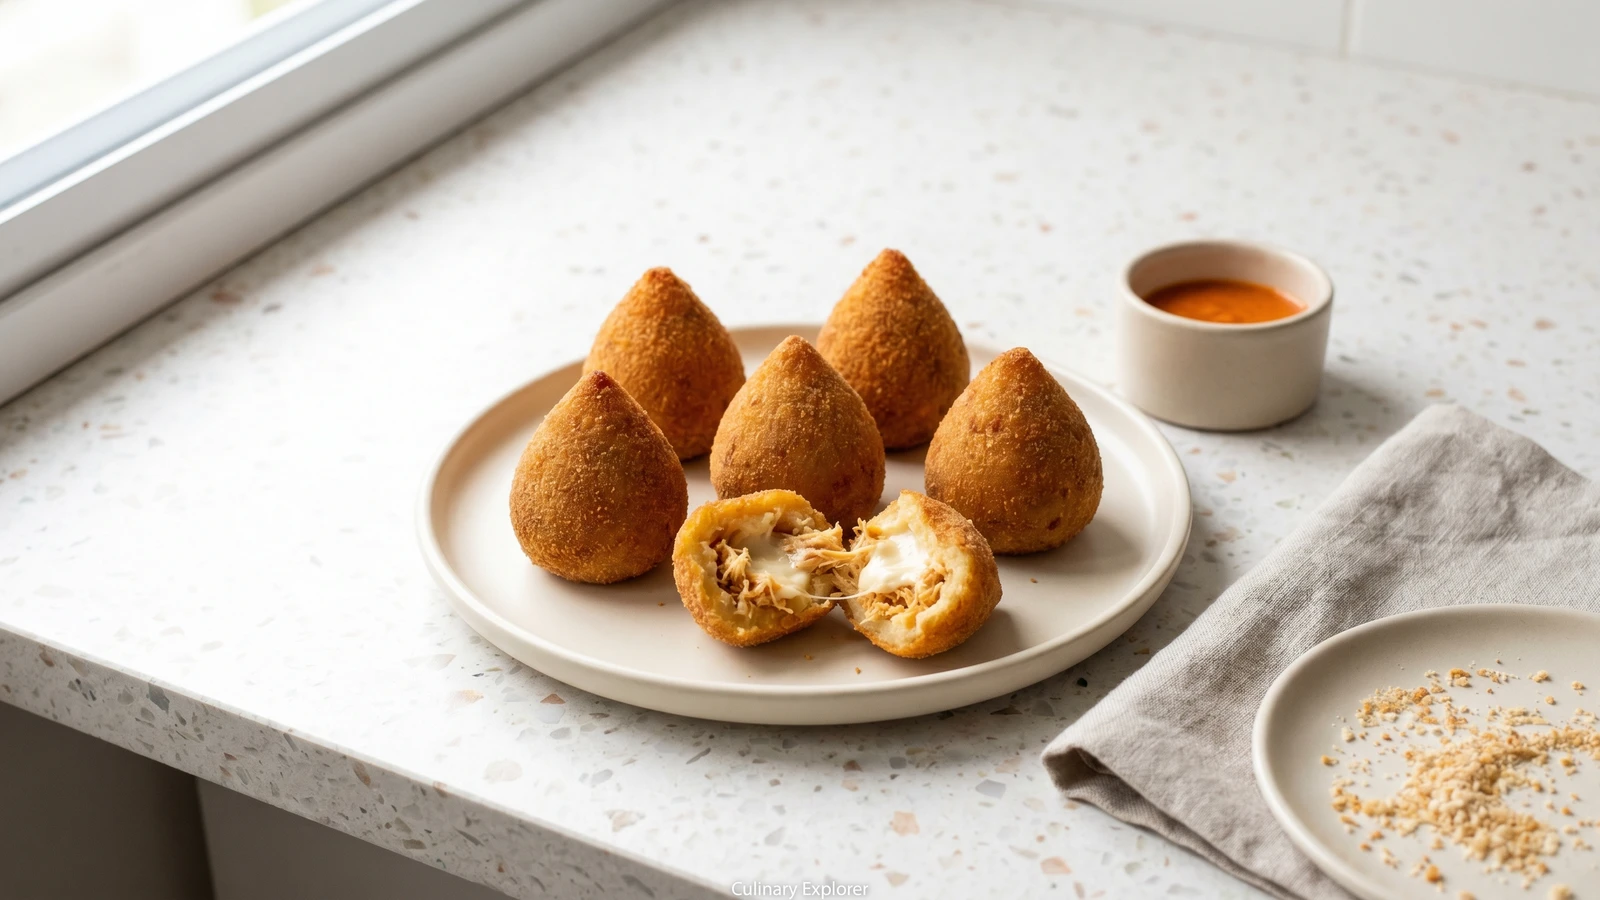
You think shaping coxinha is where serious cooks live. Wrong. Cook the chicken, use its broth for the dough, fill, pinch, fry. Anota aí: this is method, not magic.
You hear coxinha and immediately hear the little voice: isso não é pra mim. Too much shaping, too much frying, too much birthday-table pressure. Good. Put the fear on the counter. A gente is going to cut it into small, teachable pieces.
I learned to cook late enough to know that panic has a sound, and it usually starts when flour hits hot liquid. The dough will look wrong before it looks right. That's normal. You cook chicken with onion and bay, shred it, refogar onion and garlic until sweet, and use the broth for the dough, because flavor should not go down the sink. No packet, no powdered chicken ghost.
Coxinha isn't the everyday plate, but it comes from the same intelligence: rice, beans, a piece of chicken, something green, comida de verdade stretched with care so it feeds more people. Here the chicken leaves the pê-efe and becomes party food, game-day food, freezer food, the salgado a child can hold in one hand. It is Brazilian because a gente recognizes the shape before the first bite.
The method is simple even if it has parts. Cook until tender, stir until the dough pulls from the pot, shape around a spoonful of filling and creamy requeijão, bread, fry golden. Cozinhar não é dom, é um aprendizado. Coxinha is just a receita que funciona when each step tells you why.
Coxinha became common in São Paulo in the late nineteenth and early twentieth centuries, when wheat-flour dough and shredded chicken turned a small amount of meat into many salgados sold in bars, bakeries, and station counters. The famous story that it was invented for a royal child who only wanted chicken drumsticks is a legend, not a documented origin; what is clear is the shape, a little chicken thigh, gave the salgado its name. Catupiry-style creamy requeijão entered the filling later, after the cheese spread was created in Minas Gerais in 1911 and became Brazilian shorthand for a rich, tangy creamy center.
Quantity
1 1/2 pounds
about 700 g
Quantity
5 cups
Quantity
1
quartered, for the broth
Quantity
2
Quantity
1 teaspoon, plus more to taste
Quantity
2 tablespoons
Quantity
1
finely chopped, for the filling
Quantity
3 cloves
minced
Quantity
2 tablespoons
Quantity
1/2 teaspoon
Quantity
1/2 cup
for moistening the filling
Quantity
1/4 cup
chopped
Quantity
1 cup
chilled
Quantity
4 cups
strained, for the dough; top up with water if needed
Quantity
4 tablespoons
Quantity
4 cups
spooned and leveled
Quantity
2 large
beaten
Quantity
1/2 cup
Quantity
3 cups
Quantity
6 cups, or enough for 2 inches
for frying
| Ingredient | Quantity |
|---|---|
| boneless skinless chicken thighs or breastsabout 700 g | 1 1/2 pounds |
| water | 5 cups |
| small onionquartered, for the broth | 1 |
| bay leaves | 2 |
| salt | 1 teaspoon, plus more to taste |
| oil | 2 tablespoons |
| medium onionfinely chopped, for the filling | 1 |
| garlicminced | 3 cloves |
| tomato paste | 2 tablespoons |
| black pepper | 1/2 teaspoon |
| reserved chicken brothfor moistening the filling | 1/2 cup |
| parsley or parsley and scallionschopped | 1/4 cup |
| Catupiry-style firm creamy requeijãochilled | 1 cup |
| reserved chicken brothstrained, for the dough; top up with water if needed | 4 cups |
| butter | 4 tablespoons |
| all-purpose wheat flourspooned and leveled | 4 cups |
| eggsbeaten | 2 large |
| milk | 1/2 cup |
| fine dry breadcrumbs | 3 cups |
| neutral oilfor frying | 6 cups, or enough for 2 inches |
Put the chicken, water, quartered onion, bay leaves, and 1 teaspoon salt in a heavy pot. Bring to a boil, then lower to a gentle simmer and cook until the chicken pulls apart easily with two forks, about 25 to 30 minutes. This pot is doing two jobs: cooking the chicken and making the broth the dough will drink, so don't throw that liquid away.
Lift the chicken onto a plate and strain the broth into a measuring cup. You need 4 cups for the dough and 1/2 cup for the filling; if you're short, top up with water. Shred the chicken finely while it's warm, because fine shreds tuck into the dough instead of poking holes through it.
Warm the oil in a wide pan over medium heat. Add the chopped onion and cook until soft and see-through, about 5 minutes, then add the garlic for 1 minute, just until you smell it. Stir in the tomato paste and black pepper until the paste darkens a little, then add the shredded chicken and 1/2 cup broth. Cook until moist but not wet, 3 to 4 minutes. The filling should hold together on a spoon; if it's soupy, it will burst the coxinha open in the oil.
Turn off the heat and stir in the chopped parsley or scallions. Taste and adjust the salt. Spread the filling on a plate so it cools faster. Warm filling melts the requeijão too soon, and then you have leaks. Delicious leaks, but still leaks.
In a wide heavy pot, bring 4 cups strained broth and the butter to a boil. Taste the broth; if it tastes flat, add another pinch of salt. Add all the flour at once and stir hard with a sturdy spoon over medium-low heat. It will look lumpy and rude for the first minute. Keep going until it forms one smooth ball, pulls away from the sides, and leaves a thin film on the bottom of the pot, about 4 to 5 minutes. Cooking the flour long enough removes the raw taste and gives the dough the stretch to hold its shape.
Turn the hot dough onto a lightly oiled counter and let it sit until you can touch it without swearing, about 5 minutes. Knead for 2 to 3 minutes, until smooth and flexible. Cover with a clean towel. Don't dust the counter with flour here; extra flour toughens the dough and makes the shell crack.
Divide the dough into 30 balls, about 2 tablespoons each, and keep them covered while you work. Same-size balls are not fussiness. They fry at the same pace, which means the first one and the last one both come out golden instead of one pale and one dark.
Flatten one dough ball into a round cup in your palm, leaving the center a little thicker than the edges. Add about 1 tablespoon chicken filling and 1 teaspoon chilled Catupiry-style requeijão. Pinch the dough closed over the filling, then roll and taper one end into the classic little teardrop. If it tears, patch it with a pinch of dough and move on. Drama is for people who don't have snacks to fry.
Beat the eggs with the milk in a shallow bowl. Put the breadcrumbs in another bowl. Dip each coxinha in the egg mixture, let the excess drip off, then roll in breadcrumbs and press gently so the crumb sticks evenly. Set them on a tray and chill for 20 minutes. That short rest firms the dough and sets the crust, so the coxinha behaves when it hits the oil.
Heat 2 inches of oil in a deep pot to 170 to 175°C, 340 to 350°F. Fry 4 or 5 coxinhas at a time, turning now and then, until evenly deep golden, about 3 to 4 minutes. Crowd the pot and the oil temperature drops; then the crust drinks oil, softens, and cracks. A thermometer makes you calm. Without one, a pinch of breadcrumbs should sizzle right away and brown in about 45 seconds, not burn black.
Lift the coxinhas out with a spider or slotted spoon and drain on a rack set over a tray. Let them rest 5 minutes before biting, because the creamy middle holds heat and nobody needs a burned tongue proving a point. Serve warm, with molho de pimenta if your house likes it.
1 serving (about 90g)
Culinary guides, cultural storytelling, and the editorial depth that makes cooking meaningful.
Discover Culinary ExplorerChef Juliana
You think banana leaves and hand-whipped bean massa mean “isso não é pra mim.” Wrong. Soak, peel, beat, wrap, steam. Abará is learned by touch, not inherited by magic.
Chef Juliana
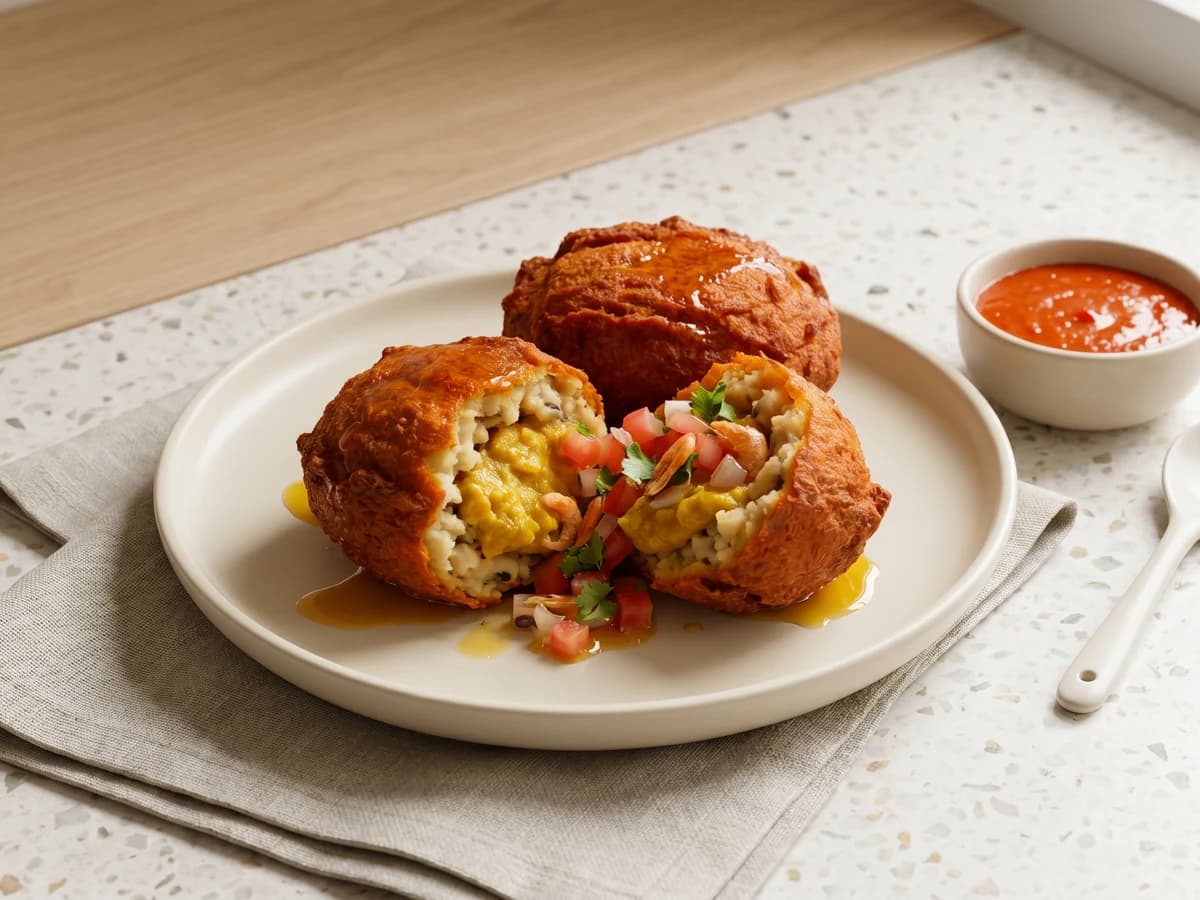
You think food of Iansã from the baianas' tabuleiro is not for your stove. Anota aí: soaked feijão-fradinho, real dendê, and hand-whipping make a home version learnable.

Chef Juliana
You think fried salgados belong to the birthday table you buy, not the one you make. Wrong. Learn the dough, seal the cheese, and the freezer starts working for you.

Chef Juliana
You think stuffed fried bolinhos are for the boteco cook, not your kitchen. Wrong. Mash the aipim warm, keep the filling dry, fry in small batches, and the tray disappears.