
Chef Dean
Joe Froggers
Massive, deeply spiced molasses cookies that kept New England sailors fed across the Atlantic. Chewy, rum-scented, and dark as a nor'easter, these are the cookies that built a seafaring tradition.
A cooking platform built around craft, culture, and the stories behind what we eat.

Created by
Pillowy chocolate cake rounds embracing a cloud of marshmallow cream filling, these iconic New England treats deliver the kind of nostalgic comfort that makes you understand why Maine declared them their official state treat.
The whoopie pie provokes arguments. Maine claims it as their official state treat. Pennsylvania Dutch bakers insist they invented it, that Amish farmwives tucked these chocolate sandwiches into lunch pails for fieldworkers who supposedly shouted "Whoopie!" upon discovery. I don't much care who wins that debate. What matters is that someone, somewhere, had the good sense to sandwich marshmallow cream between two rounds of the most tender chocolate cake you've ever called a cookie.
This is not a cookie in the traditional sense. The rounds bake up soft, almost springy, with a texture closer to devil's food cake than anything that belongs in a cookie jar. The cocoa blooms in hot coffee, releasing its full depth. Buttermilk keeps everything tender and slightly tangy. When you press two rounds together with that billowing marshmallow filling between them, you create something greater than the sum of its parts.
I've watched generations of New England bakers turn these out for church suppers, bake sales, and family reunions. The best ones are generous. Don't skimp on the filling. A proper whoopie pie should leave evidence on your fingers. That's the whole point. This is honest American baking at its finest: unpretentious, satisfying, and worthy of the enthusiasm its name suggests.
Quantity
2 cups
Quantity
1/2 cup
Quantity
1 1/4 teaspoons
Quantity
1/2 teaspoon
Quantity
1/2 cup (1 stick)
Quantity
1 cup
packed
Quantity
1
room temperature
Quantity
1 teaspoon
Quantity
1 cup
room temperature
Quantity
1/2 cup
Quantity
1/2 cup (1 stick)
Quantity
1 1/2 cups
Quantity
1 cup
sifted
Quantity
1 teaspoon
Quantity
pinch
| Ingredient | Quantity |
|---|---|
| all-purpose flour | 2 cups |
| Dutch-process cocoa powder | 1/2 cup |
| baking soda | 1 1/4 teaspoons |
| fine sea salt | 1/2 teaspoon |
| unsalted butter, softened | 1/2 cup (1 stick) |
| dark brown sugarpacked | 1 cup |
| large eggroom temperature | 1 |
| pure vanilla extract | 1 teaspoon |
| buttermilkroom temperature | 1 cup |
| hot brewed coffee | 1/2 cup |
| unsalted butter, softened (for filling) | 1/2 cup (1 stick) |
| marshmallow creme | 1 1/2 cups |
| powdered sugarsifted | 1 cup |
| pure vanilla extract (for filling) | 1 teaspoon |
| fine sea salt (for filling) | pinch |
Position racks in the upper and lower thirds of your oven and preheat to 375°F. Line two baking sheets with parchment paper. Whisk together the flour, cocoa powder, baking soda, and salt in a medium bowl. Pour the hot coffee over the cocoa mixture and whisk until smooth. The cocoa will bloom, releasing a deep, almost fruity chocolate aroma. Set aside to cool slightly.
Beat the softened butter and brown sugar in a large bowl with an electric mixer on medium-high speed until light and fluffy, about 3 minutes. The mixture should look pale and increase noticeably in volume. Scrape down the sides of the bowl. Add the egg and vanilla, beating until fully incorporated, about 1 minute more.
Reduce mixer speed to low. Add the flour-cocoa mixture in three additions, alternating with the buttermilk in two additions, beginning and ending with the dry ingredients. Mix just until combined after each addition. The batter will be thick, glossy, and deeply chocolate-colored. Resist the urge to overmix. Tender rounds depend on a gentle hand here.
Using a large cookie scoop or two tablespoons, drop mounds of batter onto the prepared baking sheets, spacing them 2 inches apart. You should get about 24 rounds total. Each mound should be roughly the same size for even pairing later. Don't flatten them. They'll spread and dome on their own.
Bake for 10 to 12 minutes, rotating the pans halfway through, until the tops spring back when lightly pressed and a toothpick inserted in the center comes out clean. The rounds will look matte, not shiny, when done. Transfer the pans to wire racks and let the rounds cool on the pans for 5 minutes before moving them directly to the racks. Cool completely before filling. This takes about 30 minutes. Patience.
While the rounds cool, beat the butter for the filling in a clean bowl with the electric mixer on medium-high speed until pale and creamy, about 2 minutes. Add the marshmallow creme and beat until fully combined and fluffy, scraping the bowl as needed. Reduce speed to low and add the powdered sugar, vanilla, and salt. Increase speed to medium-high and beat until the filling is light, smooth, and spreadable, about 2 minutes more. It should hold soft peaks.
Match the cooled rounds into pairs of similar size. Turn half of them flat-side up. Dollop a generous 2 tablespoons of filling onto each flat side. Don't spread it to the edges yet. Place a second round on top, flat-side down, and press gently until the filling spreads to within a quarter inch of the edge. You want filling visible around the perimeter. That's the mark of a proper whoopie pie.
For the best texture, let assembled whoopie pies rest at room temperature for 30 minutes before serving. This brief rest allows the filling to set slightly and the flavors to meld. The rounds will soften just enough to yield easily when you bite through. Serve at room temperature for maximum enjoyment.
1 serving (about 65g)
Culinary guides, cultural storytelling, and the editorial depth that makes cooking meaningful.
Discover Culinary ExplorerChef Dean
Massive, deeply spiced molasses cookies that kept New England sailors fed across the Atlantic. Chewy, rum-scented, and dark as a nor'easter, these are the cookies that built a seafaring tradition.

Chef Dean
Chewy, molasses-dark drop cookies studded with raisins and walnuts, seasoned with the warm spices that colonial New England kitchens kept precious. These humble keepers improve for days.

Chef Juliette
A pale short-paste shell holds silken, lightly sweet carrot purée beneath neat glazed half-discs, their butter syrup catching the light: a classical tart poised between vegetable course and sweet.
Chef Juliette
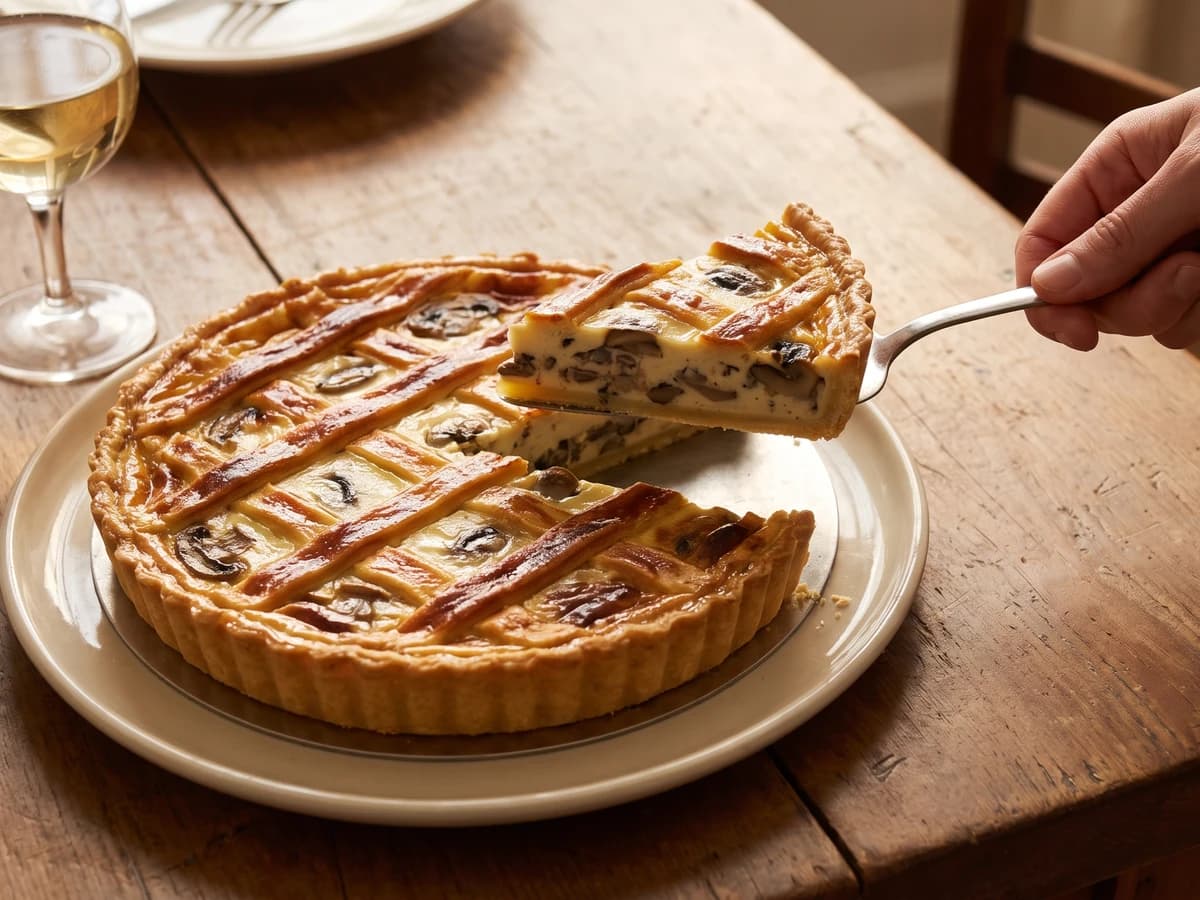
A hot mushroom flan under a butter-gold lattice, with cream reduced close around barely opened caps and a crisp short-paste base protected by one discipline: cool the filling completely.