Chef Dean
Classic French Brioche
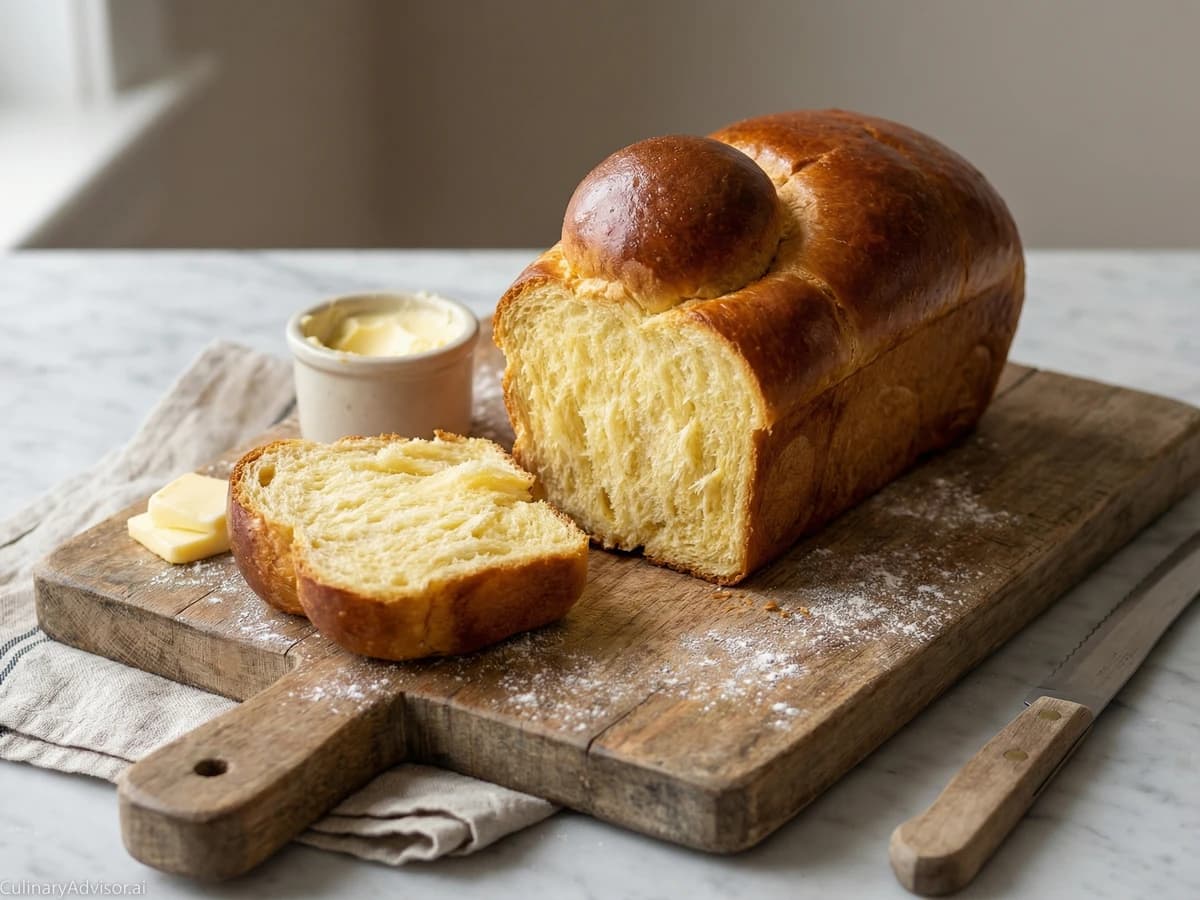
The crown jewel of enriched breads, brioche walks the line between bread and pastry with shameless amounts of butter and eggs folded into a tender, golden crumb that tears like clouds.
A cooking platform built around craft, culture, and the stories behind what we eat.
Created by
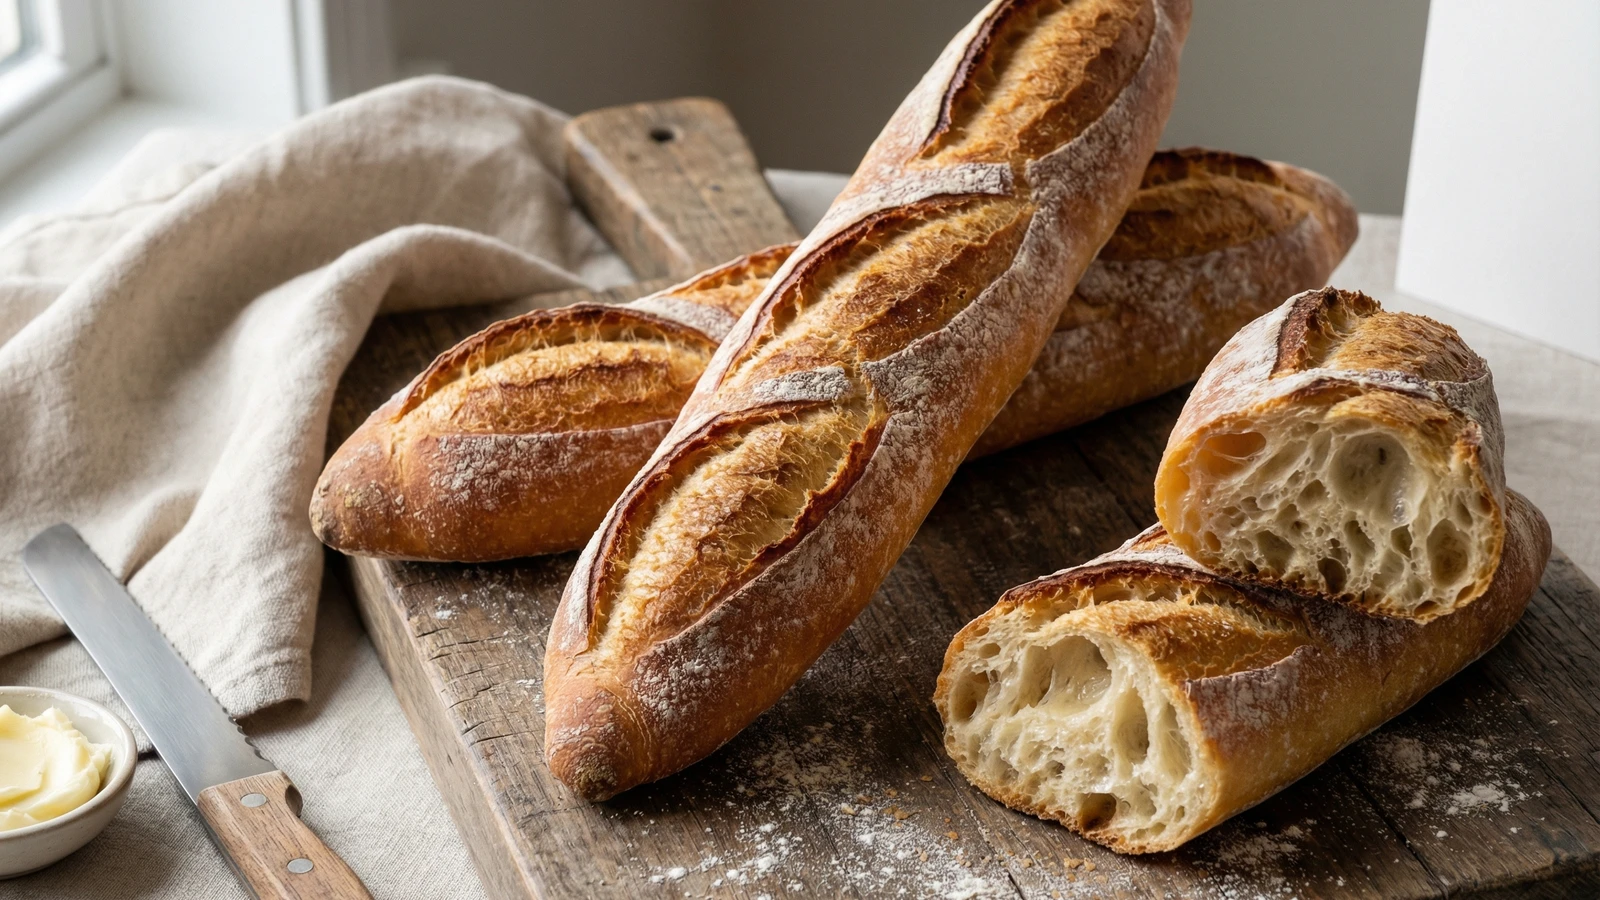
Four humble ingredients transformed through time and technique into shattering-crusted, airy-crumbed bread that rivals any Parisian bakery. This is bread worth the effort.
The baguette is proof that simplicity demands mastery. Flour, water, salt, yeast. Nothing more. Yet these four ingredients, handled with understanding and patience, produce bread so transcendent that the French government regulates its composition by law.
I spent a summer in Paris watching bakers who'd inherited their craft through generations. They measured nothing by weight. They judged hydration by feel, fermentation by smell, readiness by the spring of the dough under their palms. What they understood, and what I'm going to teach you, is that great bread comes from paying attention. The dough tells you what it needs. Your job is to listen.
This recipe uses a long, cold fermentation. Eighteen hours feels excessive until you taste the difference. That time allows enzymes to break down starches into sugars, developing flavor complexity no quick rise can match. The crust shatters. The crumb opens into irregular holes that trap butter. The aroma fills your kitchen with something honest and earned.
Don't be intimidated by baguette shaping. You'll struggle the first time. Everyone does. By the third batch, your hands will remember what your brain forgot. The only path to good bread is through bad bread. Start today.
Quantity
500g (3 3/4 cups)
Quantity
350g (1 1/2 cups)
Quantity
10g (2 teaspoons)
Quantity
4g (1 teaspoon)
| Ingredient | Quantity |
|---|---|
| bread flour, plus more for dusting | 500g (3 3/4 cups) |
| cool water, around 65°F | 350g (1 1/2 cups) |
| fine sea salt | 10g (2 teaspoons) |
| instant yeast | 4g (1 teaspoon) |
Weigh your flour directly into a large mixing bowl. Add the cool water and mix with your hand or a wooden spoon until no dry flour remains. The dough will look shaggy and rough. This is correct. Cover the bowl with plastic wrap or a damp towel and let it rest for 30 minutes. This autolyse period allows the flour to fully hydrate and begins gluten development before you've done any real work.
Sprinkle the salt and yeast over the rested dough. Dimple them into the surface with your fingertips, then squeeze the dough through your fingers repeatedly until everything is incorporated. The dough will feel tighter now. Work it for another minute until it becomes smoother and more cohesive. Cover and let rest 15 minutes.
Wet your hand to prevent sticking. Reach under one side of the dough, stretch it upward until you feel resistance, then fold it over the center. Rotate the bowl 90 degrees and repeat. Do this four times, completing one full rotation. The dough will tighten into a rough ball. Cover and wait 30 minutes. Repeat this folding sequence three more times, with 30-minute rests between each set. By the fourth fold, the dough should feel alive: smooth, elastic, slightly billowy. It will hold its shape rather than spreading flat.
After the final fold, cover the bowl tightly with plastic wrap and place it in the refrigerator. Let it ferment for 12 to 18 hours. The dough is ready when it has roughly doubled in size and shows bubbles across the surface. It should smell yeasty and slightly tangy, like beer. Poke it gently. If the indentation fills back slowly, fermentation is complete.
Turn the cold dough onto a lightly floured surface. It will be sticky; resist adding too much flour. Divide it into three equal pieces using a bench scraper. Working with one piece at a time, fold the sides into the center like an envelope, then roll it gently into a rough cylinder. Cover with a clean towel and let rest 20 minutes. This relaxes the gluten, making final shaping possible without tearing.
Take one preshaped piece and place it seam-side up on a lightly floured surface. Press it into a rectangle roughly 4 by 6 inches. Fold the top third down and seal with the heel of your hand. Fold again and seal. Roll the dough over so the seam faces down. Now, with both hands positioned at the center, roll the dough back and forth while applying gentle outward pressure. Your hands should move toward the ends as you roll, tapering the loaf into a 14-inch baguette with slightly pointed tips. The motion takes practice. Accept imperfection.
Transfer each baguette to a well-floured couche (linen proofing cloth) or a kitchen towel. Create ridges in the fabric between loaves to support their sides and prevent spreading. Cover loosely with another towel or plastic. Let proof at room temperature for 45 minutes to 1 hour. The loaves should grow visibly puffy but still spring back slowly when pressed. Overproofed baguettes collapse in the oven. Underproofed ones tear unevenly when scored.
One hour before baking, position a rack in the lower third of your oven and place a baking stone or inverted sheet pan on it. Put an empty metal pan on the oven floor or lowest rack. Heat to 475°F. The stone needs this full hour to saturate with heat. Prepare a cup of hot water and a spray bottle filled with water.
Gently transfer proofed baguettes to a parchment-lined peel or the back of a sheet pan. Using a lame (pronounced lahm) or the sharpest razor blade you own, make 3 to 5 diagonal slashes along each loaf at a 30-degree angle. The cuts should overlap by about one third, running nearly parallel to the length of the loaf. Slice swiftly and decisively. Hesitation drags the blade and deflates the dough. The cuts should be about 1/4 inch deep.
Slide the baguettes onto the hot stone. Immediately pour the hot water into the metal pan below (it will hiss and steam violently; keep your face clear) and mist the oven walls with your spray bottle. Close the door quickly. The steam is critical: it keeps the crust soft during the first minutes of baking, allowing the loaves to expand fully before the surface sets. Bake 10 minutes with steam.
After 10 minutes, carefully remove the water pan or crack the oven door briefly to release remaining steam. Continue baking another 12 to 15 minutes until the crust is deeply golden brown and the loaves sound hollow when tapped on the bottom. The internal temperature should reach 205°F to 210°F. Err toward darker. A pale baguette tastes like potential unfulfilled.
Transfer baguettes to a wire rack immediately. Listen for the crackling. That sound is the crust contracting as it cools, forming those distinctive fissures along your score marks. Do not cut into the bread for at least 30 minutes. The interior is still setting. Slice it too soon and you'll find gummy crumb and wasted effort. Patience rewards you with bread that shatters when torn, its interior webbed with irregular holes begging for butter.
1 serving (about 288g)
Culinary guides, cultural storytelling, and the editorial depth that makes cooking meaningful.
Discover Culinary ExplorerChef Dean
The crown jewel of enriched breads, brioche walks the line between bread and pastry with shameless amounts of butter and eggs folded into a tender, golden crumb that tears like clouds.

Chef Ally
A golden loaf of butter-rich French bread with a mahogany crust and a crumb so tender it tears like cotton. This is bread meant for holiday mornings, French toast that matters, and the simple pleasure of something made with your own hands.

Chef Ally
Four ingredients, two hands, and one day of unhurried attention. This is the loaf that connects you to ten thousand years of bread-making, and it starts with flour you can trust.
Chef Dean
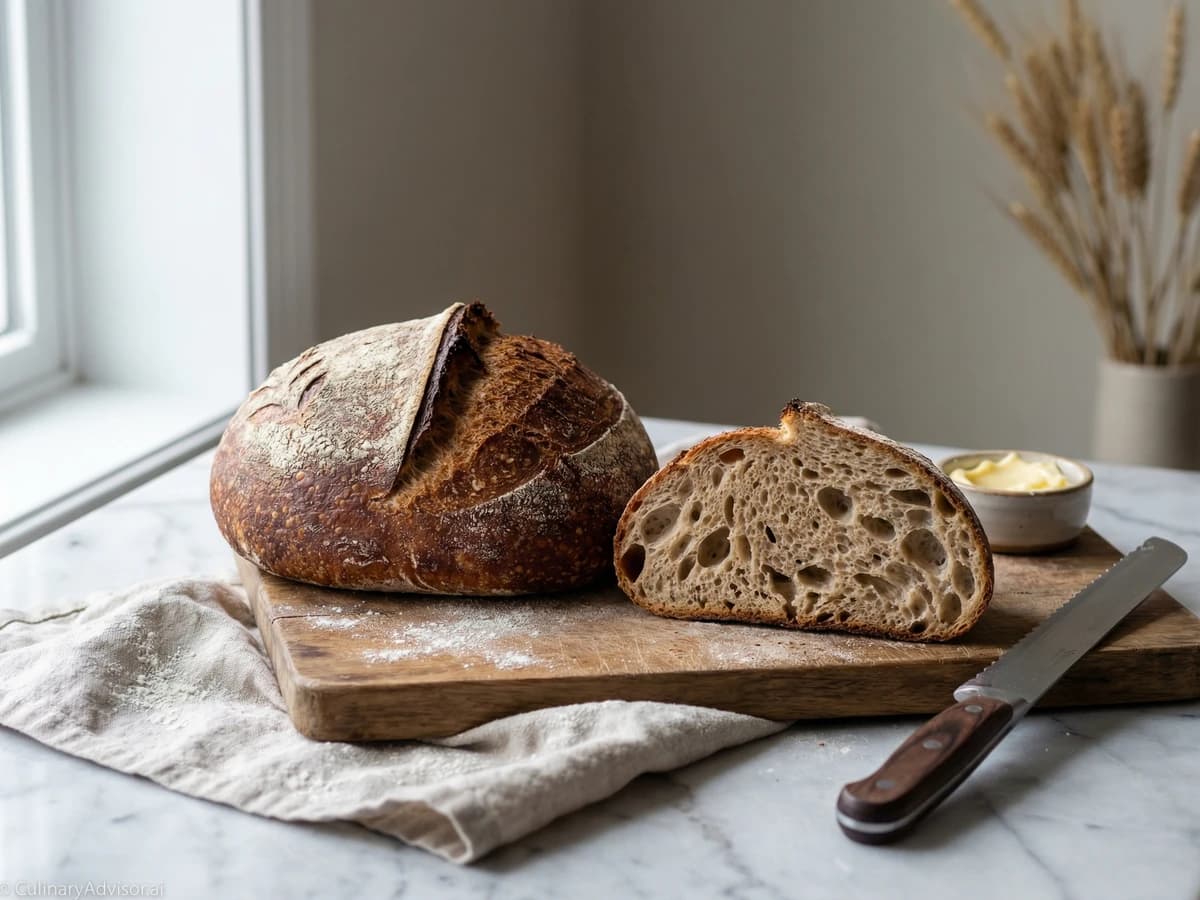
A crackling, burnished crust gives way to an open, tangy crumb with wild, irregular holes. This is the loaf that launched a thousand bread obsessions, and the one every serious home baker must master.