
Chef Dean
Arnold Palmer
The legendary golfer's signature refreshment: brisk black tea meets tart fresh lemonade in a drink so perfectly balanced it became an American institution, best served ice-cold on a summer afternoon.
A cooking platform built around craft, culture, and the stories behind what we eat.
Created by
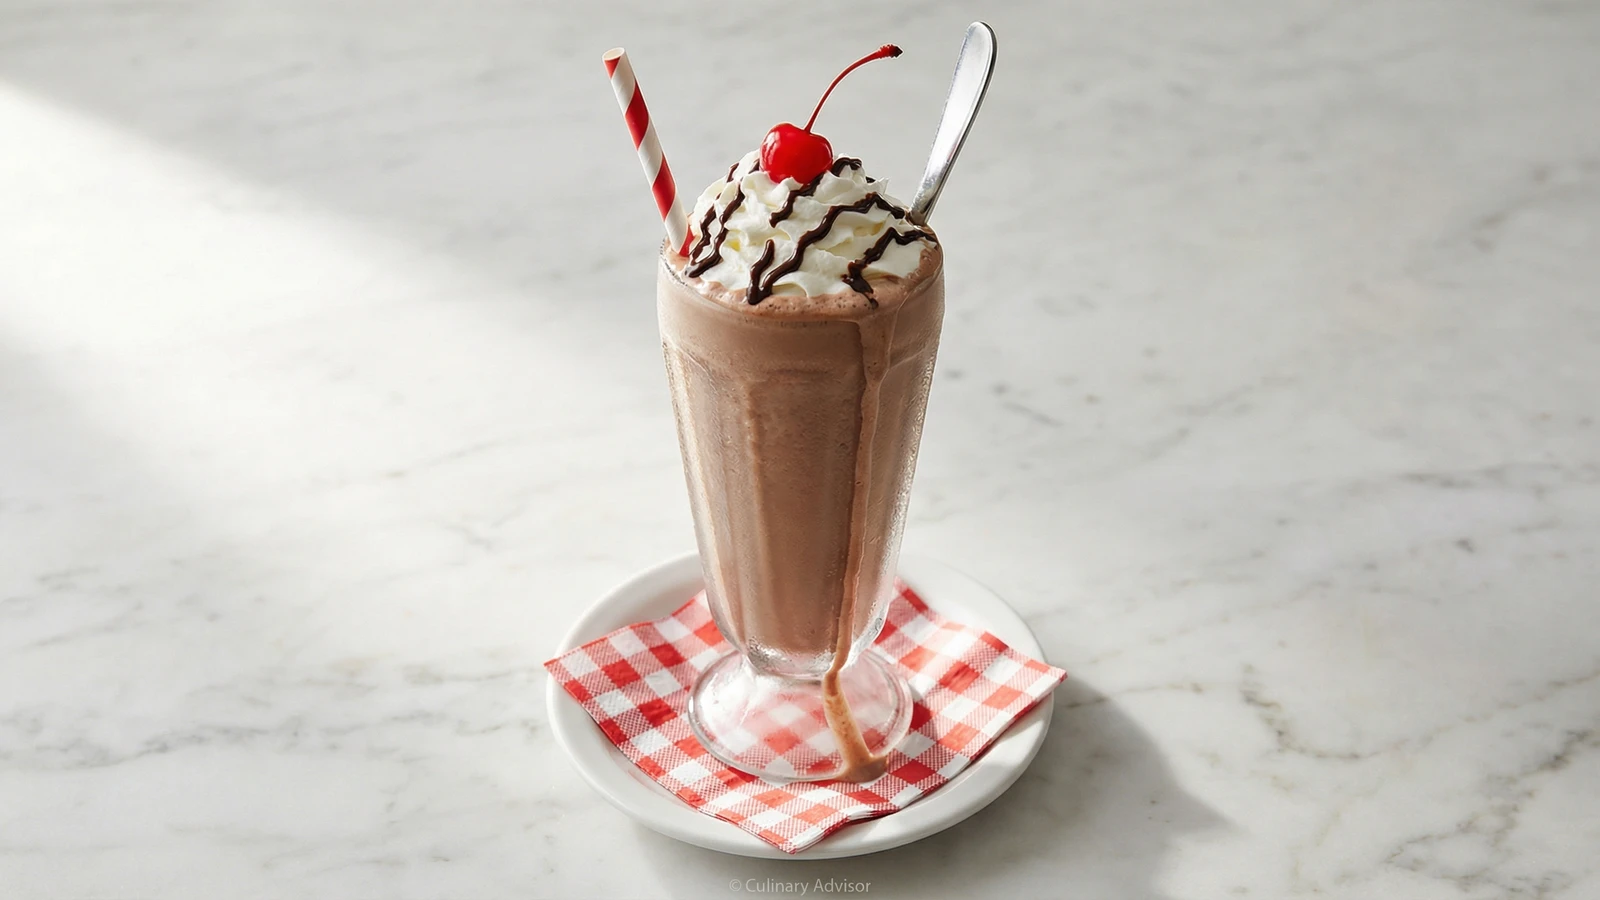
The definitive American soda fountain creation: premium vanilla ice cream transformed with Dutch cocoa and dark chocolate syrup into something impossibly thick, deeply chocolatey, and honest enough to require both a straw and a spoon.
The chocolate milkshake is American engineering at its finest. Before the electric blender arrived in the 1920s, soda jerks built shakes by hand, working metal cups with the theatrical flair of cocktail bartenders. The result was a beverage so thick, so uncompromisingly rich, that it straddled the line between drink and dessert.
Somewhere along the way, we lost the plot. Fast food chains thin their shakes with stabilizers and air, producing something that flows through a straw without resistance. That is not a milkshake. That is a disappointment in a paper cup.
A proper chocolate milkshake should make you work for it. The straw should collapse slightly on your first pull. You should need a spoon to excavate the final inches from the glass. The chocolate flavor should be deep and slightly bittersweet, not the cloying sweetness of cheap syrup alone. This is that shake.
I've added Dutch-process cocoa to the formula because it provides something chocolate syrup cannot: complexity. The cocoa brings earthiness and depth while the syrup contributes glossy sweetness. Together, they create a chocolate experience worthy of the name.
Quantity
3 large scoops (about 1 1/2 cups)
Quantity
1/4 cup
very cold
Quantity
3 tablespoons
Quantity
2 tablespoons, plus more for garnish
Quantity
1 tablespoon
Quantity
1/4 teaspoon
Quantity
pinch
Quantity
for topping
Quantity
1
| Ingredient | Quantity |
|---|---|
| premium vanilla ice cream | 3 large scoops (about 1 1/2 cups) |
| whole milkvery cold | 1/4 cup |
| Dutch-process cocoa powder | 3 tablespoons |
| quality chocolate syrup | 2 tablespoons, plus more for garnish |
| granulated sugar | 1 tablespoon |
| pure vanilla extract | 1/4 teaspoon |
| fine sea salt | pinch |
| whipped cream | for topping |
| maraschino cherry with stem (optional) | 1 |
Place a tall milkshake glass in the freezer for at least fifteen minutes before you begin. This is not optional. A proper shake demands a frosted vessel, the kind that develops that beautiful white bloom of condensation the moment it hits room temperature. The cold glass keeps your shake viscous while you drink it, preventing that sad watery separation at the bottom.
Remove your ice cream from the freezer five minutes before blending. Rock-hard ice cream fights the blender, requiring more liquid to compensate. You want it firm but yielding, the texture where a spoon meets slight resistance before gliding through. Scoop it into your blender jar.
Add the cocoa powder, chocolate syrup, sugar, vanilla, and salt to the blender with the ice cream. The cocoa provides depth and that slightly bitter edge that separates a chocolate milkshake from mere sweetness. The syrup adds glossy richness. The salt, invisible but essential, amplifies every chocolate note.
Pour in the cold milk. I know your instinct tells you this isn't enough liquid. Ignore that instinct. A milkshake should be thick enough to hold a straw upright without assistance. You can always thin it, but you cannot thicken it once you've added too much milk. Start with a quarter cup and adjust from there.
Pulse your blender three or four times to break up the ice cream, then blend on medium speed for fifteen to twenty seconds. Stop the moment the mixture is uniform. Overblending incorporates air and warms the shake, thinning it into something closer to chocolate milk. The consistency should be dense and luxurious, mounding softly when you lift the lid.
Remove your frosted glass from the freezer. Working quickly, drizzle chocolate syrup around the inside walls, letting gravity pull it down in dark, irregular streaks. These chocolate rivers will mingle with every sip, creating pockets of intense flavor throughout the drinking experience.
Pour the shake into your prepared glass in one confident motion. It should flow slowly, almost reluctantly, mounding above the rim. Top with a generous cloud of whipped cream, letting it billow and threaten to overflow. Drizzle a final zigzag of chocolate syrup across the cream. Crown with your cherry, stem pointing skyward like a tiny flag of victory.
Insert a thick paper straw and a long parfait spoon. Place the glass on a small plate to catch the inevitable drips as condensation rolls down the frosty sides. Deliver this to its recipient without delay. A milkshake begins dying the moment it's born. The first sip should be cold enough to make your teeth ache.
1 serving (about 590g)
Culinary guides, cultural storytelling, and the editorial depth that makes cooking meaningful.
Discover Culinary ExplorerChef Dean
The legendary golfer's signature refreshment: brisk black tea meets tart fresh lemonade in a drink so perfectly balanced it became an American institution, best served ice-cold on a summer afternoon.

Chef Ally
Sun-warmed blackberries crushed with sugar and stirred into hand-squeezed lemonade, the color of late summer twilight, best drunk on a porch with nowhere to be.

Chef Dean
All the comfort of a warm bakery muffin, transformed into a thick, cold breakfast you can drink on your way out the door. Rolled oats and cinnamon make the illusion complete.

Chef Dean
Honest hot chocolate simmered in cast iron over crackling flames, finished with marshmallows toasted to blistered perfection. This is what your campfire memories should taste like.