
Chef Dean
Amish White Bread
Pillowy soft sandwich bread from Pennsylvania Dutch kitchens, where generations of home bakers perfected the art of tender, slightly sweet loaves that slice clean and toast golden.
A cooking platform built around craft, culture, and the stories behind what we eat.
Created by
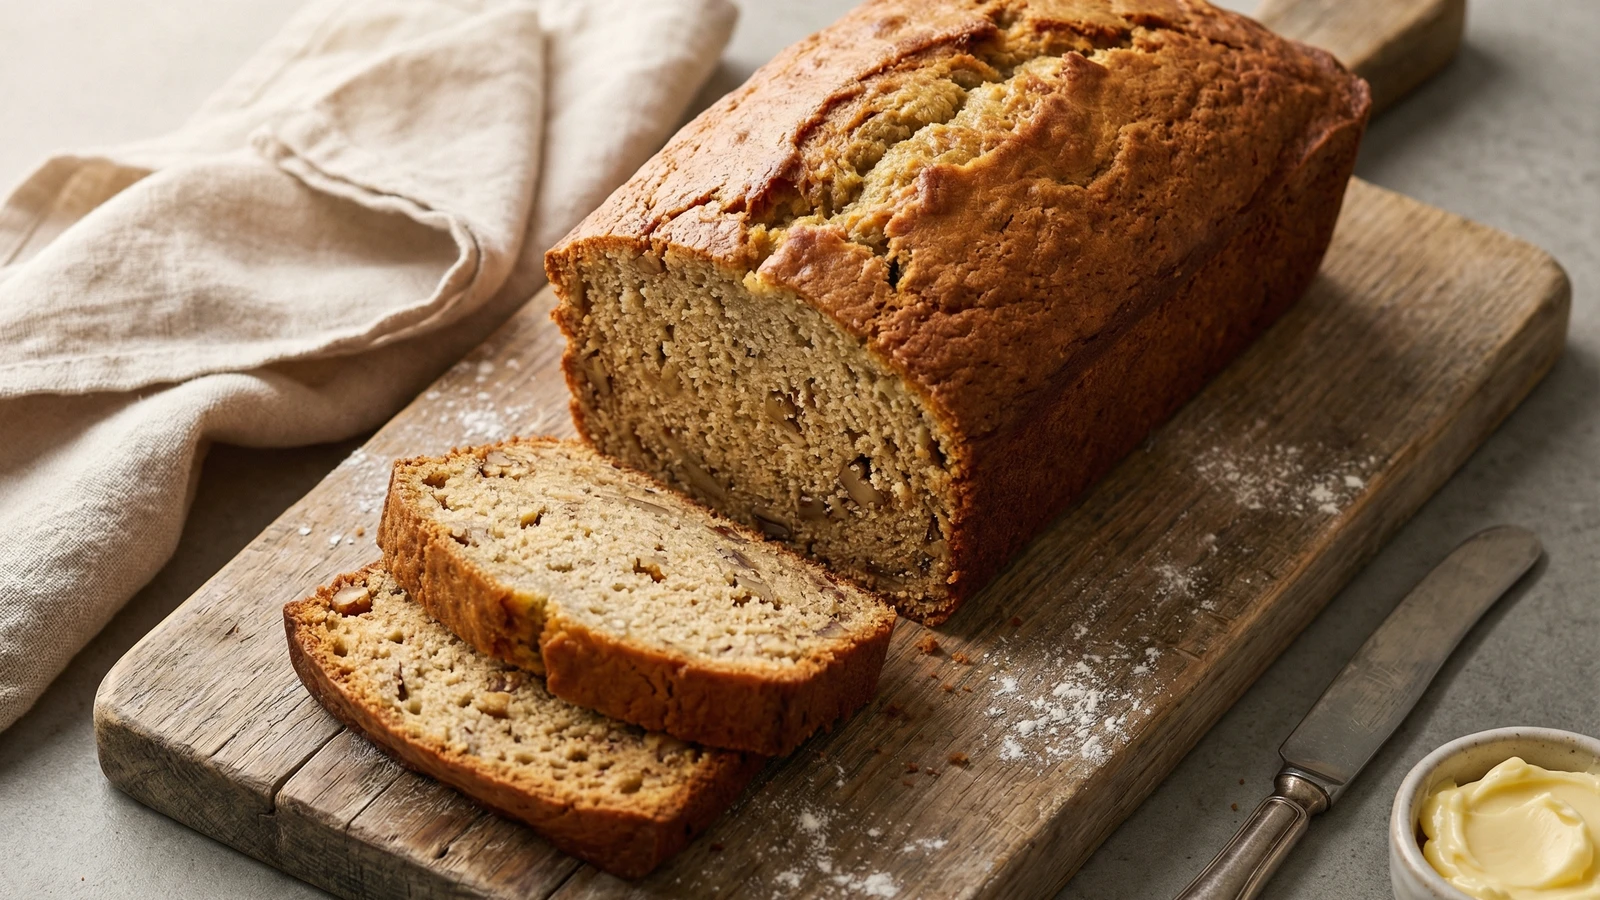
A golden-crusted loaf with a tender, banana-rich crumb that transforms overripe fruit into something magnificent. This is the quick bread that built generations of confident bakers.
Every kitchen in America has witnessed the same small tragedy: bananas blackening on the counter, spotted and soft, destined for the garbage. Banana bread exists to redeem that waste. It's Depression-era thrift disguised as indulgence, and it remains one of the most forgiving recipes a home cook can attempt.
The science here is simple. Overripe bananas contain more sugar and less starch than their yellow counterparts. Their cell walls have broken down, releasing moisture and pectin that create the dense, moist crumb we crave. Those brown spots aren't decay. They're flavor development. The uglier your bananas, the better your bread.
I've taught this recipe to nervous first-timers and seasoned bakers alike. The technique translates directly to any quick bread you'll ever make: muffins, coffee cakes, zucchini bread. Master this one loaf and you've unlocked an entire category of baking. The mixing method matters more than the specific recipe. Gentle folding. Minimal gluten development. Patience with the oven.
Don't let anyone tell you banana bread is pedestrian. A warm slice with butter melting into its crumb deserves the same respect as any French pastry. This is honest American baking at its finest.
Quantity
3-4 (340g/12oz mashed)
Quantity
115g (1/2 cup/1 stick)
melted and cooled
Quantity
150g (3/4 cup)
Quantity
1
room temperature
Quantity
1 teaspoon
Quantity
1 teaspoon
Quantity
1/2 teaspoon
Quantity
190g (1 1/2 cups)
Quantity
85g (3/4 cup)
roughly chopped
| Ingredient | Quantity |
|---|---|
| very ripe bananas | 3-4 (340g/12oz mashed) |
| unsalted buttermelted and cooled | 115g (1/2 cup/1 stick) |
| granulated sugar | 150g (3/4 cup) |
| large eggroom temperature | 1 |
| pure vanilla extract | 1 teaspoon |
| baking soda | 1 teaspoon |
| fine sea salt | 1/2 teaspoon |
| all-purpose flour | 190g (1 1/2 cups) |
| walnuts (optional)roughly chopped | 85g (3/4 cup) |
Position a rack in the center of your oven and heat to 350°F (175°C). Grease a 9x5-inch loaf pan with butter, then dust lightly with flour, tapping out the excess. Alternatively, line the bottom and long sides with a strip of parchment paper, leaving overhang for easy removal.
Peel your bananas into a large mixing bowl. Using a fork or potato masher, crush them until mostly smooth with some small chunks remaining. You want about 1 1/2 cups of mashed banana. A few lumps are welcome here. They'll create pockets of intense banana flavor in the finished loaf.
Pour the melted butter into the mashed bananas and stir to combine. The mixture will look slightly curdled. That's fine. Add the sugar and stir vigorously until incorporated, about 30 seconds. Beat in the egg and vanilla until the batter is smooth and uniform in color.
Sprinkle the baking soda and salt directly over the wet mixture and stir briefly to distribute. Add all the flour at once. Using a rubber spatula or wooden spoon, fold the flour into the wet ingredients with gentle strokes. Stop the moment you no longer see dry flour. The batter should look thick and slightly lumpy. Overmixing develops gluten and produces a tough, tunneled crumb.
If using walnuts, fold them into the batter with two or three gentle strokes. Reserve a small handful to press into the top of the loaf before baking. This creates a beautiful presentation and signals what's inside.
Scrape the batter into your prepared pan and spread it evenly with your spatula. The batter will be thick and won't level itself. Smooth the top, creating a slight channel down the center if you want the characteristic split as it rises. Press reserved walnuts gently into the surface if using.
Bake for 55 to 65 minutes. The loaf is done when the top is deeply golden, the edges have pulled slightly from the pan, and a wooden skewer inserted into the center comes out clean or with just a few moist crumbs attached. Wet batter on the skewer means more time. A completely clean skewer, particularly if inserted near the edges, may indicate overbaking.
Let the bread cool in the pan on a wire rack for 15 minutes. This rest allows the structure to set. Run a thin knife around the edges, then turn the loaf out onto the rack to cool completely, at least 30 minutes more. Resist cutting into it early. The crumb needs time to firm up, and the flavors deepen as it cools. A warm slice may seem appealing, but a room-temperature slice with butter is the revelation.
1 serving (about 55g)
Culinary guides, cultural storytelling, and the editorial depth that makes cooking meaningful.
Discover Culinary ExplorerChef Dean
Pillowy soft sandwich bread from Pennsylvania Dutch kitchens, where generations of home bakers perfected the art of tender, slightly sweet loaves that slice clean and toast golden.

Chef Dean
Sky-high muffins bursting with juicy blueberries beneath a shatteringly crisp butter streusel, baked golden brown with that coveted bakery dome your family will wake up early for.

Chef Dean
Pillowy enriched dough wrapped around jammy wild blueberries and fragrant lemon zest, then crowned with a tangy cream cheese glaze that pools into every golden crevice. Summer morning baking at its finest.

Chef Dean
Golden, buttery buns with a tender crumb that cradles your burger without surrendering to the juices. This is the bun that makes a backyard cookout feel like an occasion worth remembering.